
I’ve done a few all grain beers now and have learned a fair bit about the process, including that I had absolutely no idea what I was doing when we made our first one (an English strong bitter). Originally the recipe was going to be an English Special Bitter but it turned out so dark and so strong that I changed the classification of it. Our final product came out with an ABV of 8.7% and basically no carbonation whatsoever. We will be redoing this beer next weekend to correct our mistakes from the first time and see how the two versions compare. I’ll be lowering the grain bill to decrease the ABV, but just the pale malt. All the others are going to stay the same. This will probably change the flavour somewhat since the specialty malts will be far more dominant, but I’m interested in seeing how they affect things, which is why I won’t be keeping the ratios the same.
Now for today’s brew:
Step one was to assemble all the new equipment, which included our malt mill and two coolers for the mashing and sparging process. No pictures for that stage, though you’ll see all of it coming up.
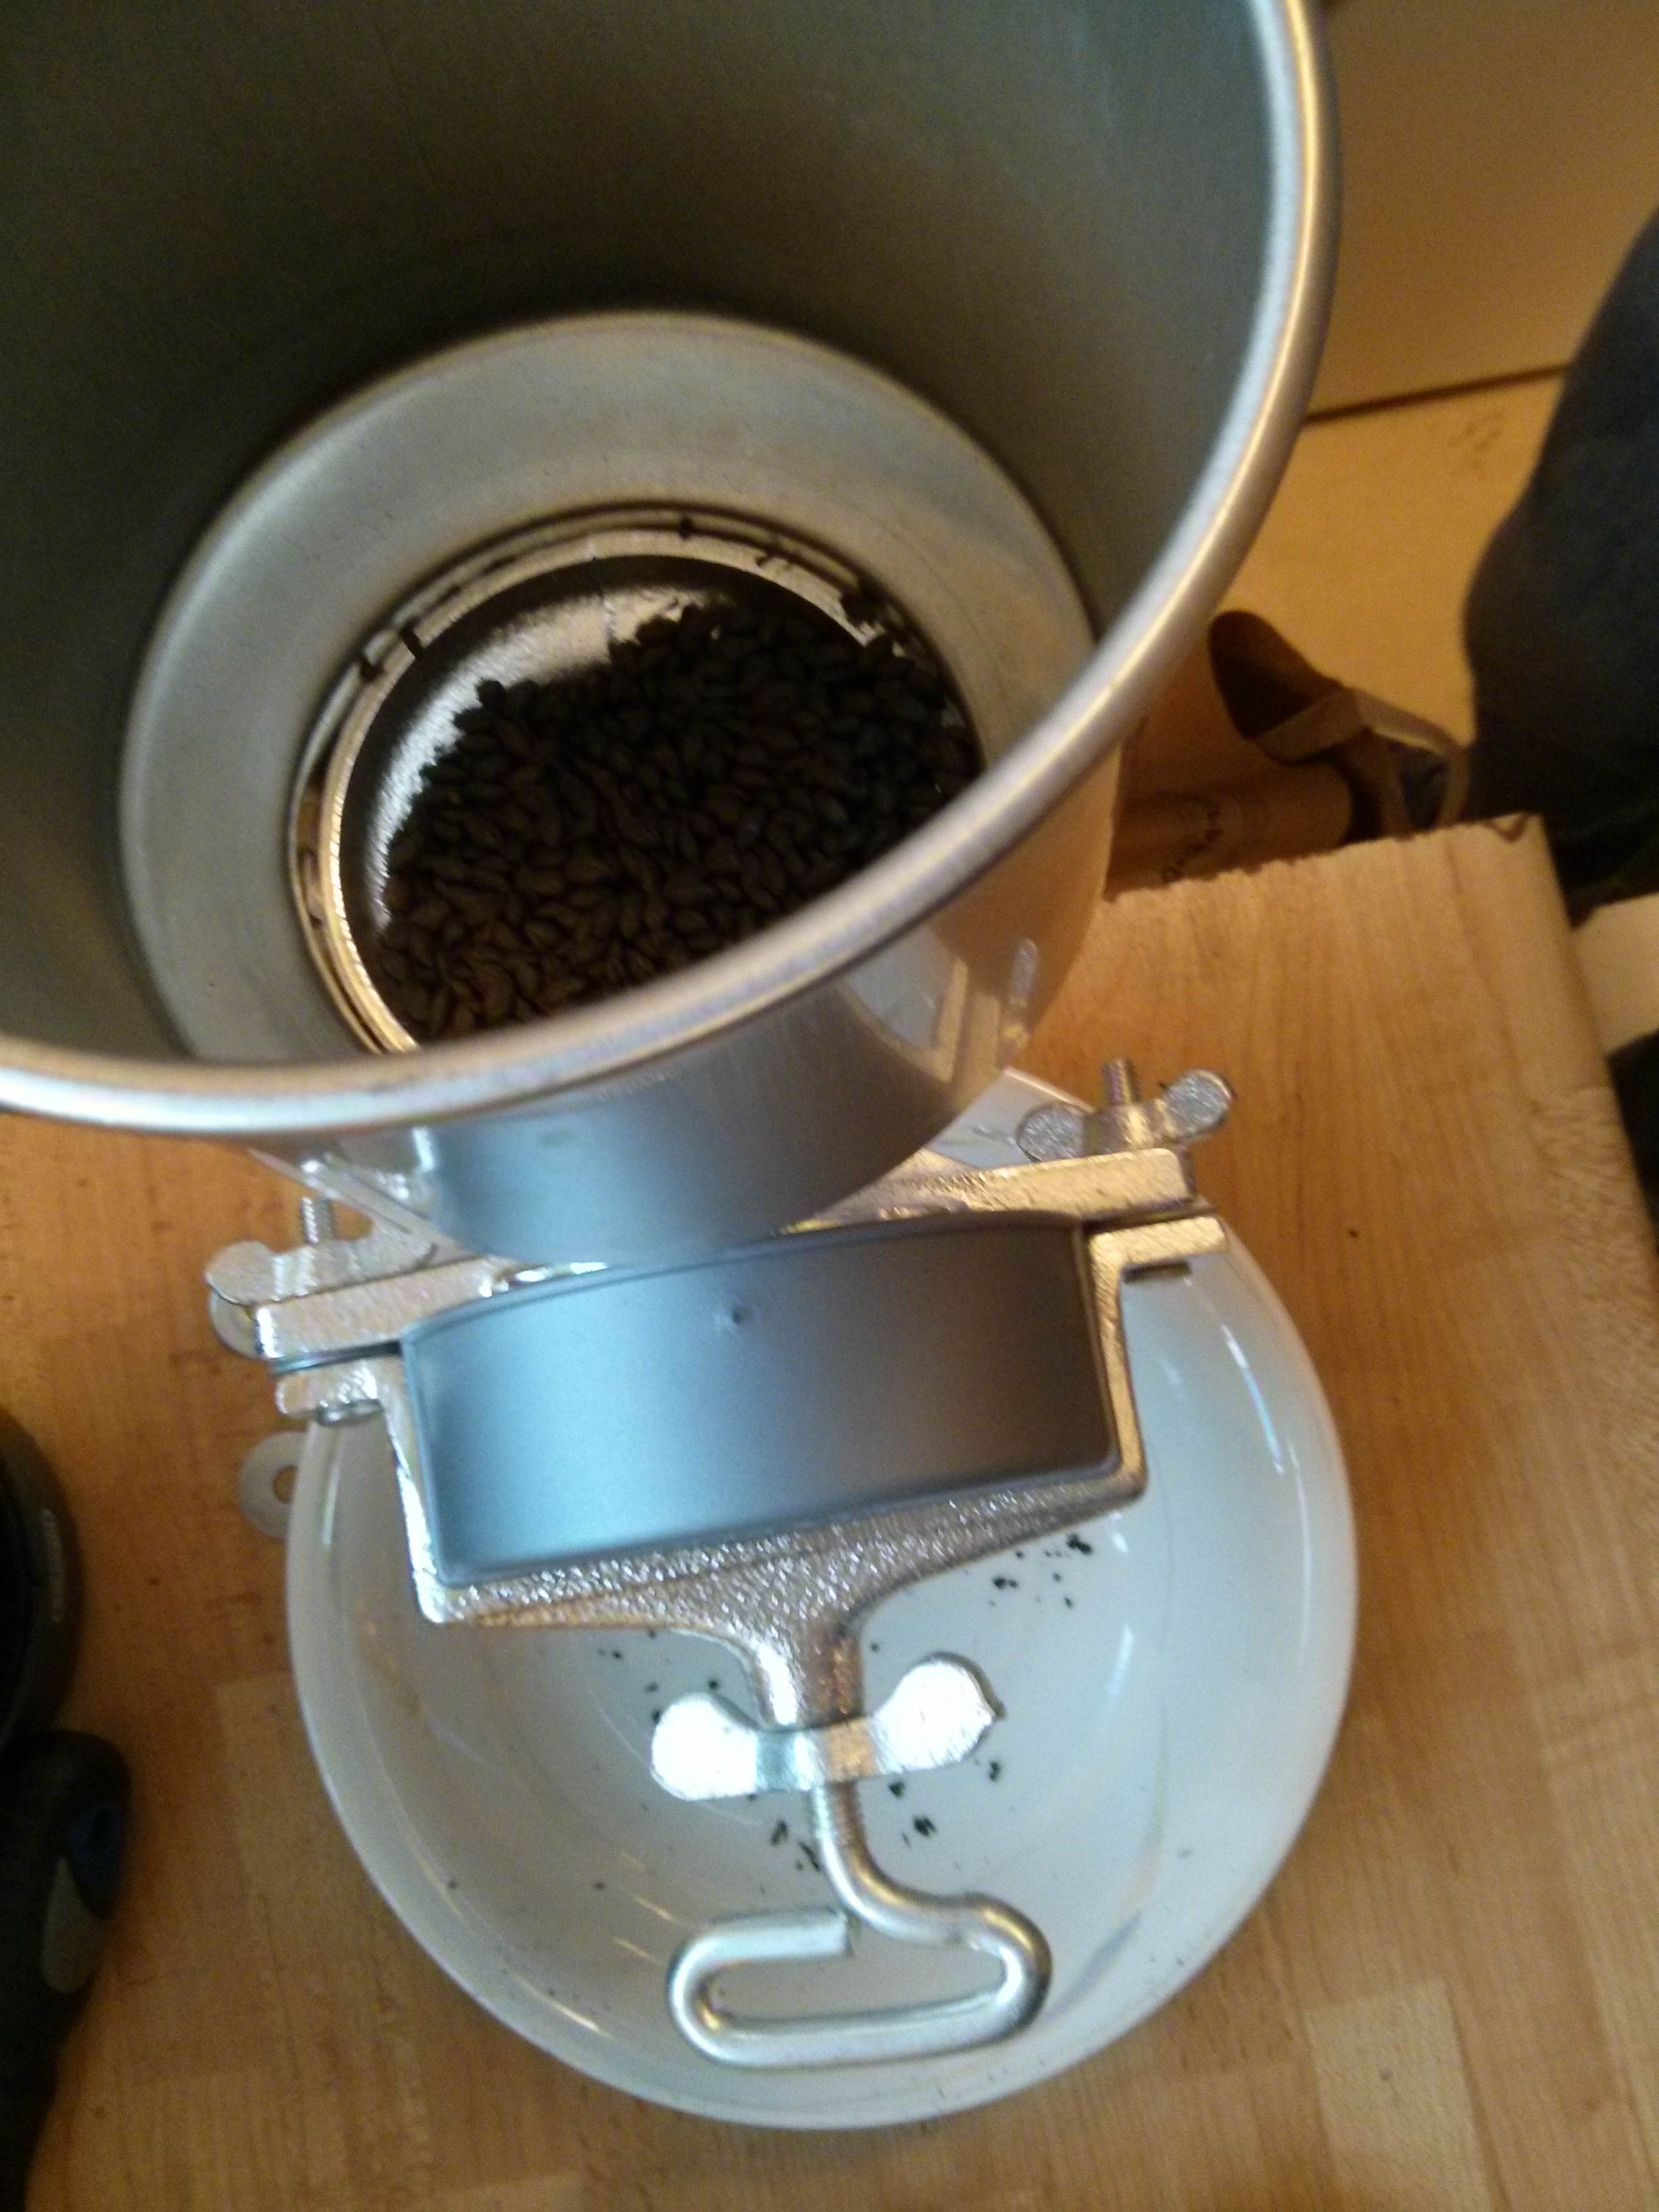
Next was to crush our specialty grains, we purchased our main pale malt pre-crushed and good thing, crushing 4ish kilos of malt would take a long while.

Next we heated our mash water which we did via a sous vide machine. We haven’t done this since for a couple of reasons, one being that it was very slow and much faster to heat on the stove, and the other being that all batches since haven’t had enough mash water to be able to use it.
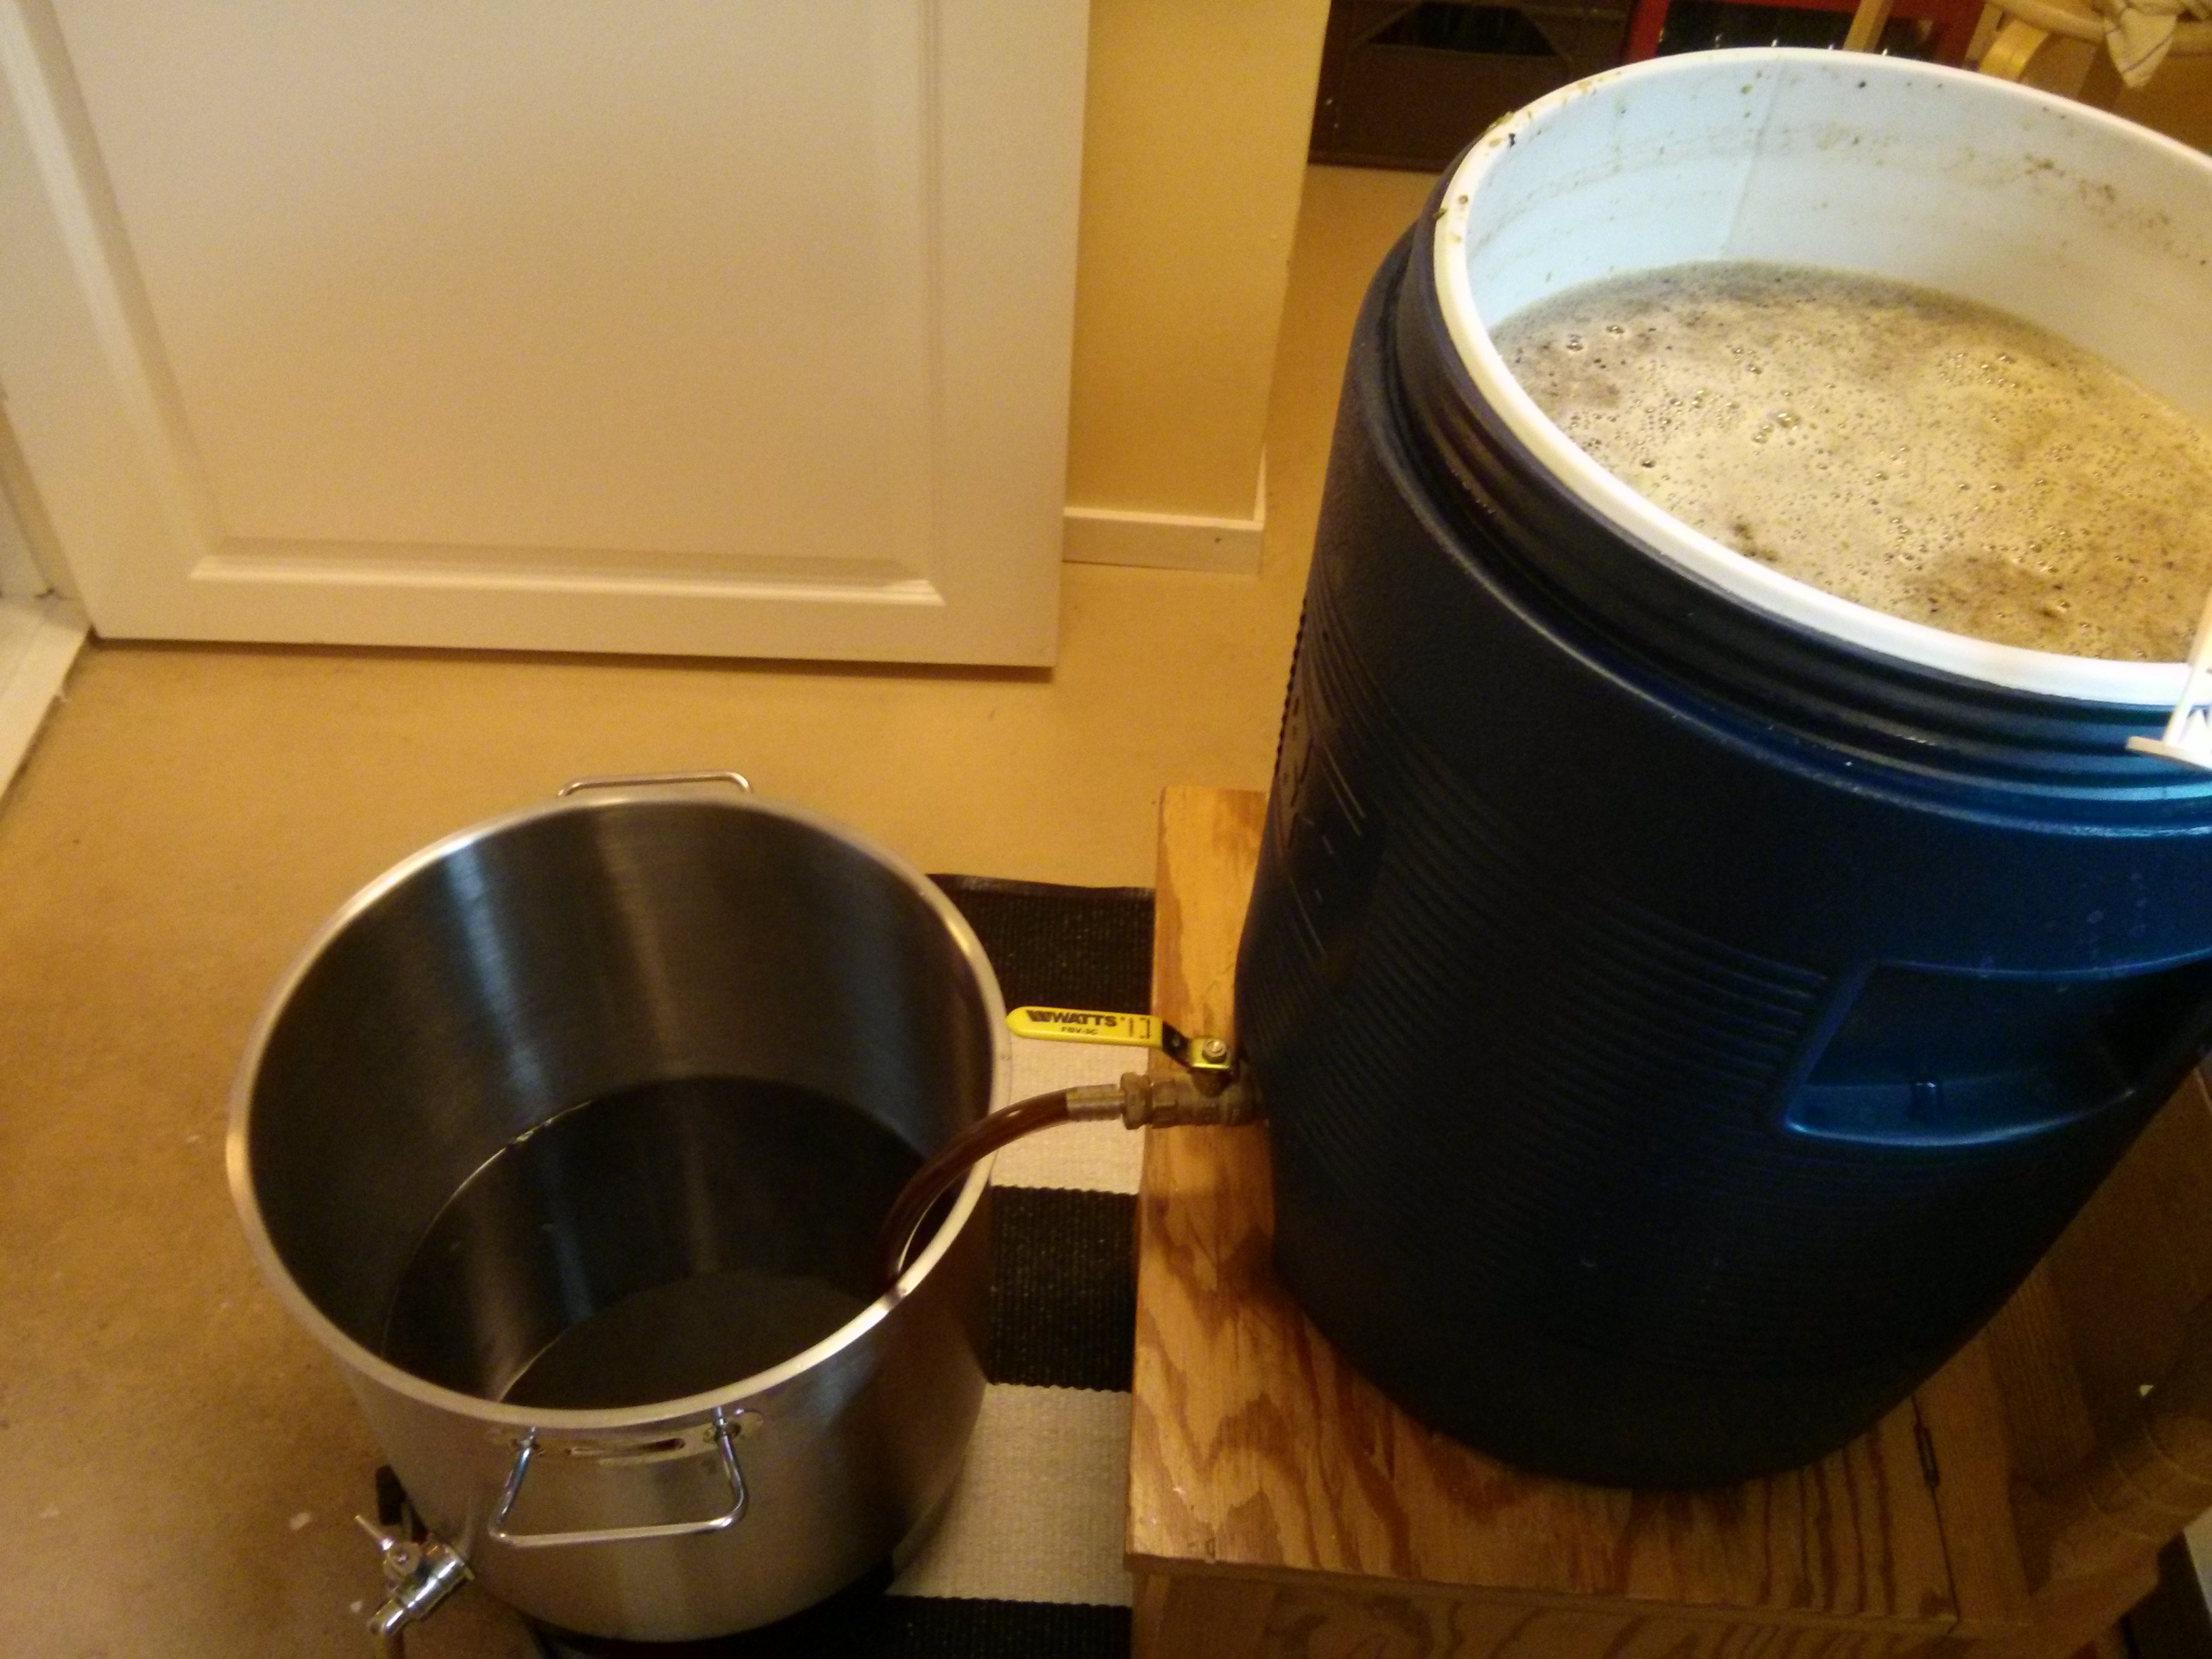
After the mash rest it was time to sparge, so we heated up 8 litres of water and put it into our sparge cooler – we haven’t done this since, opting to fill the cooler up to nearly full for the purpose of sparging as 8 litres proved to be far too little sparge water. Also I spoke to the brewer at a local brewery (Beer Studio) and they don’t limit themselves to a small amount of sparge water like that, though he suggested batch sparging for us (we have opted to stick with fly sparging).

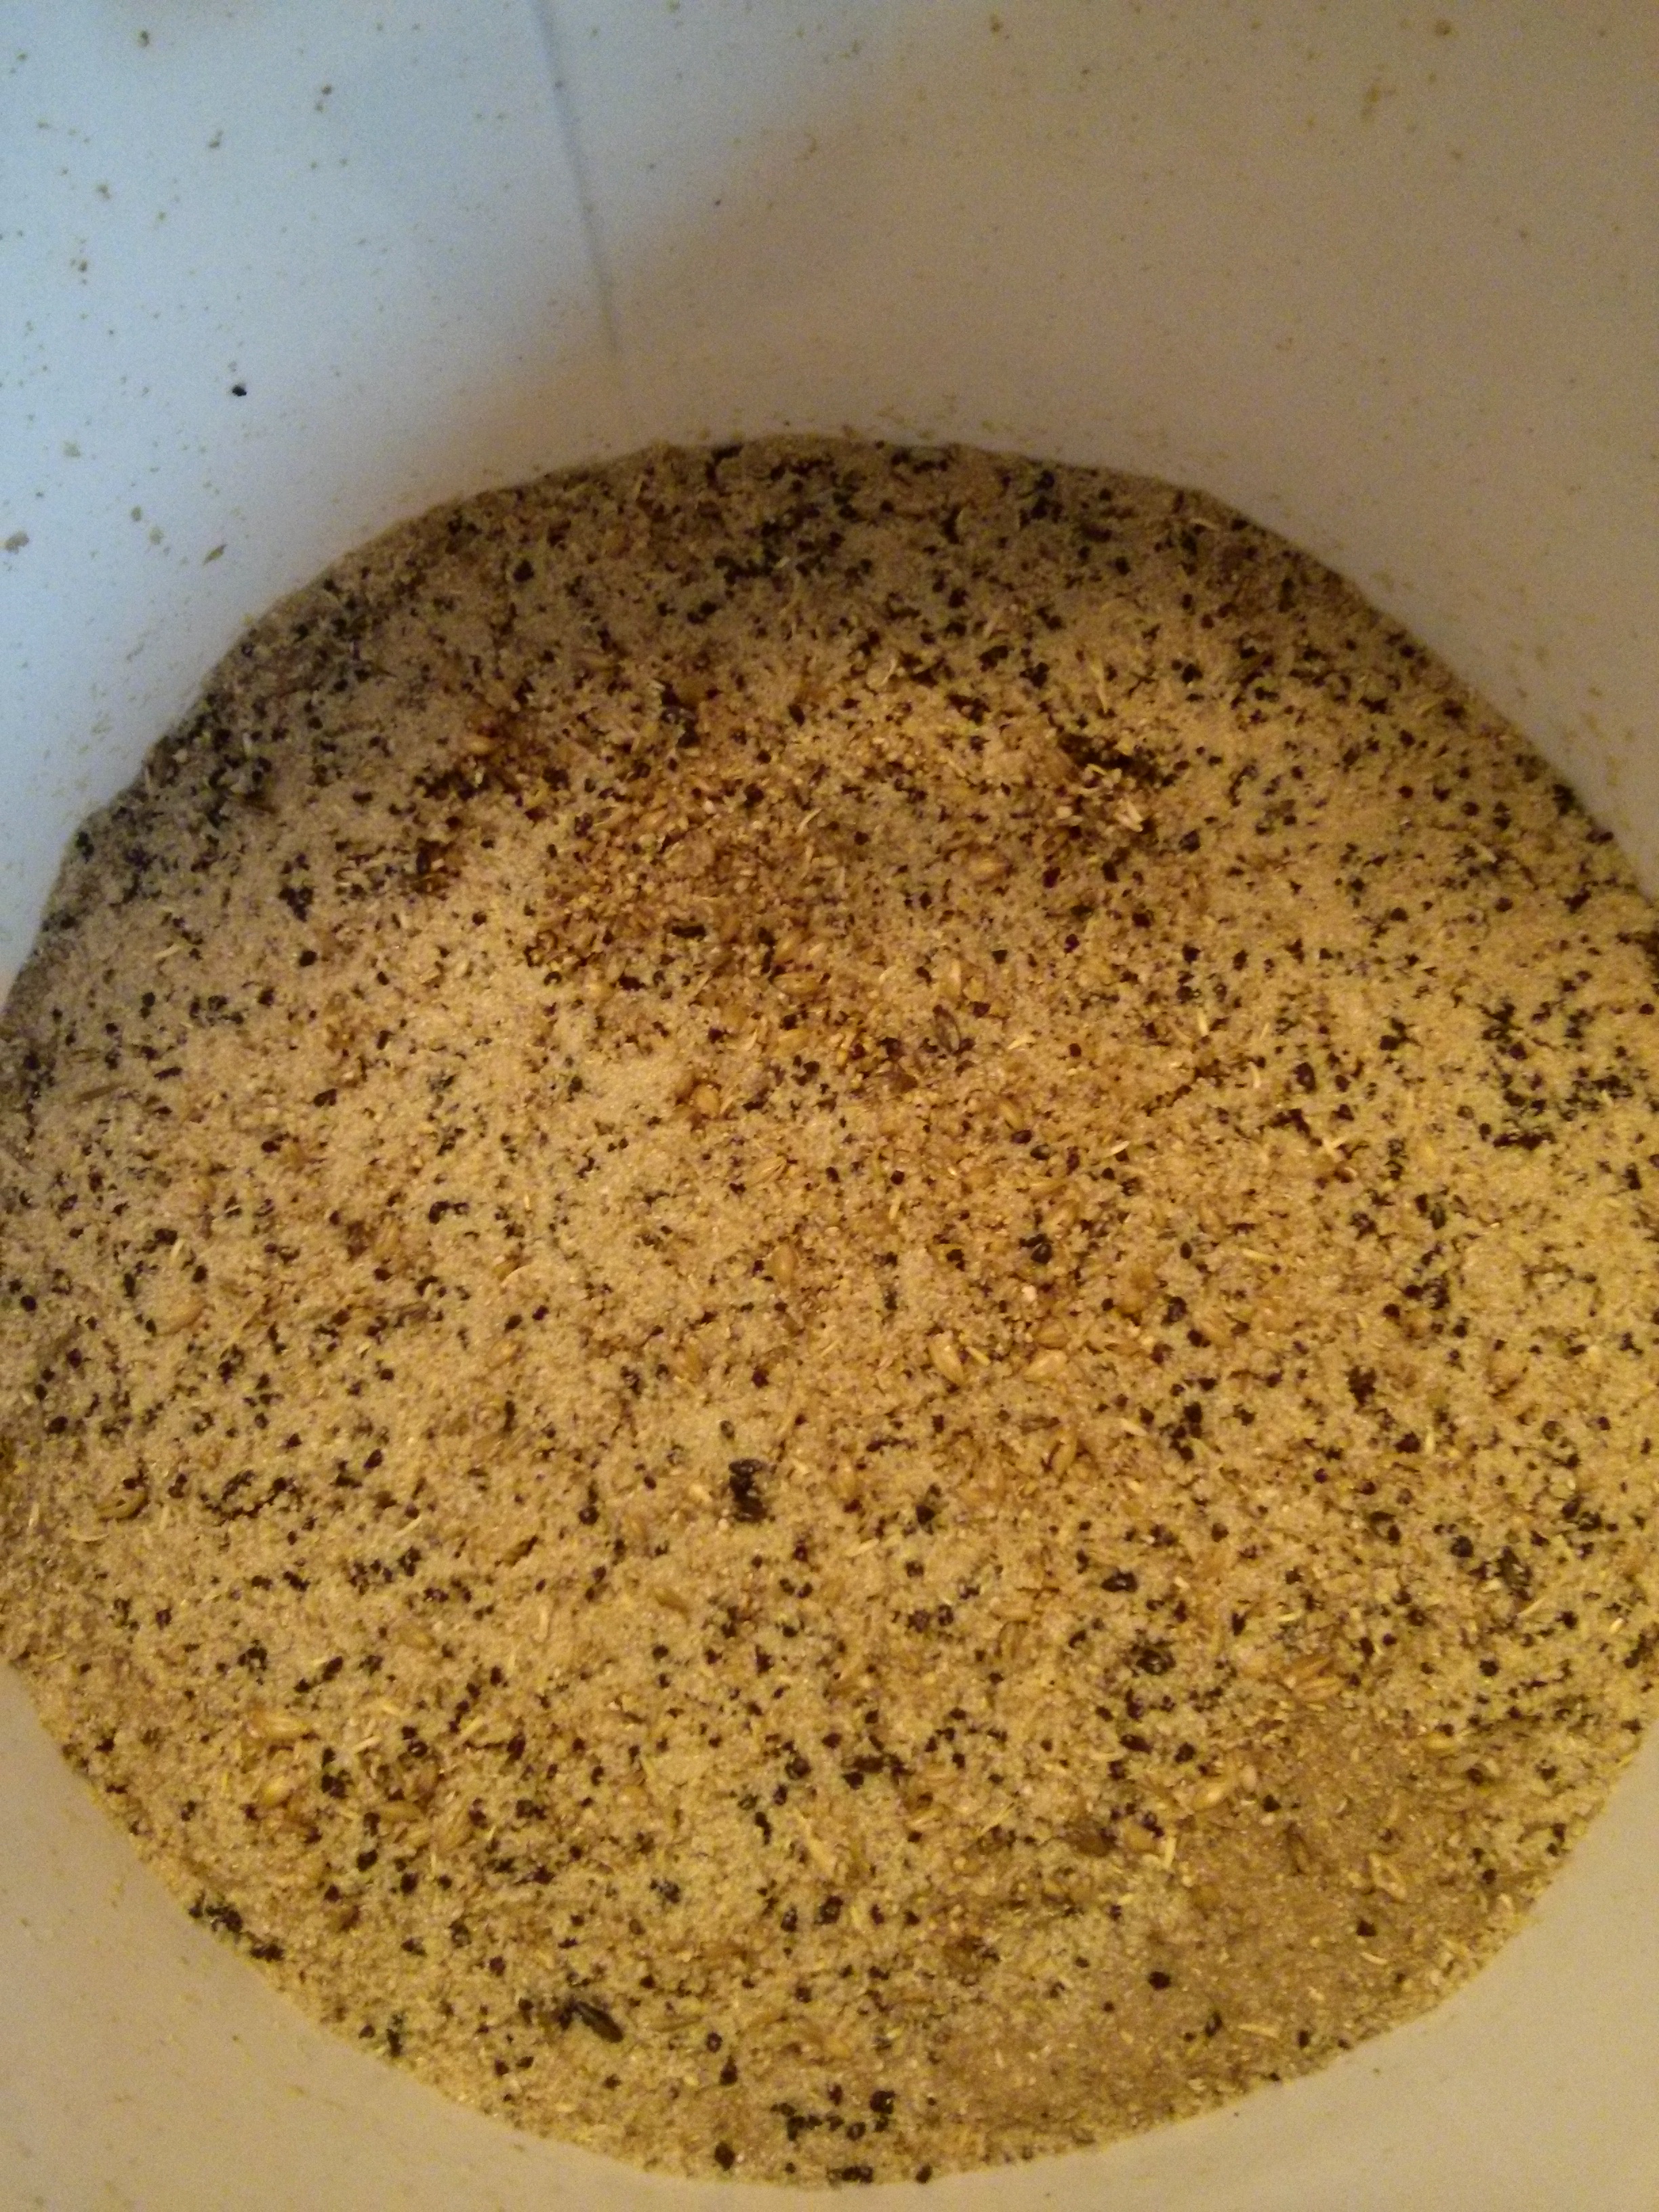
Here’s what the grain bed looked like post sparge:
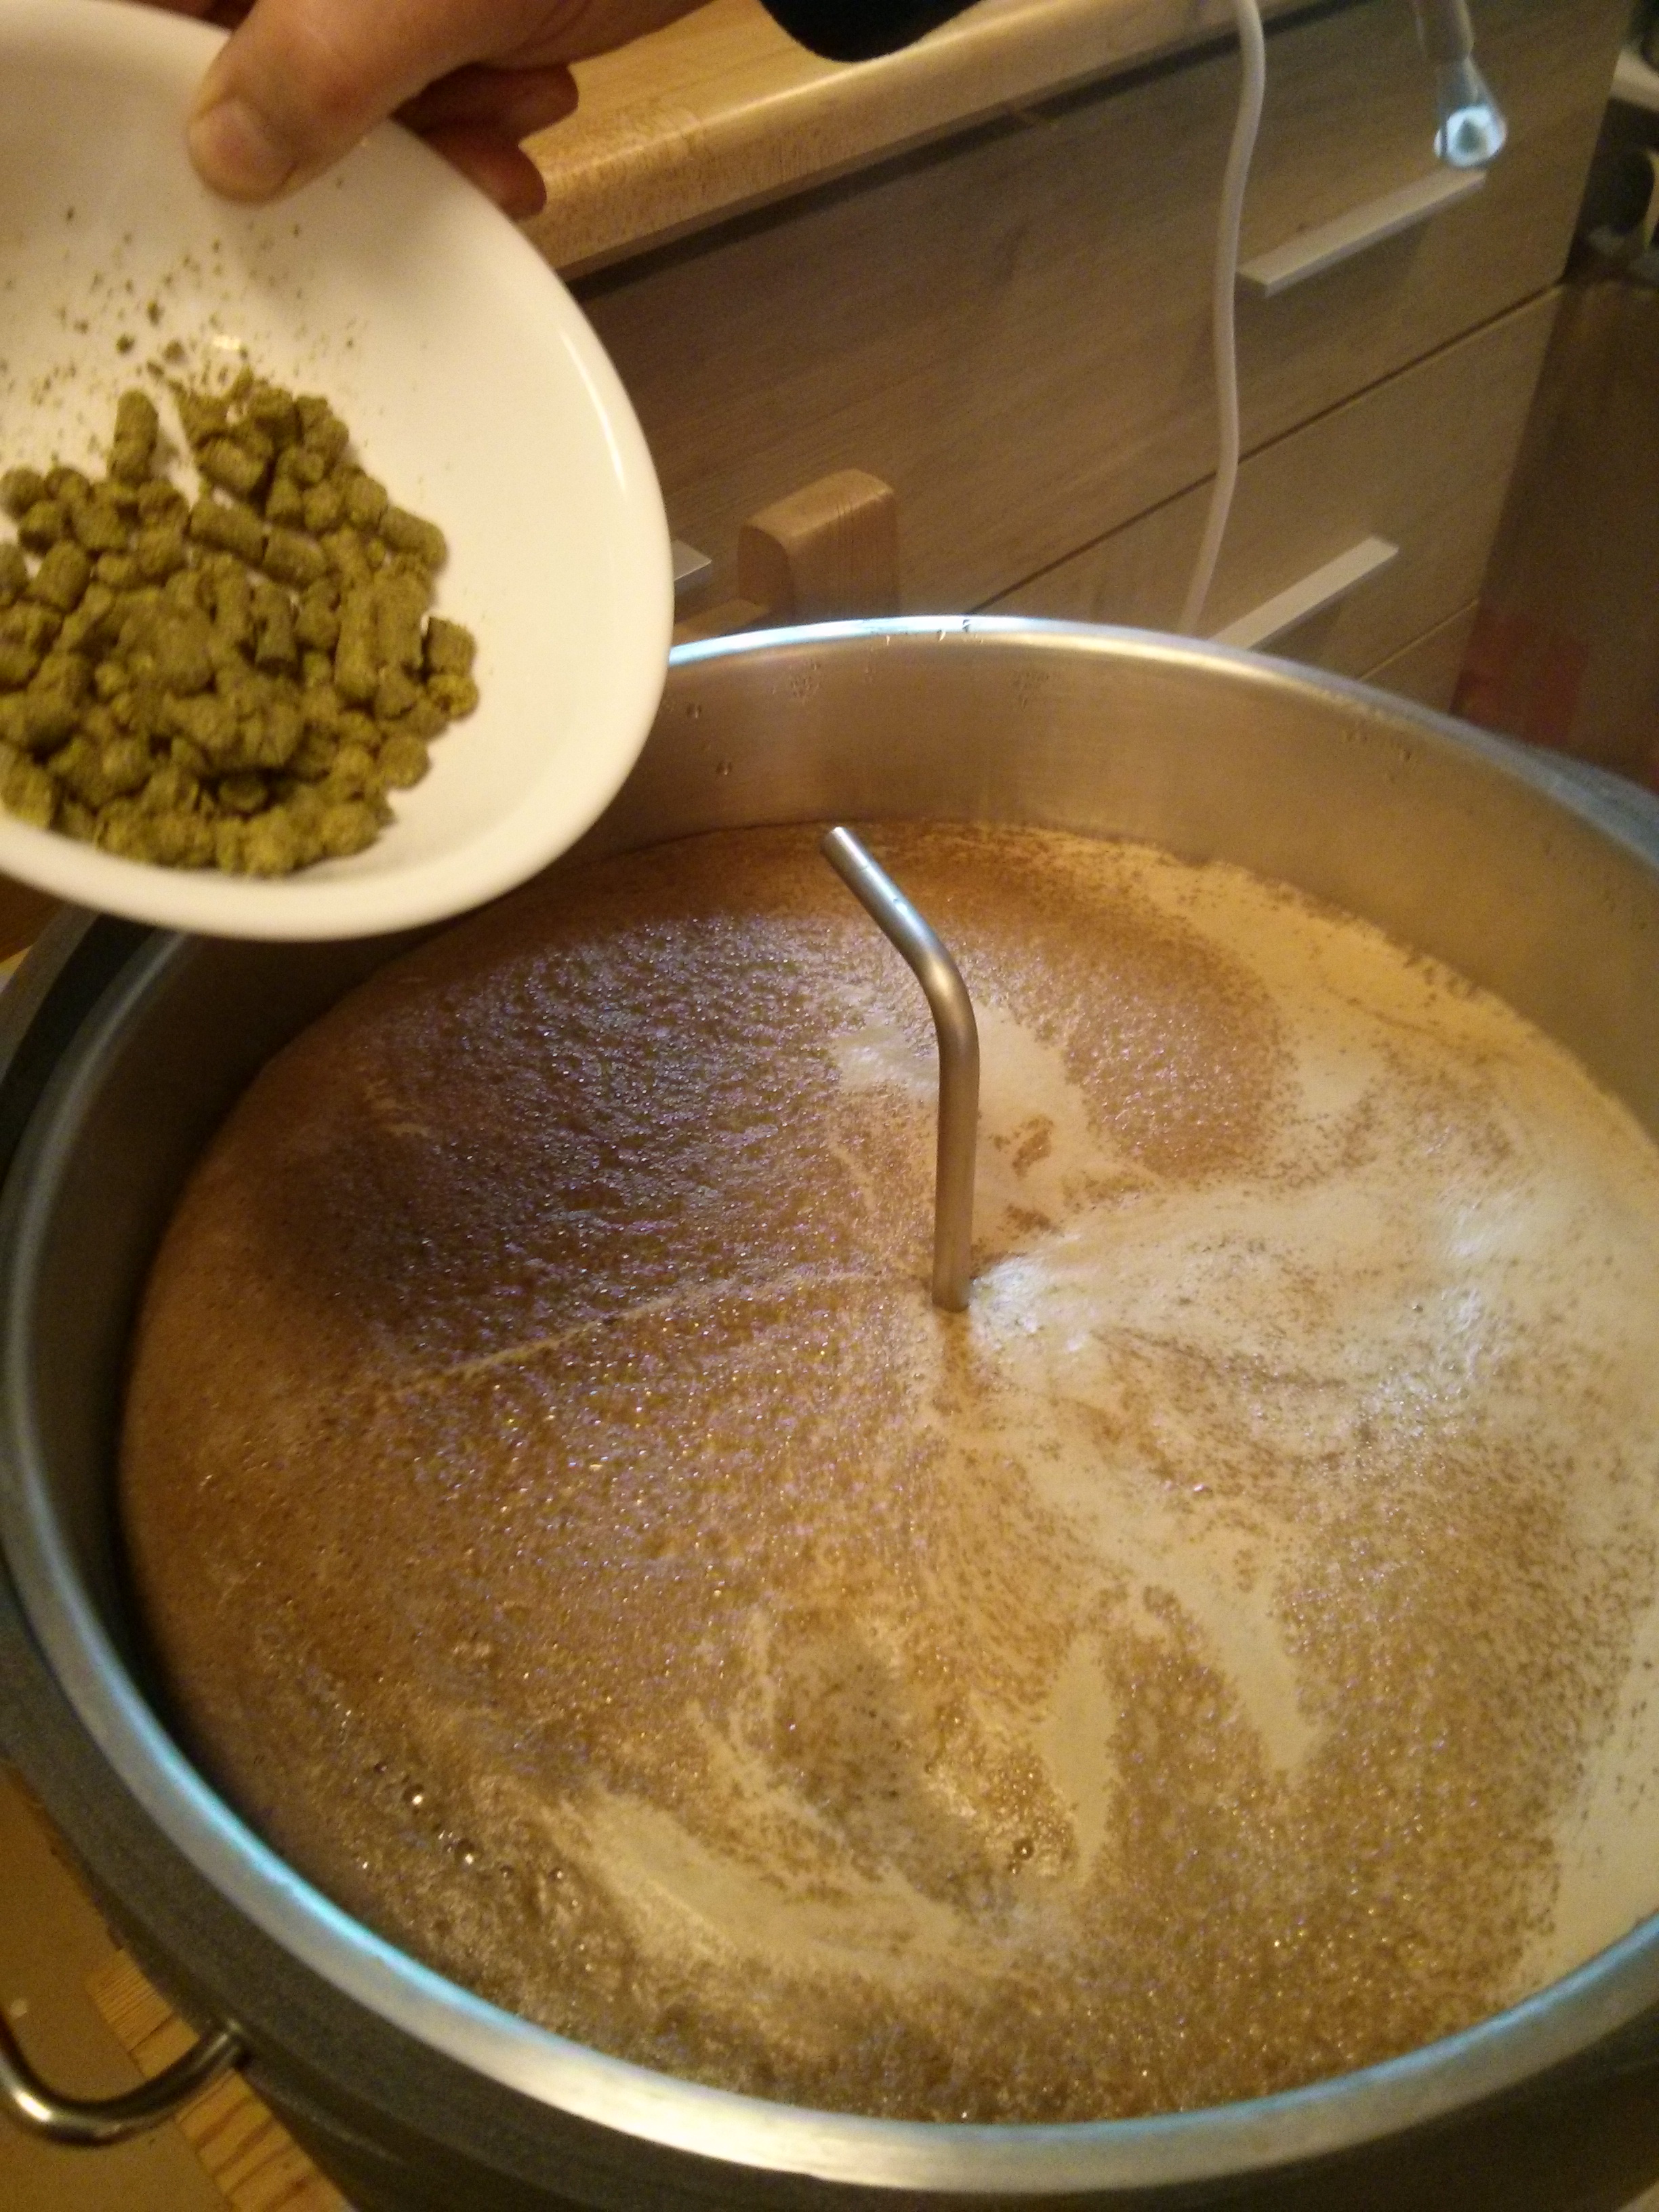
Once the sparge was done we got back into more familiar territory – the boil. This went smoothly, we added the hops at the appropriate times, no corn or specialty additions to this beer though. We had some issues with the cooling of the wort afterwards though. At one point the hose was stepped on for the immersion chiller which knocked off the outflow and sent water all over the floor (thankfully none got into the wort). We quickly turned off the water and got it fixed then continued, but eventually the outflow hose came off of the chiller again (of its own accord this time) and while it mostly went over the floor a tiny bit did get into the wort. We have since fixed the issue by having three clamps on the outflowing hose fitted over the chiller and have had no more problems with it.

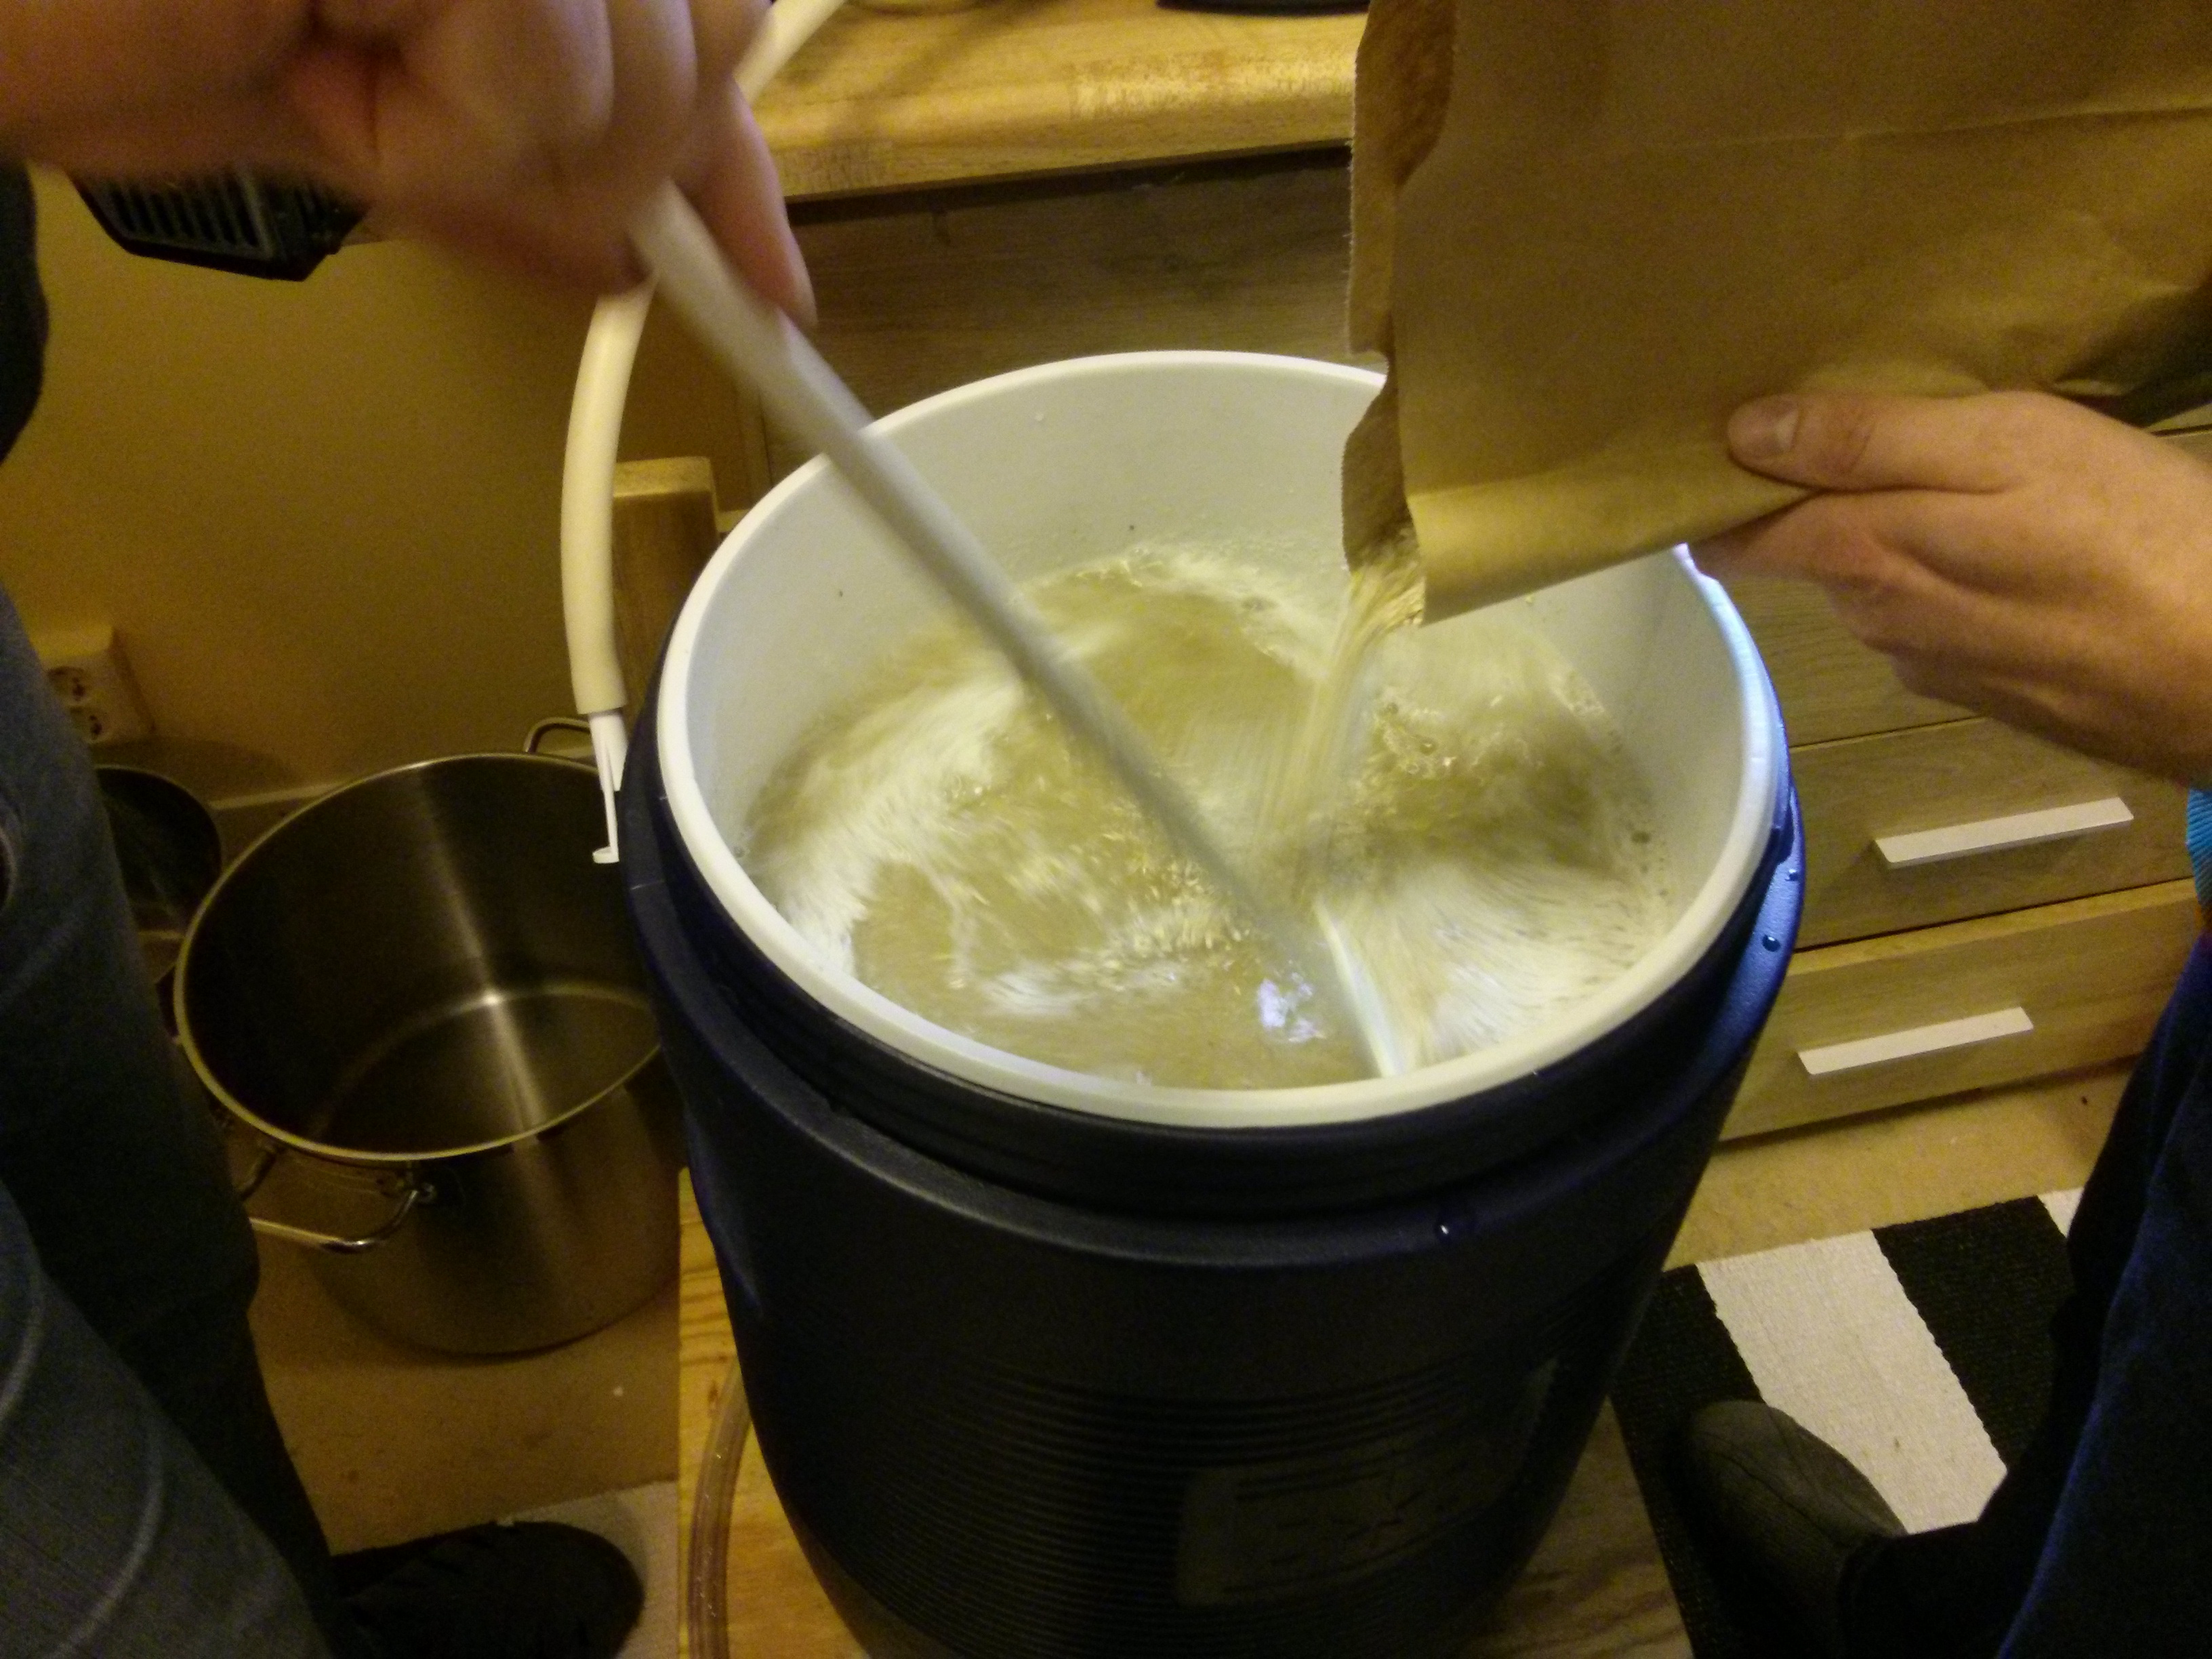
Finally we transferred the wort to the fermentation bucket. There was no filter this time, we haven’t used a filter since the first batch – but we remembered to add the false bottom to the boil pot so no hops got into the fermenter bucket.
After two weeks fermenting we added our sugar and bottled the beer. It turned out alright with a heavy malt and alcohol flavour to it but a slightly bitter finish. Very fruity aroma to it. The colour is very dark. All told this time around we will be giving it a longer time to ferment as it tastes far better now than it did a few weeks ago, the yeast is leaving some very fruity esters in the beers, balancing the malt and alcohol flavours much better.
Leave a Reply