My afternoon at Beer Studio

Beer Studio is a local microbrewery in Umeå here in the North of Sweden. It is run by the well known beer journalist Darren Packman, founder of the Beer Sweden website. Darren regularly hosts beer tastings, which I’ve been to three of. At the end of the third tasting (which was a beer and cheese tasting – super delicious) I approached Darren and asked him if I could spend a few hours at his brewery learning about how things worked. He said that absolutely I could and we agreed to speak by email. A few weeks later I got my chance and went.

This will probably be a picture light post due to my only taking a few. I did tweet about it a bit, so you can read back to that if you like (Date was October 14th), but you’ll not learn anything new that you didn’t get from this blog post. I’d also like to note that I’ll be talking highly of Beer Studio and their products in this post. I’m in no way paid to do this, and gain nothing for doing so. This is purely my opinion.

When I arrived at Beer Studio they were shifting one of their new beers from the primary fermenter to secondary and preparing to brew a new batch of their Long Play Pale Ale. After that was done I hosed down the primary tank to try and clean it up as much as possible as Leif (the brewer) cleaned the mash tun. After that was all done we started filling the mash tun which basically involved a hose pouring hot water into it.

Filling the mash tun

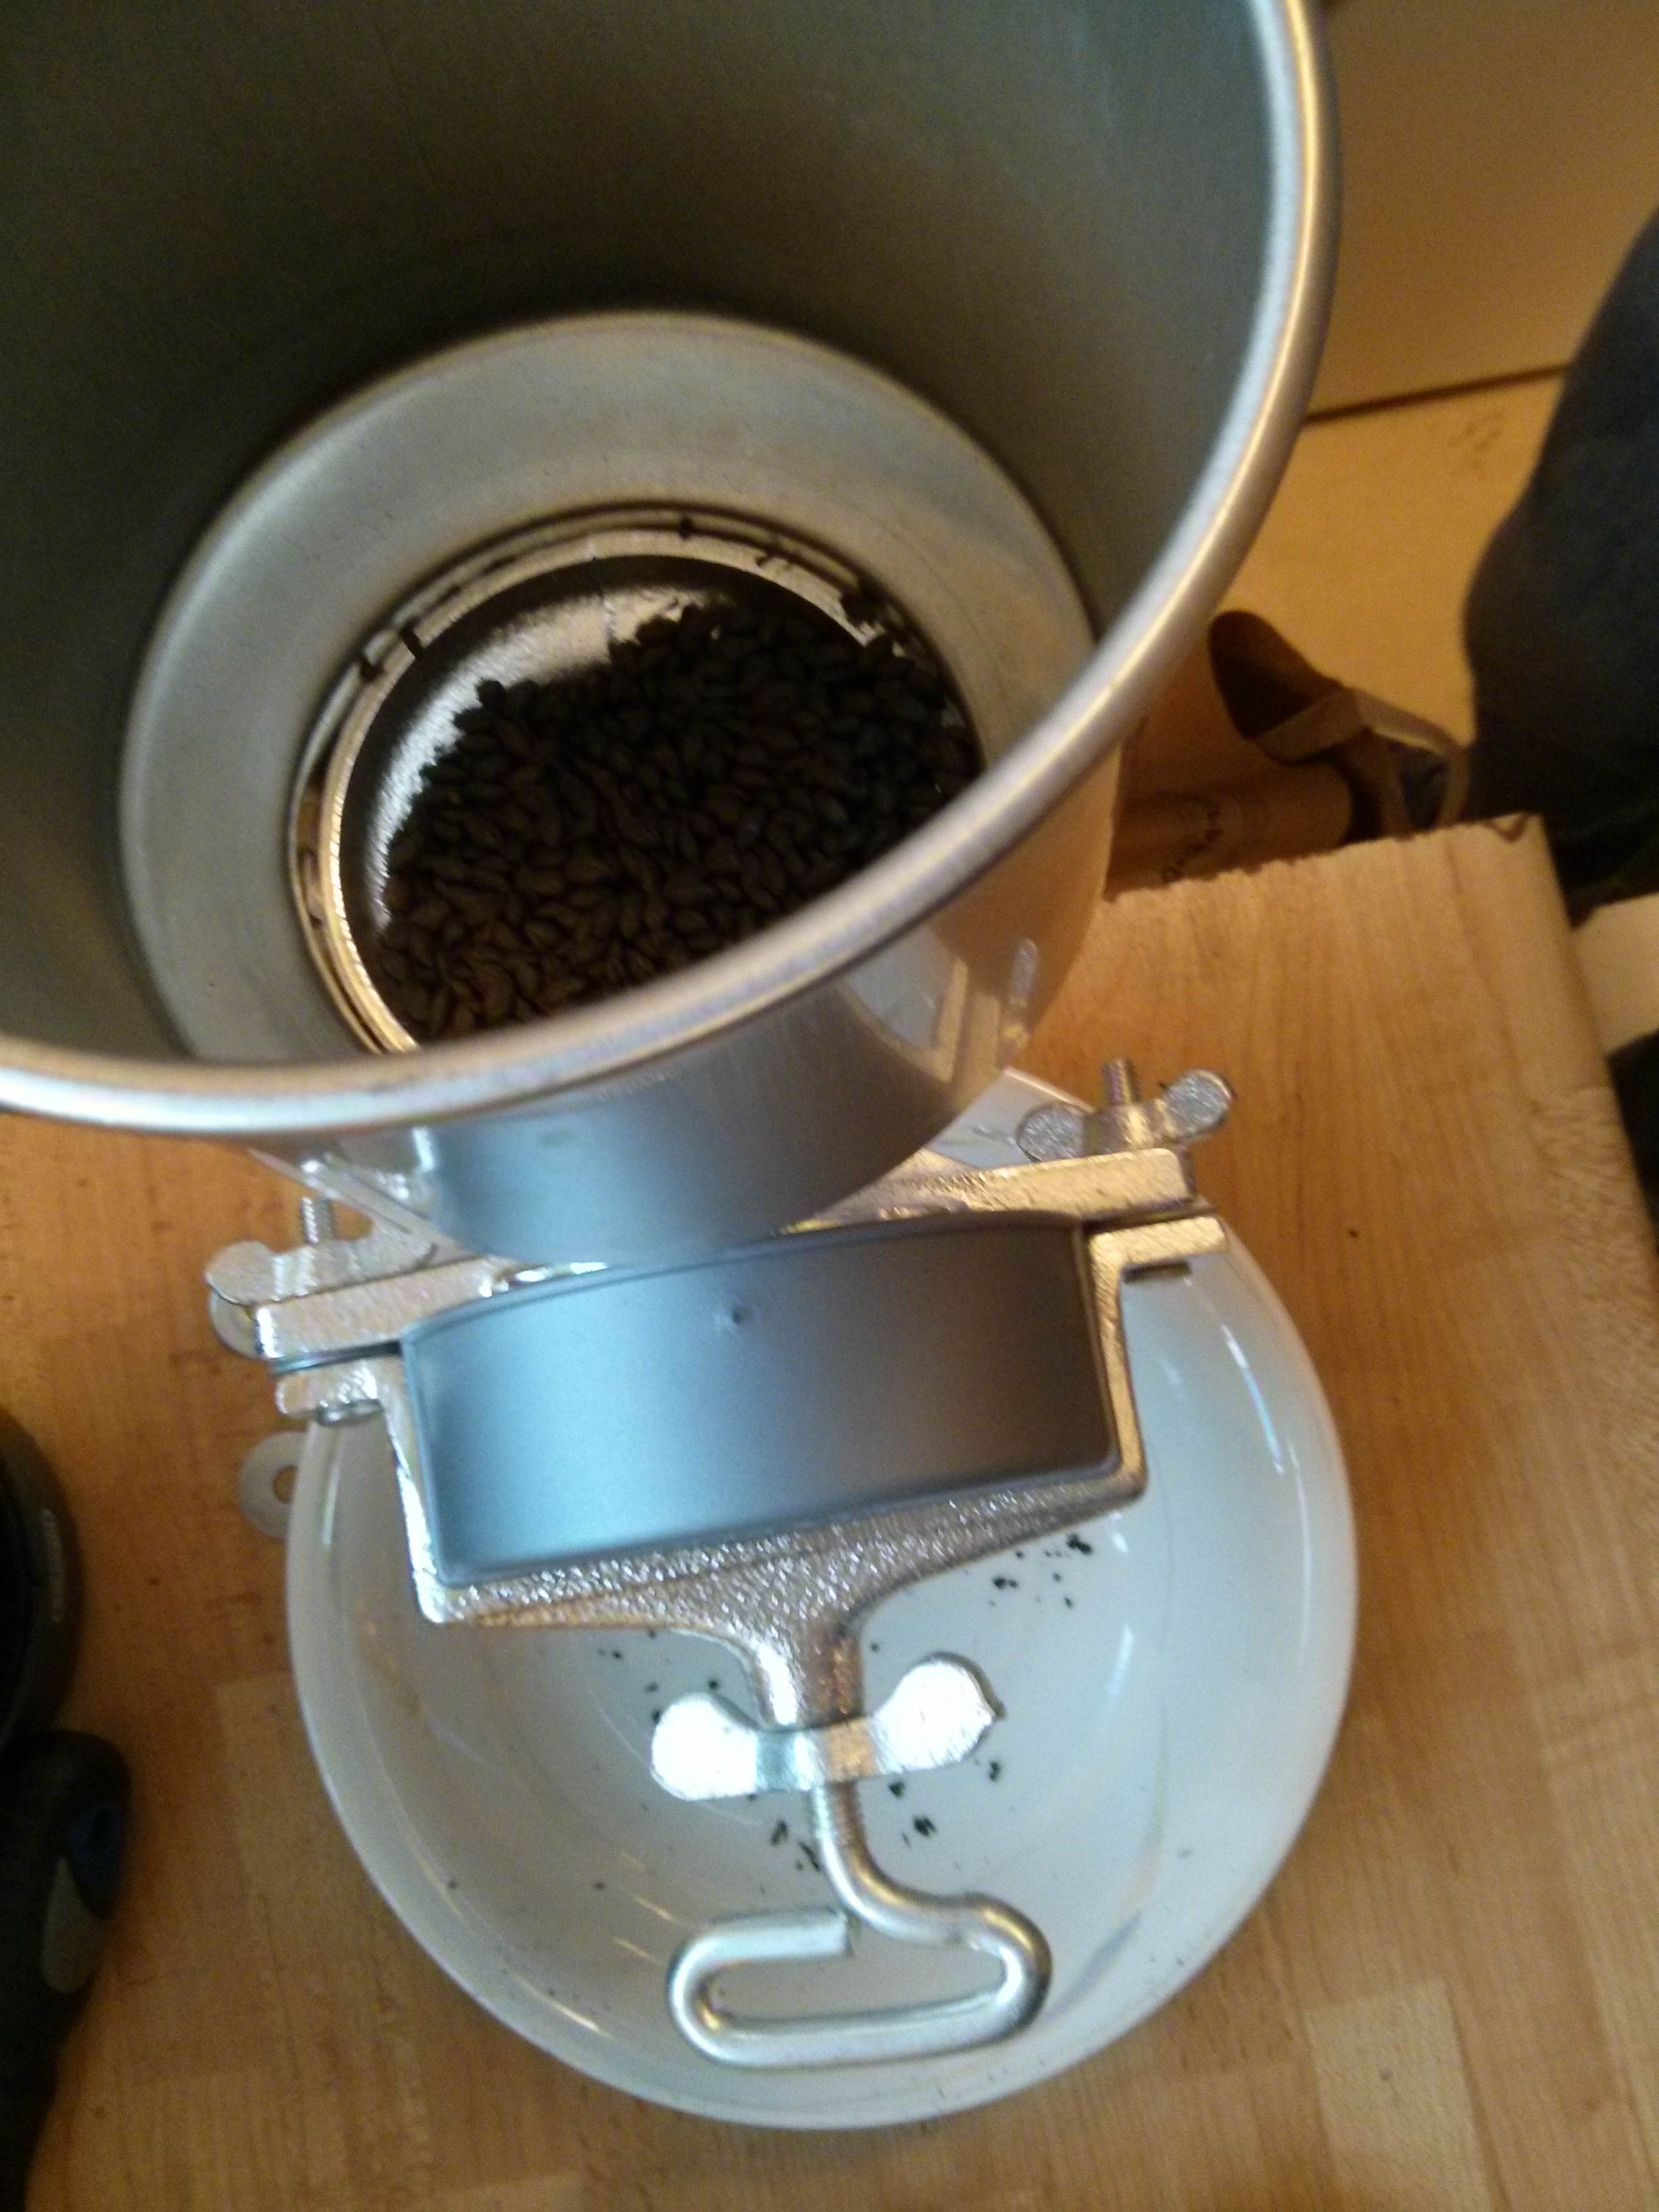
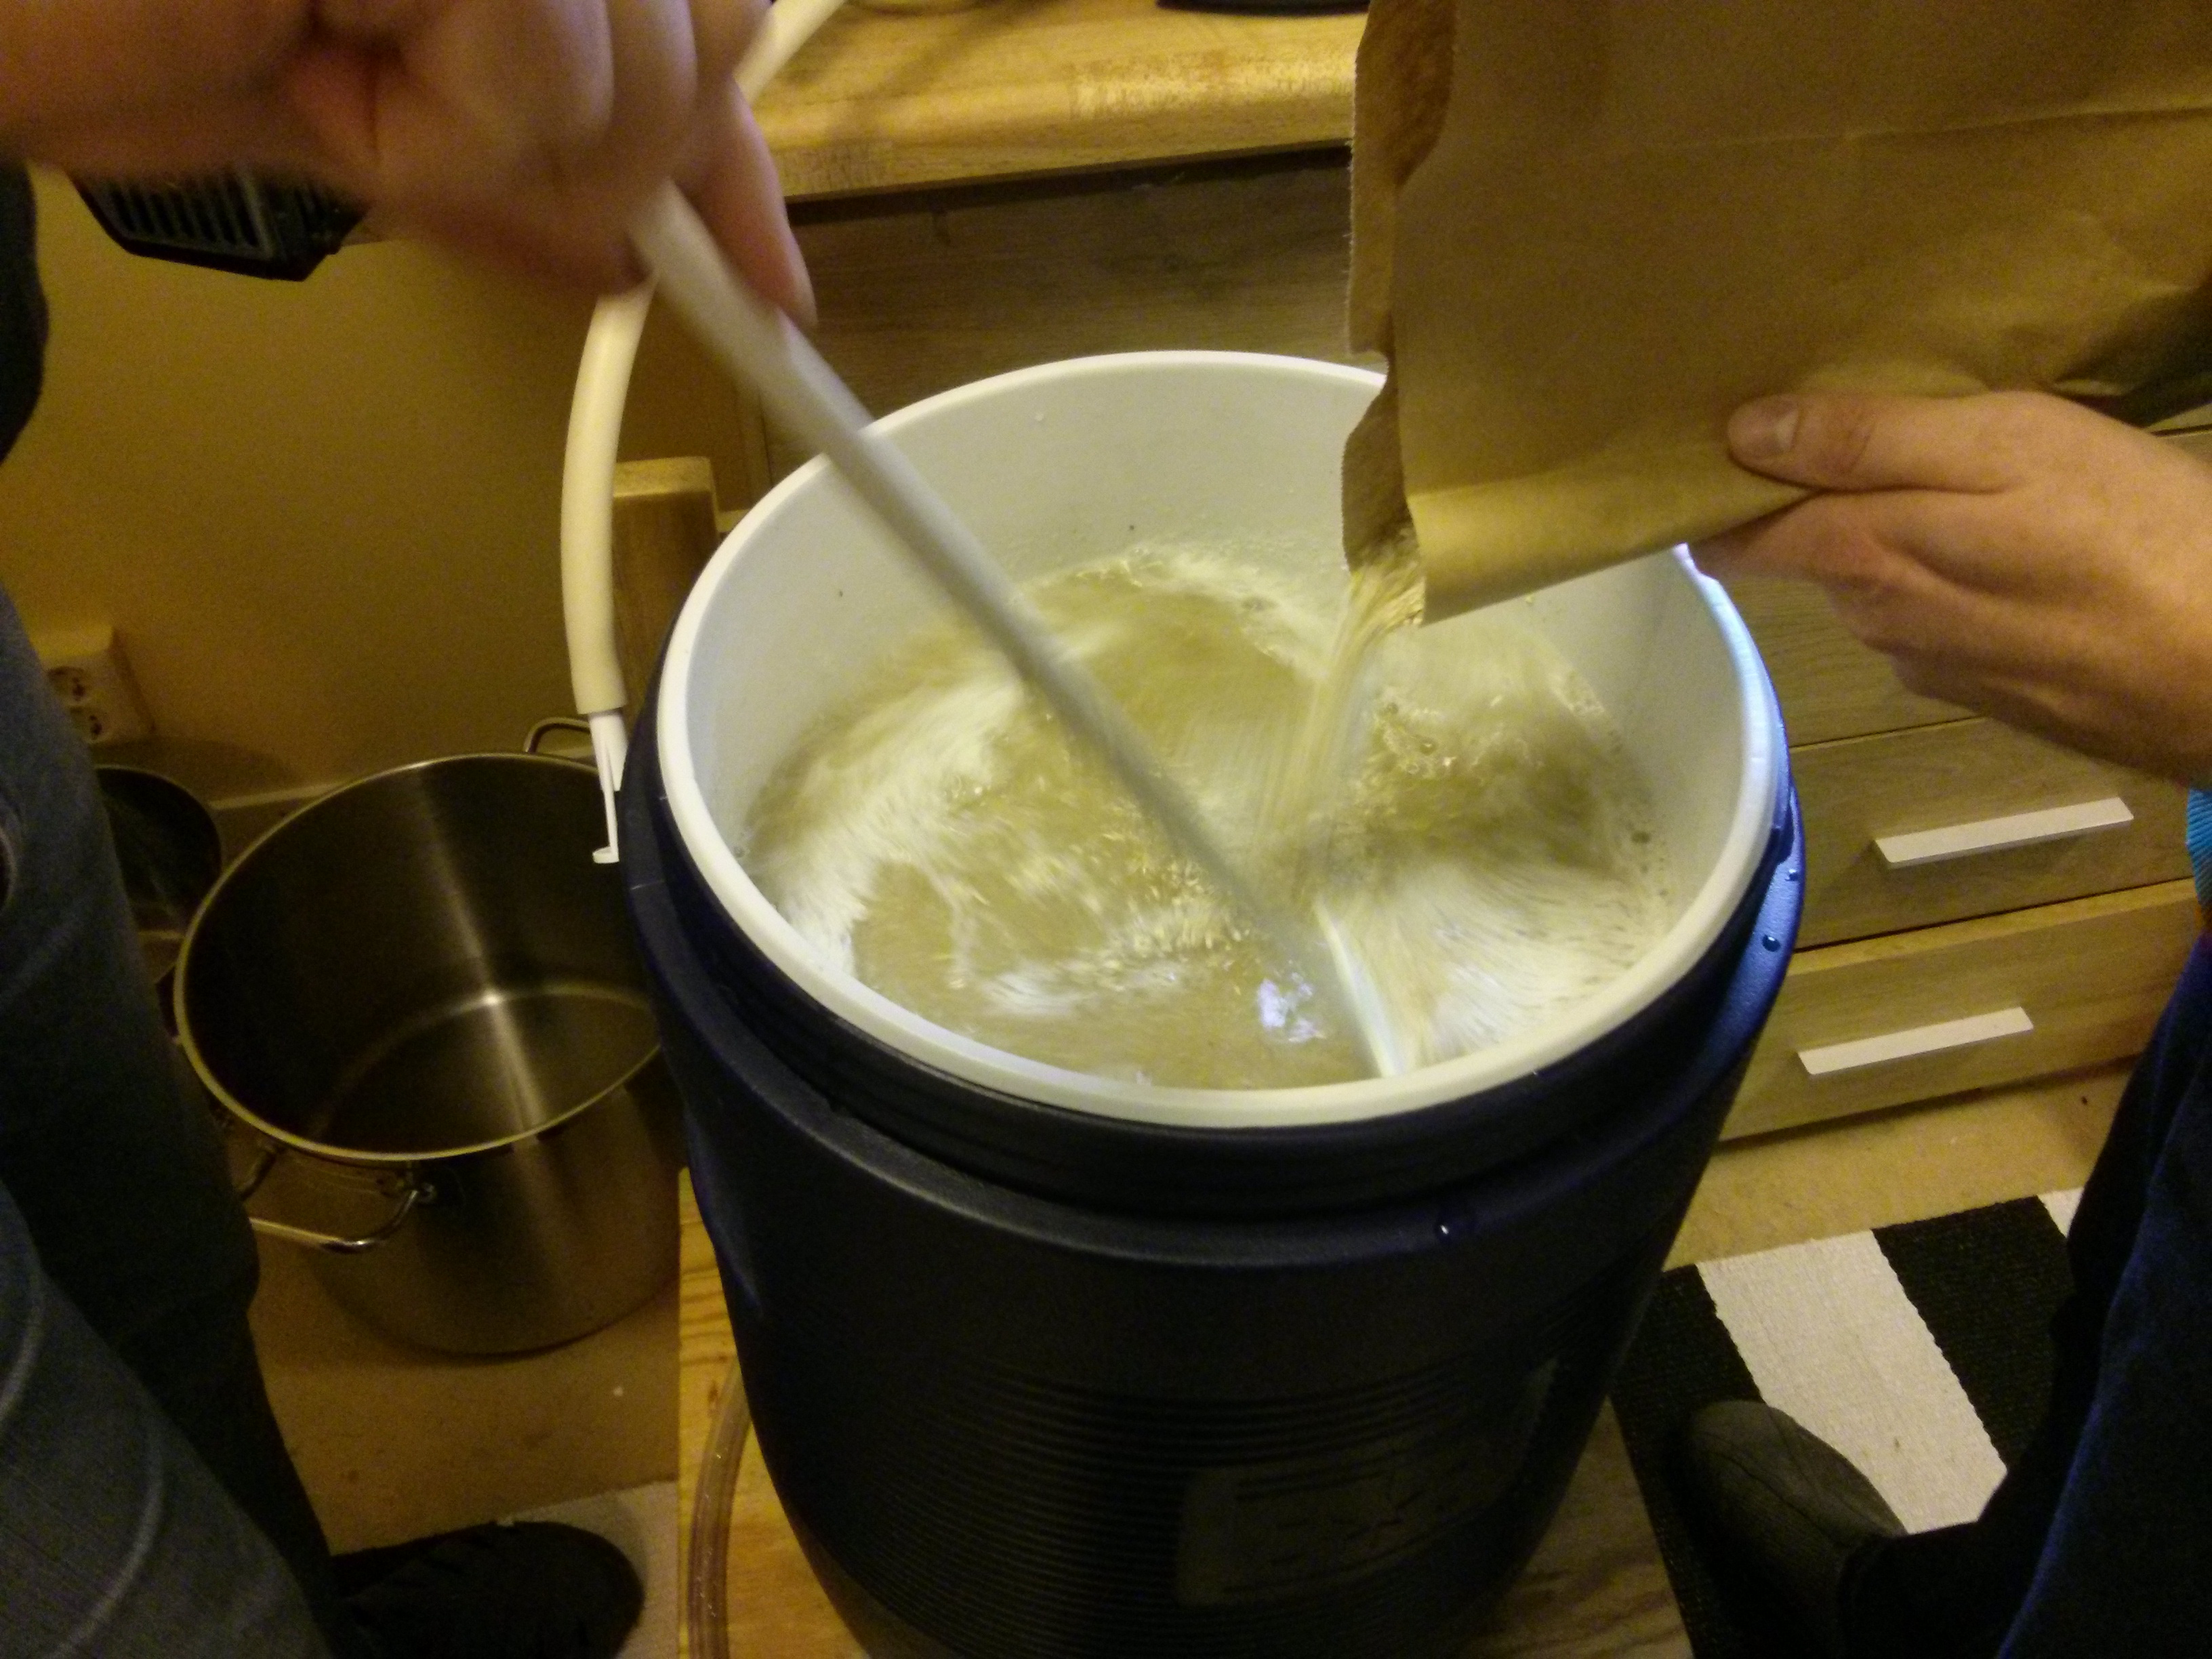
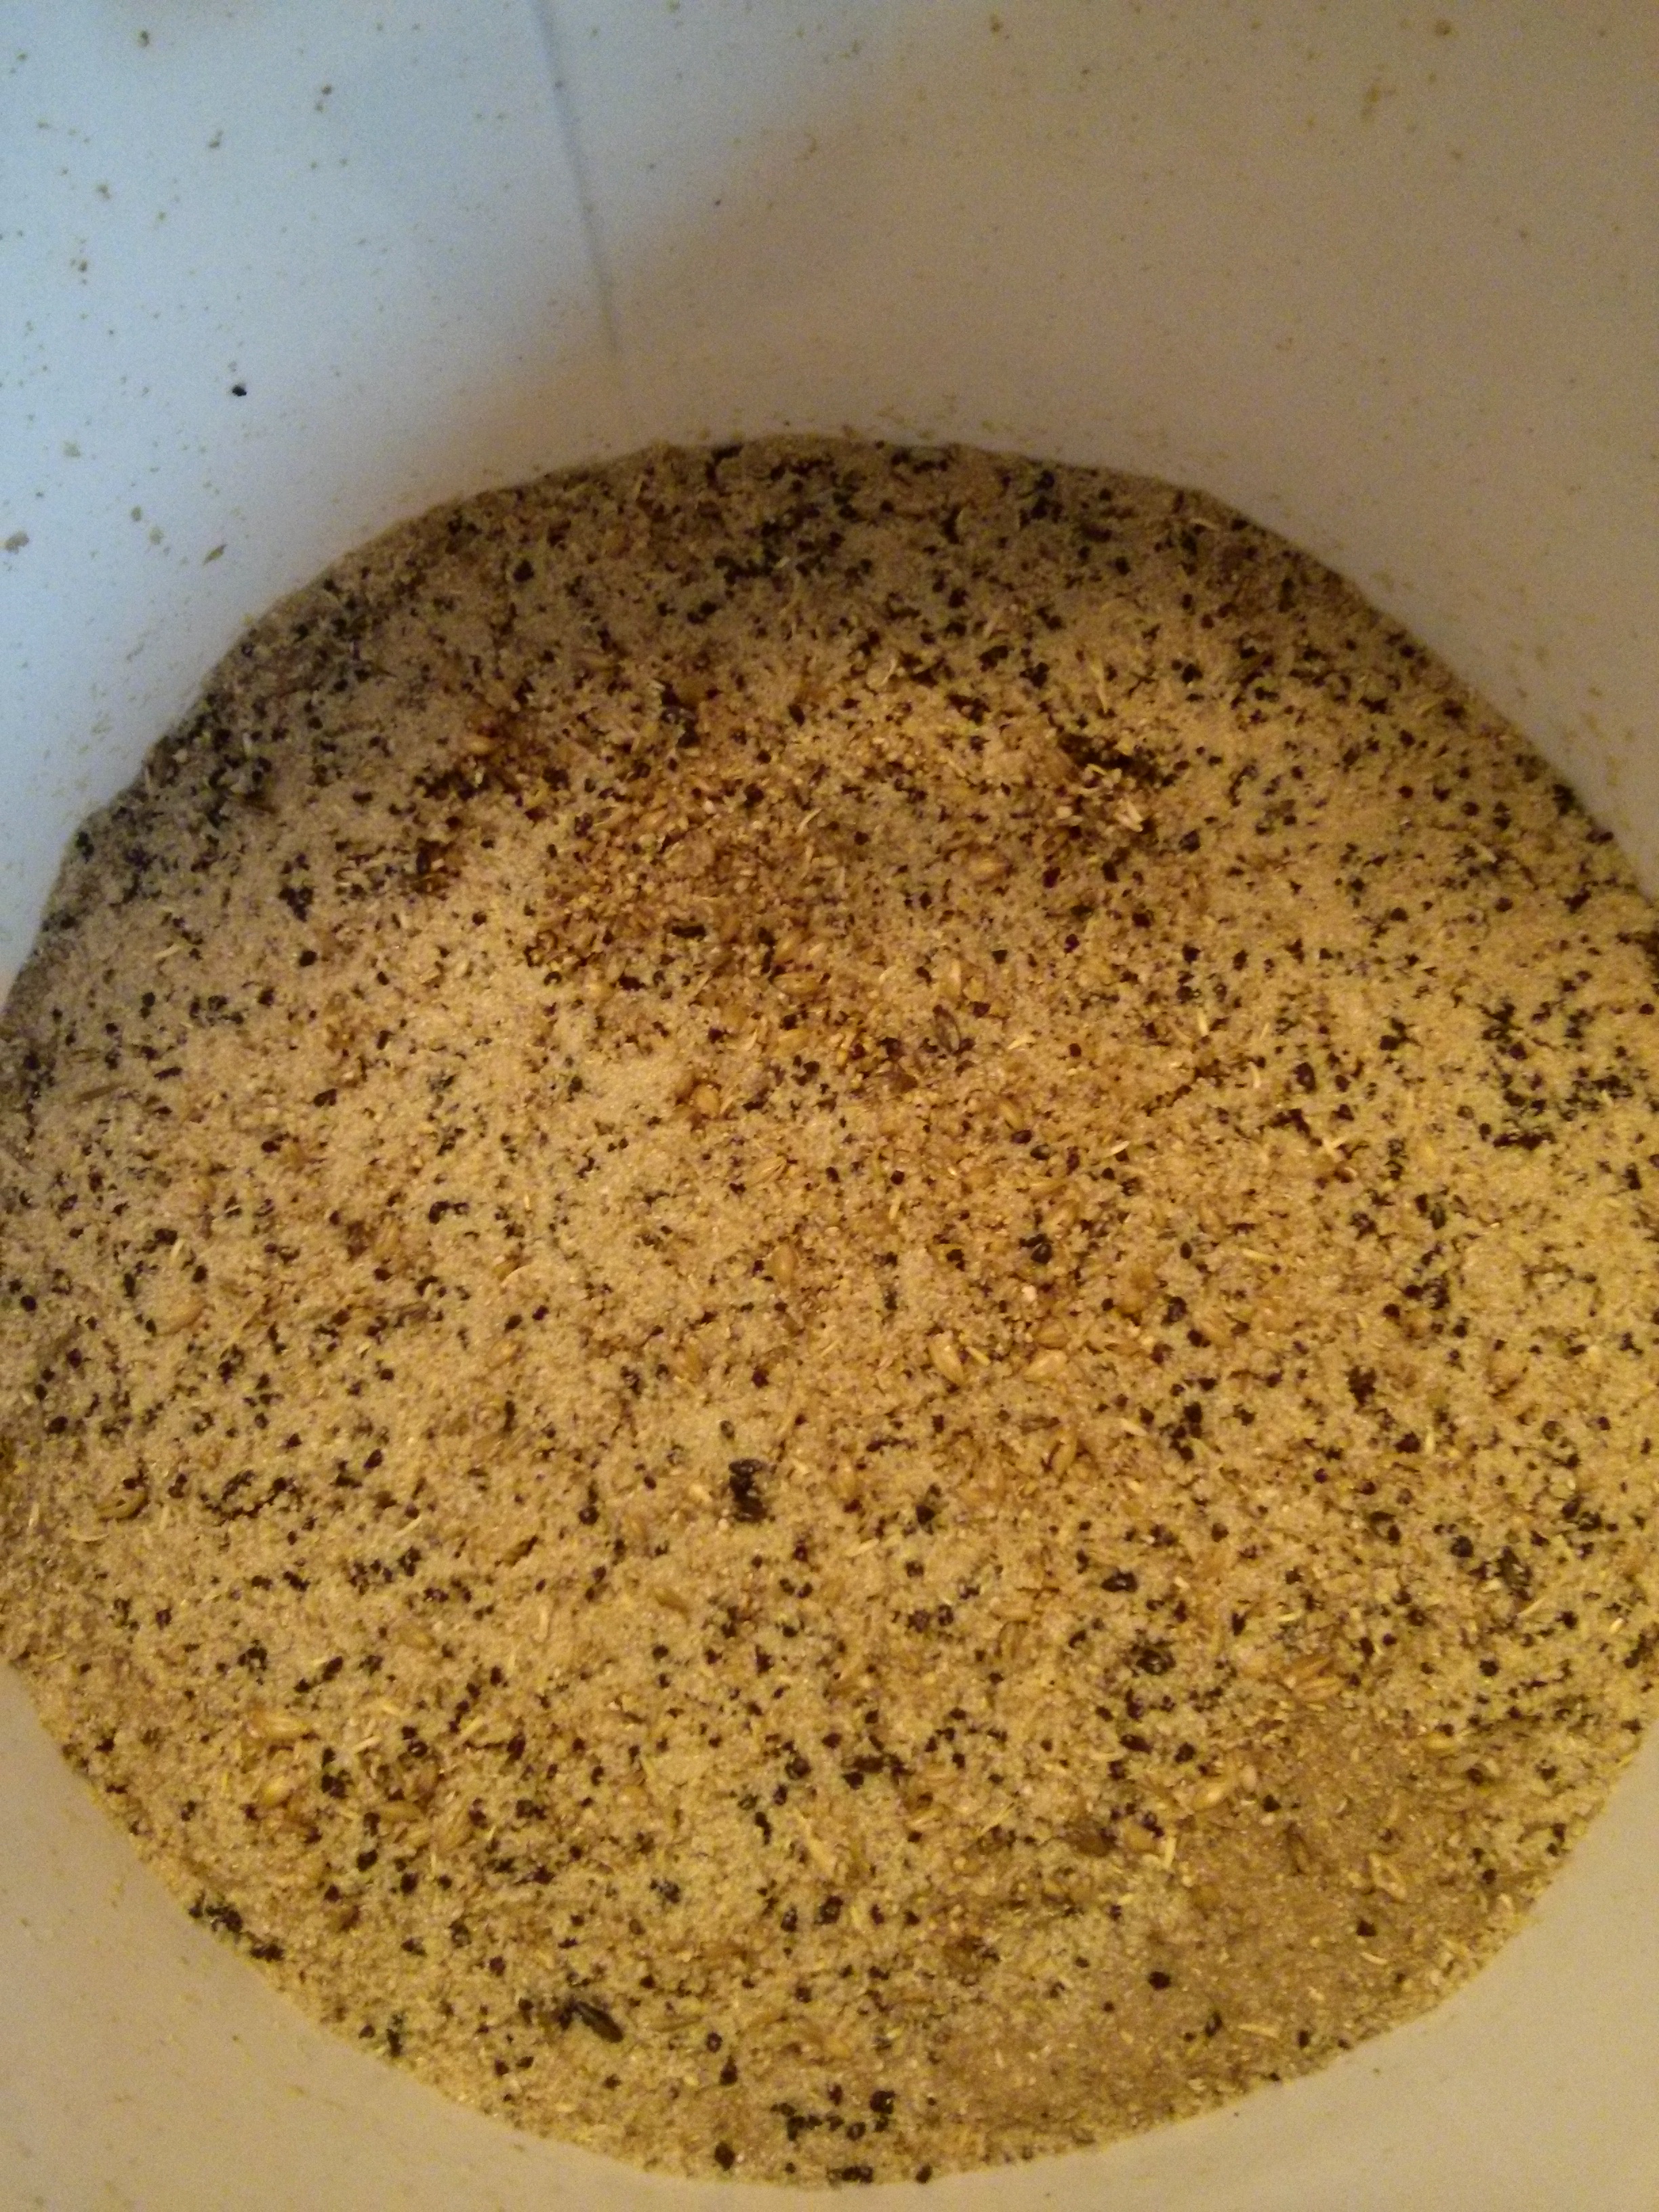
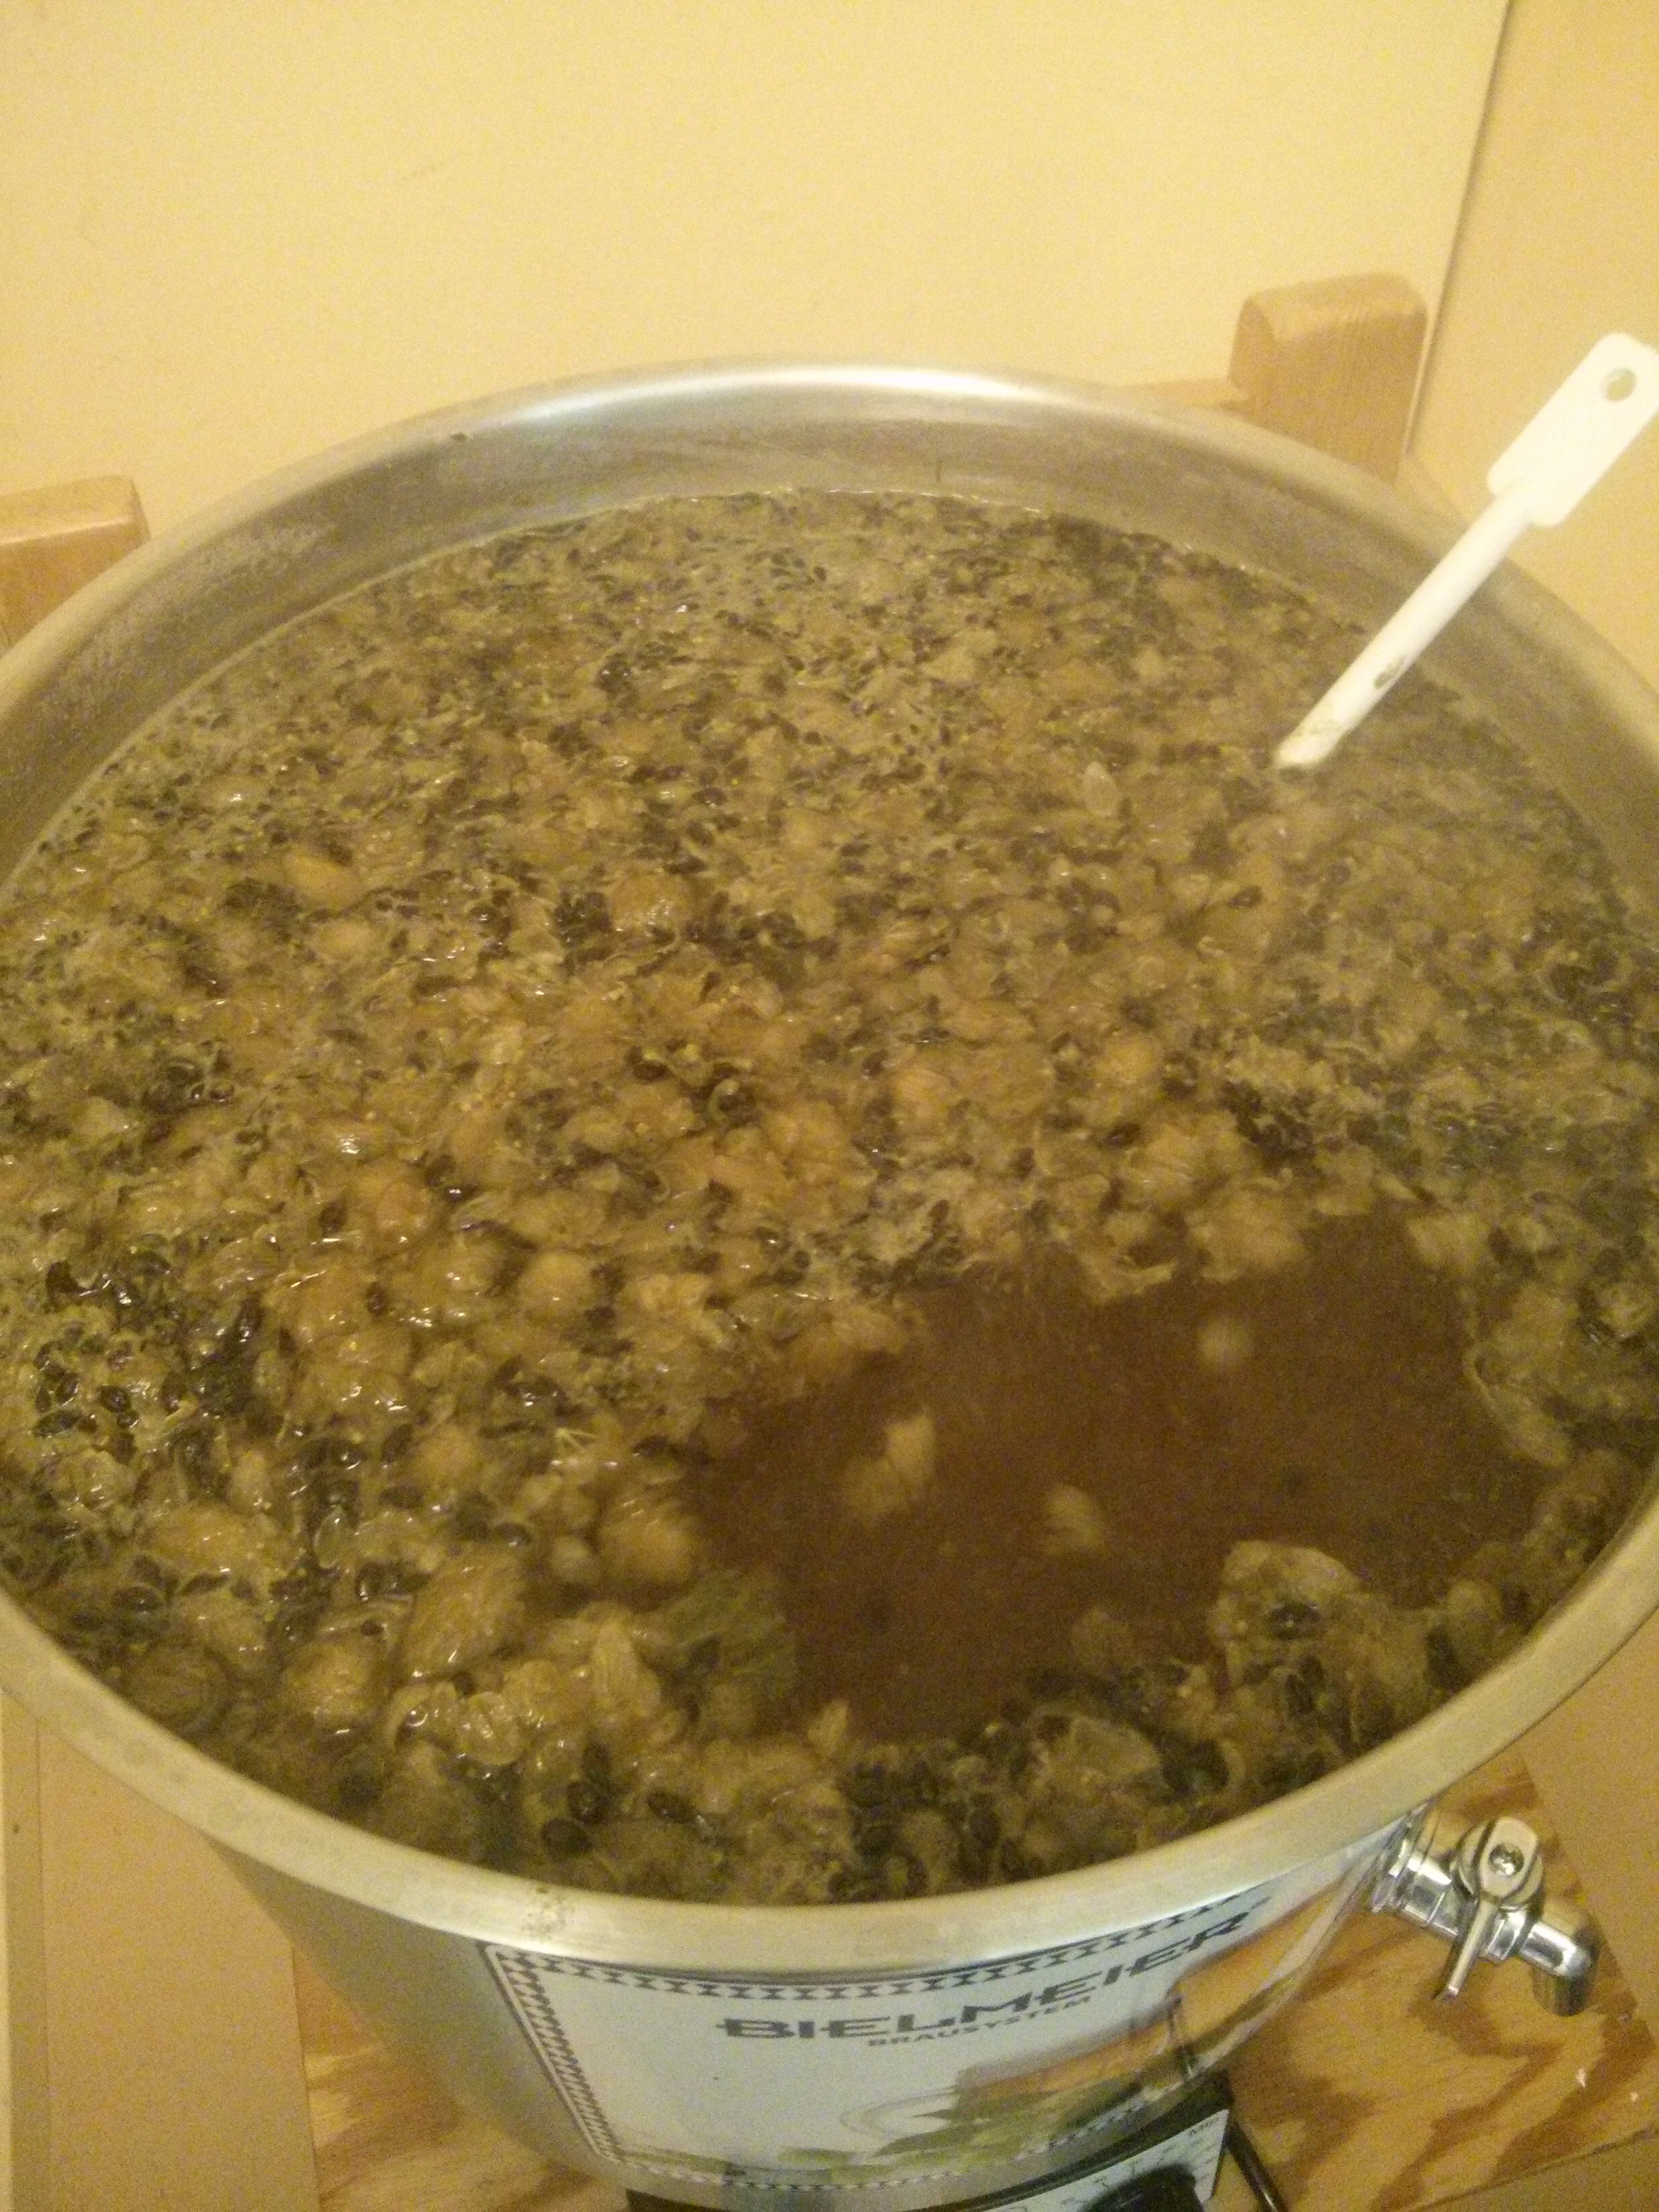
Next we measured all the grains and crushed them with a large automatic mill. Then we took the buckets of grain and dumped them into the mash. Each bucket (there was 2 or 3) weighed in around 110kg.

Bucket of grains

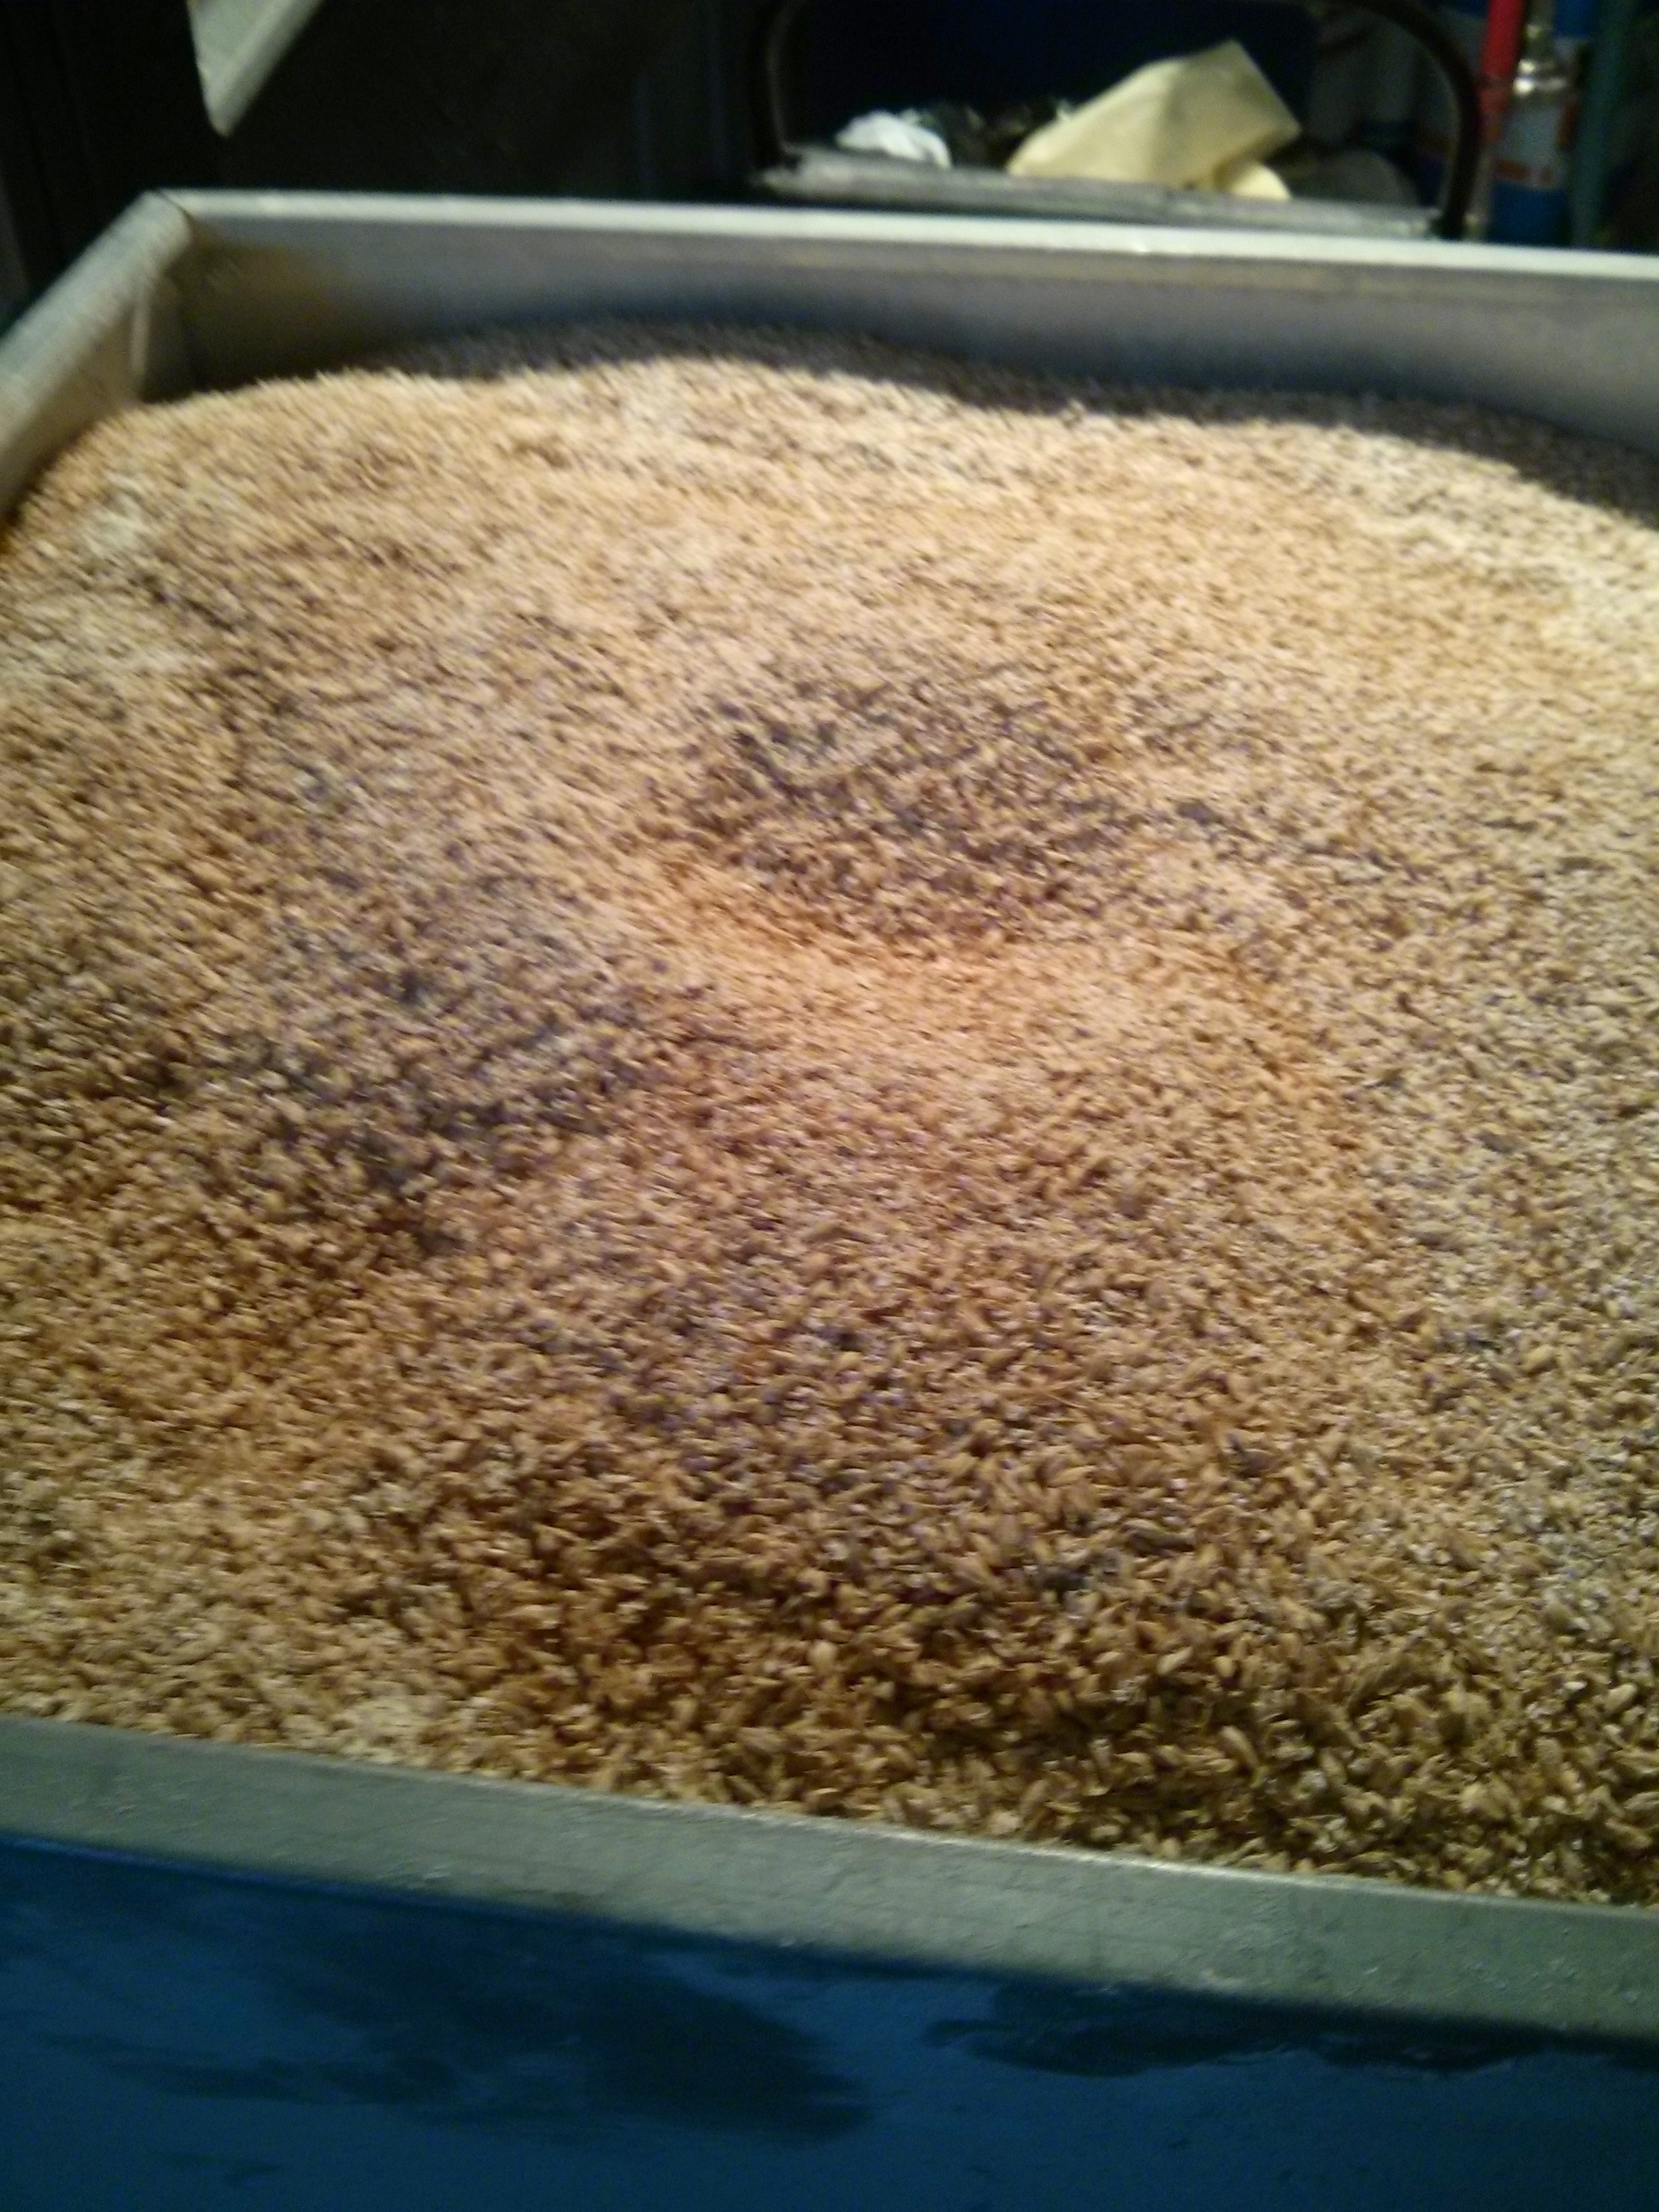
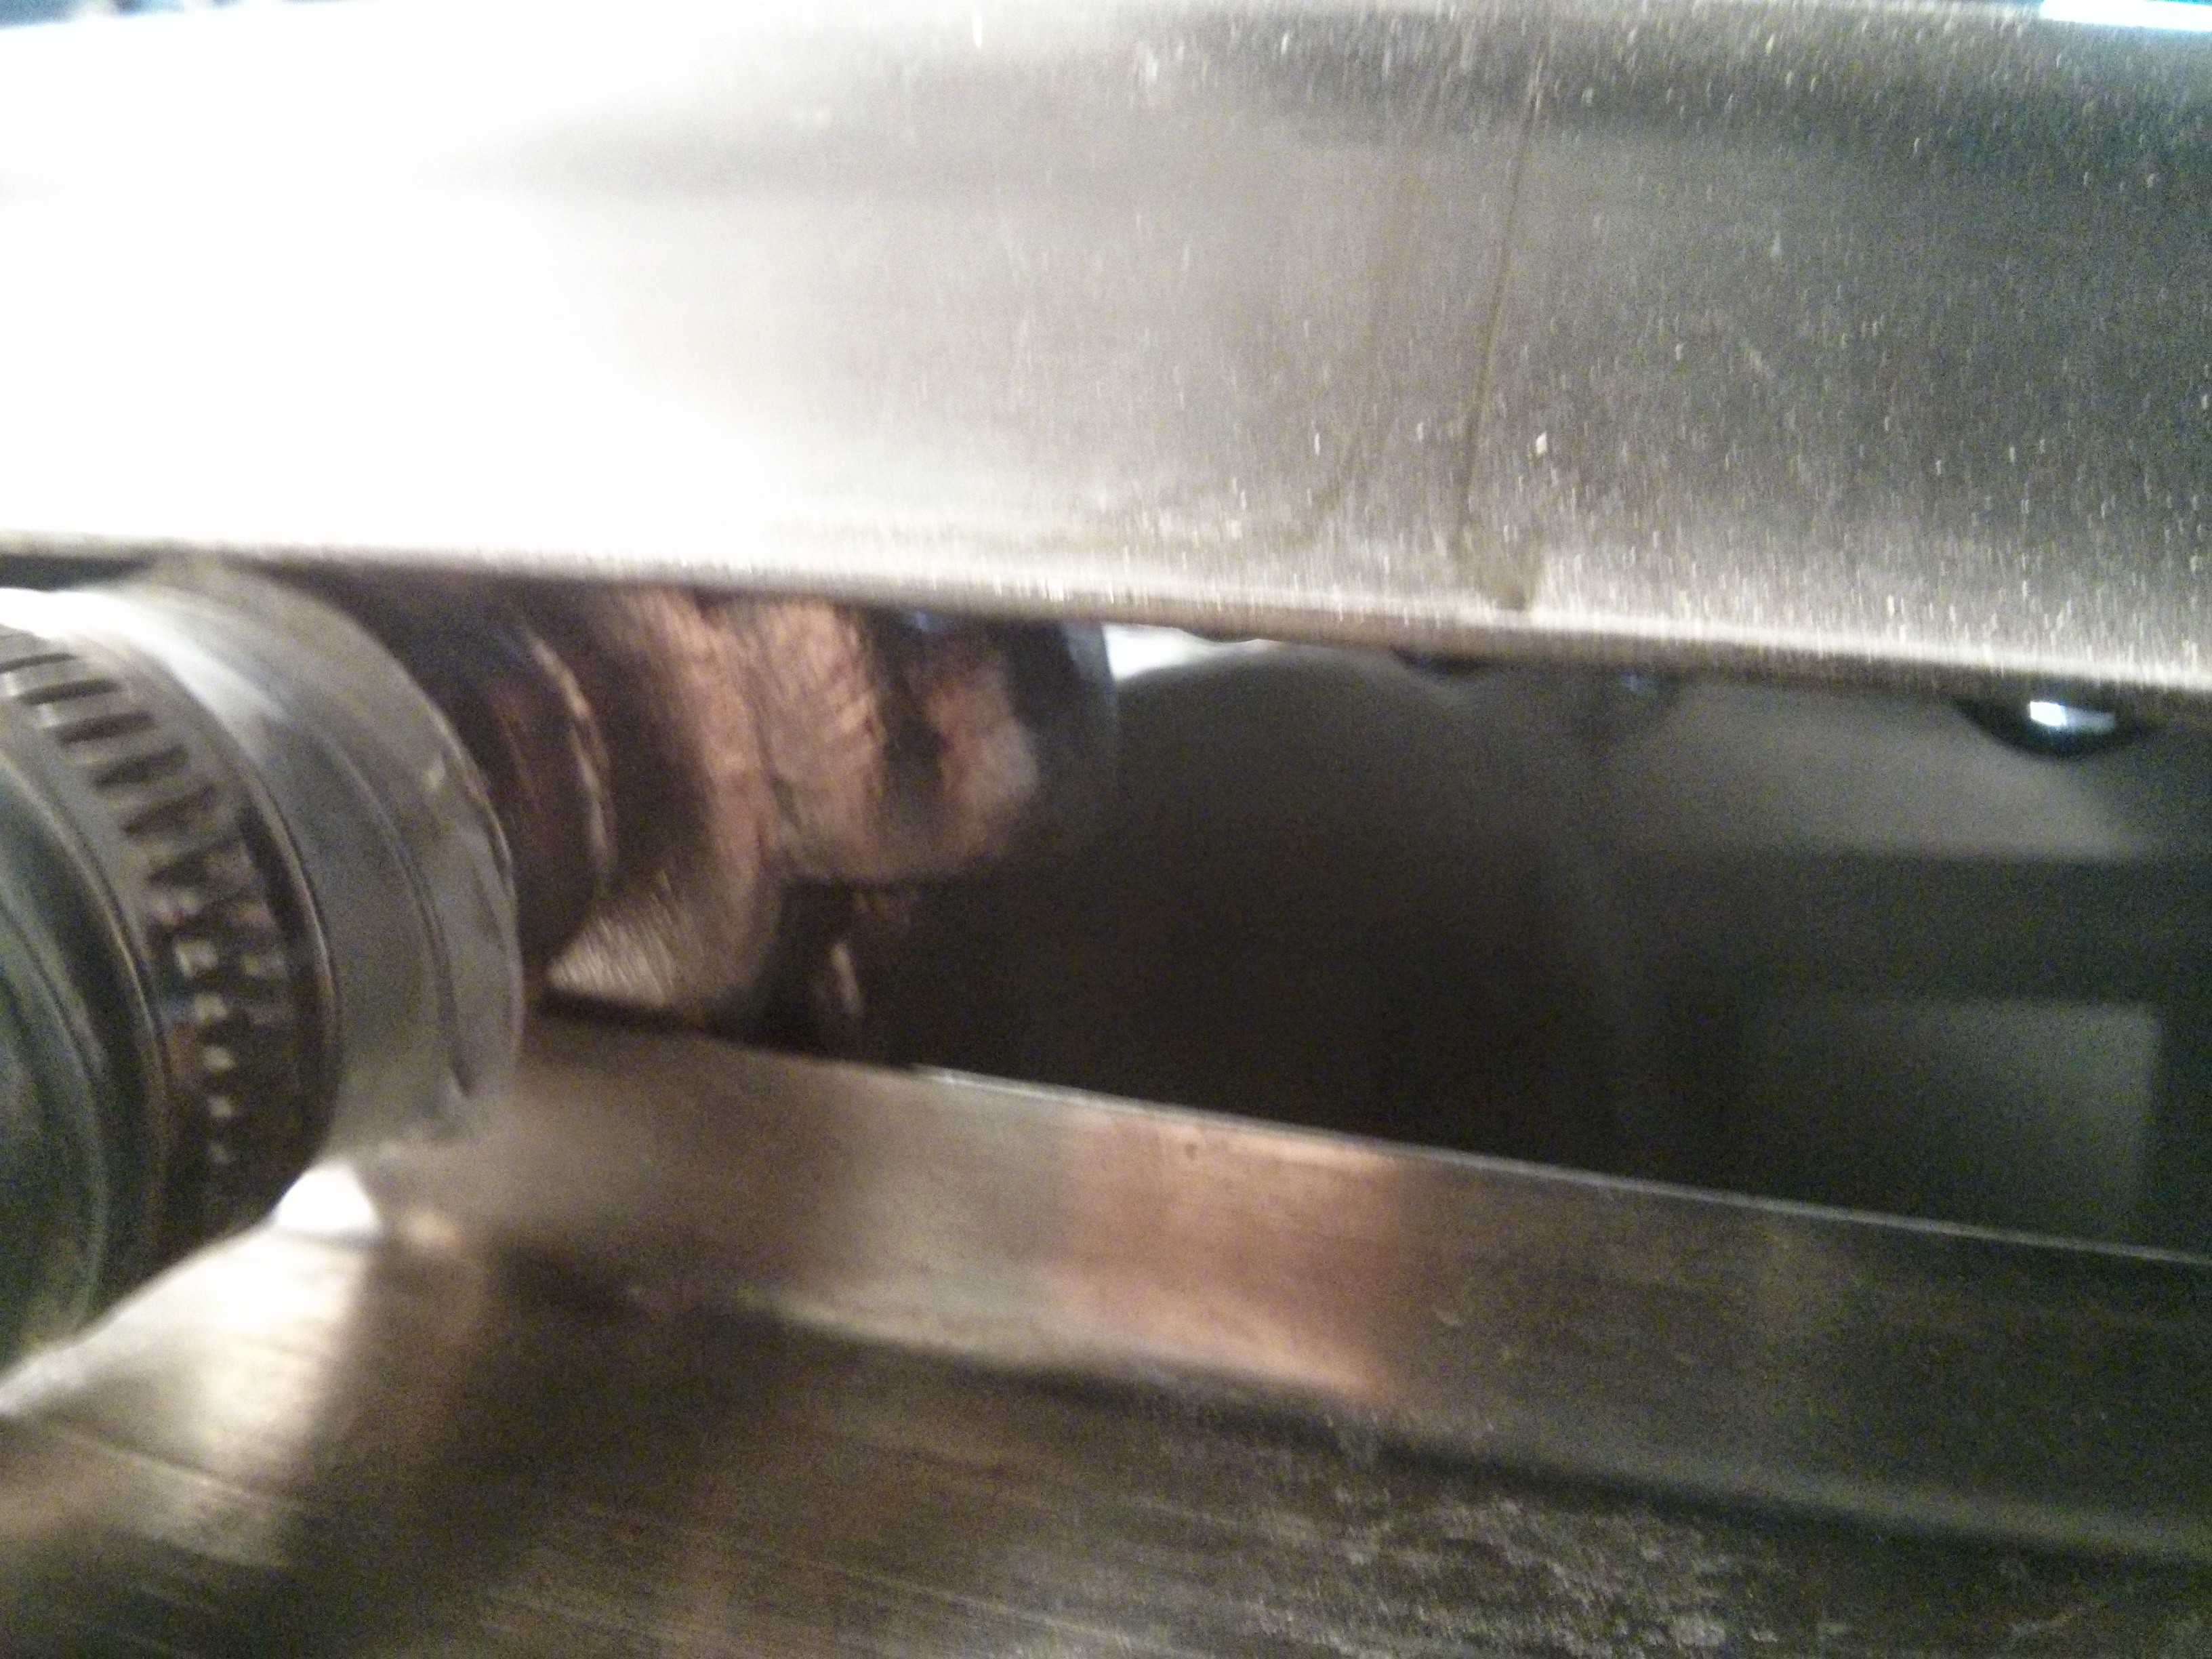
At some point during the process we turned off the water and then the mash spent several hours working. The tun had a giant steel two pronged fork that turned keeping the grains moving and ensuring that the heat was evenly spread out.

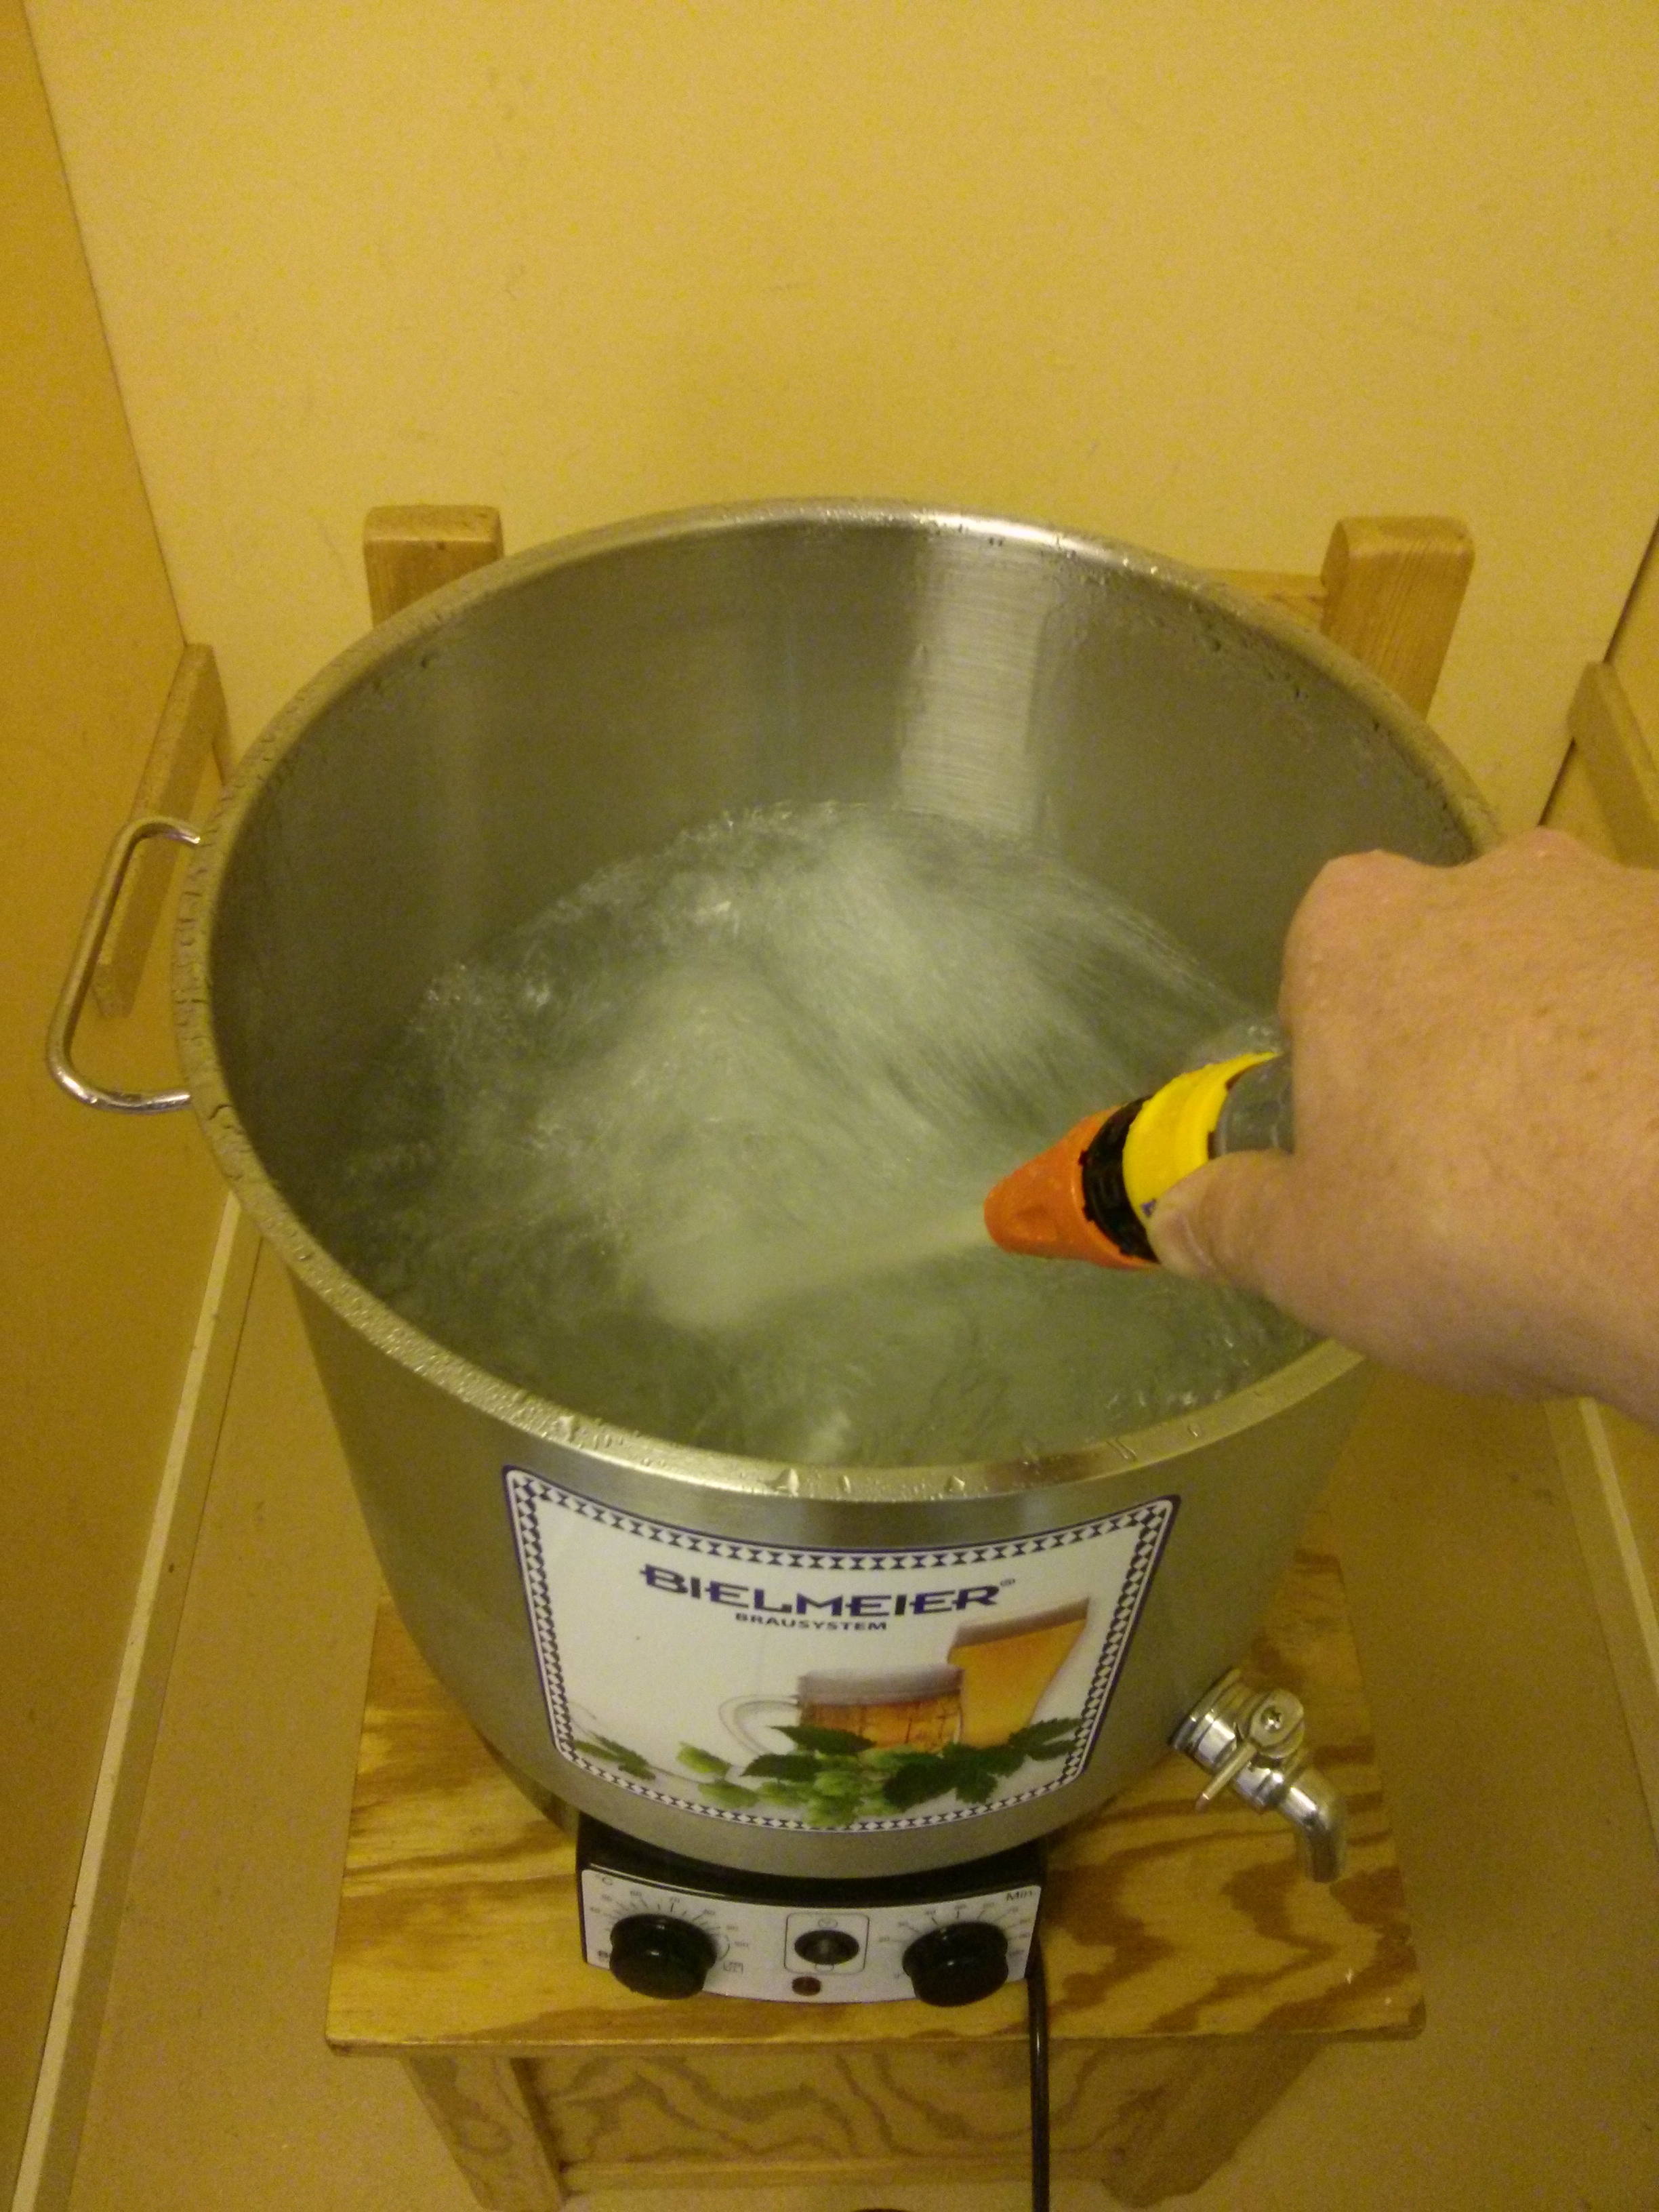
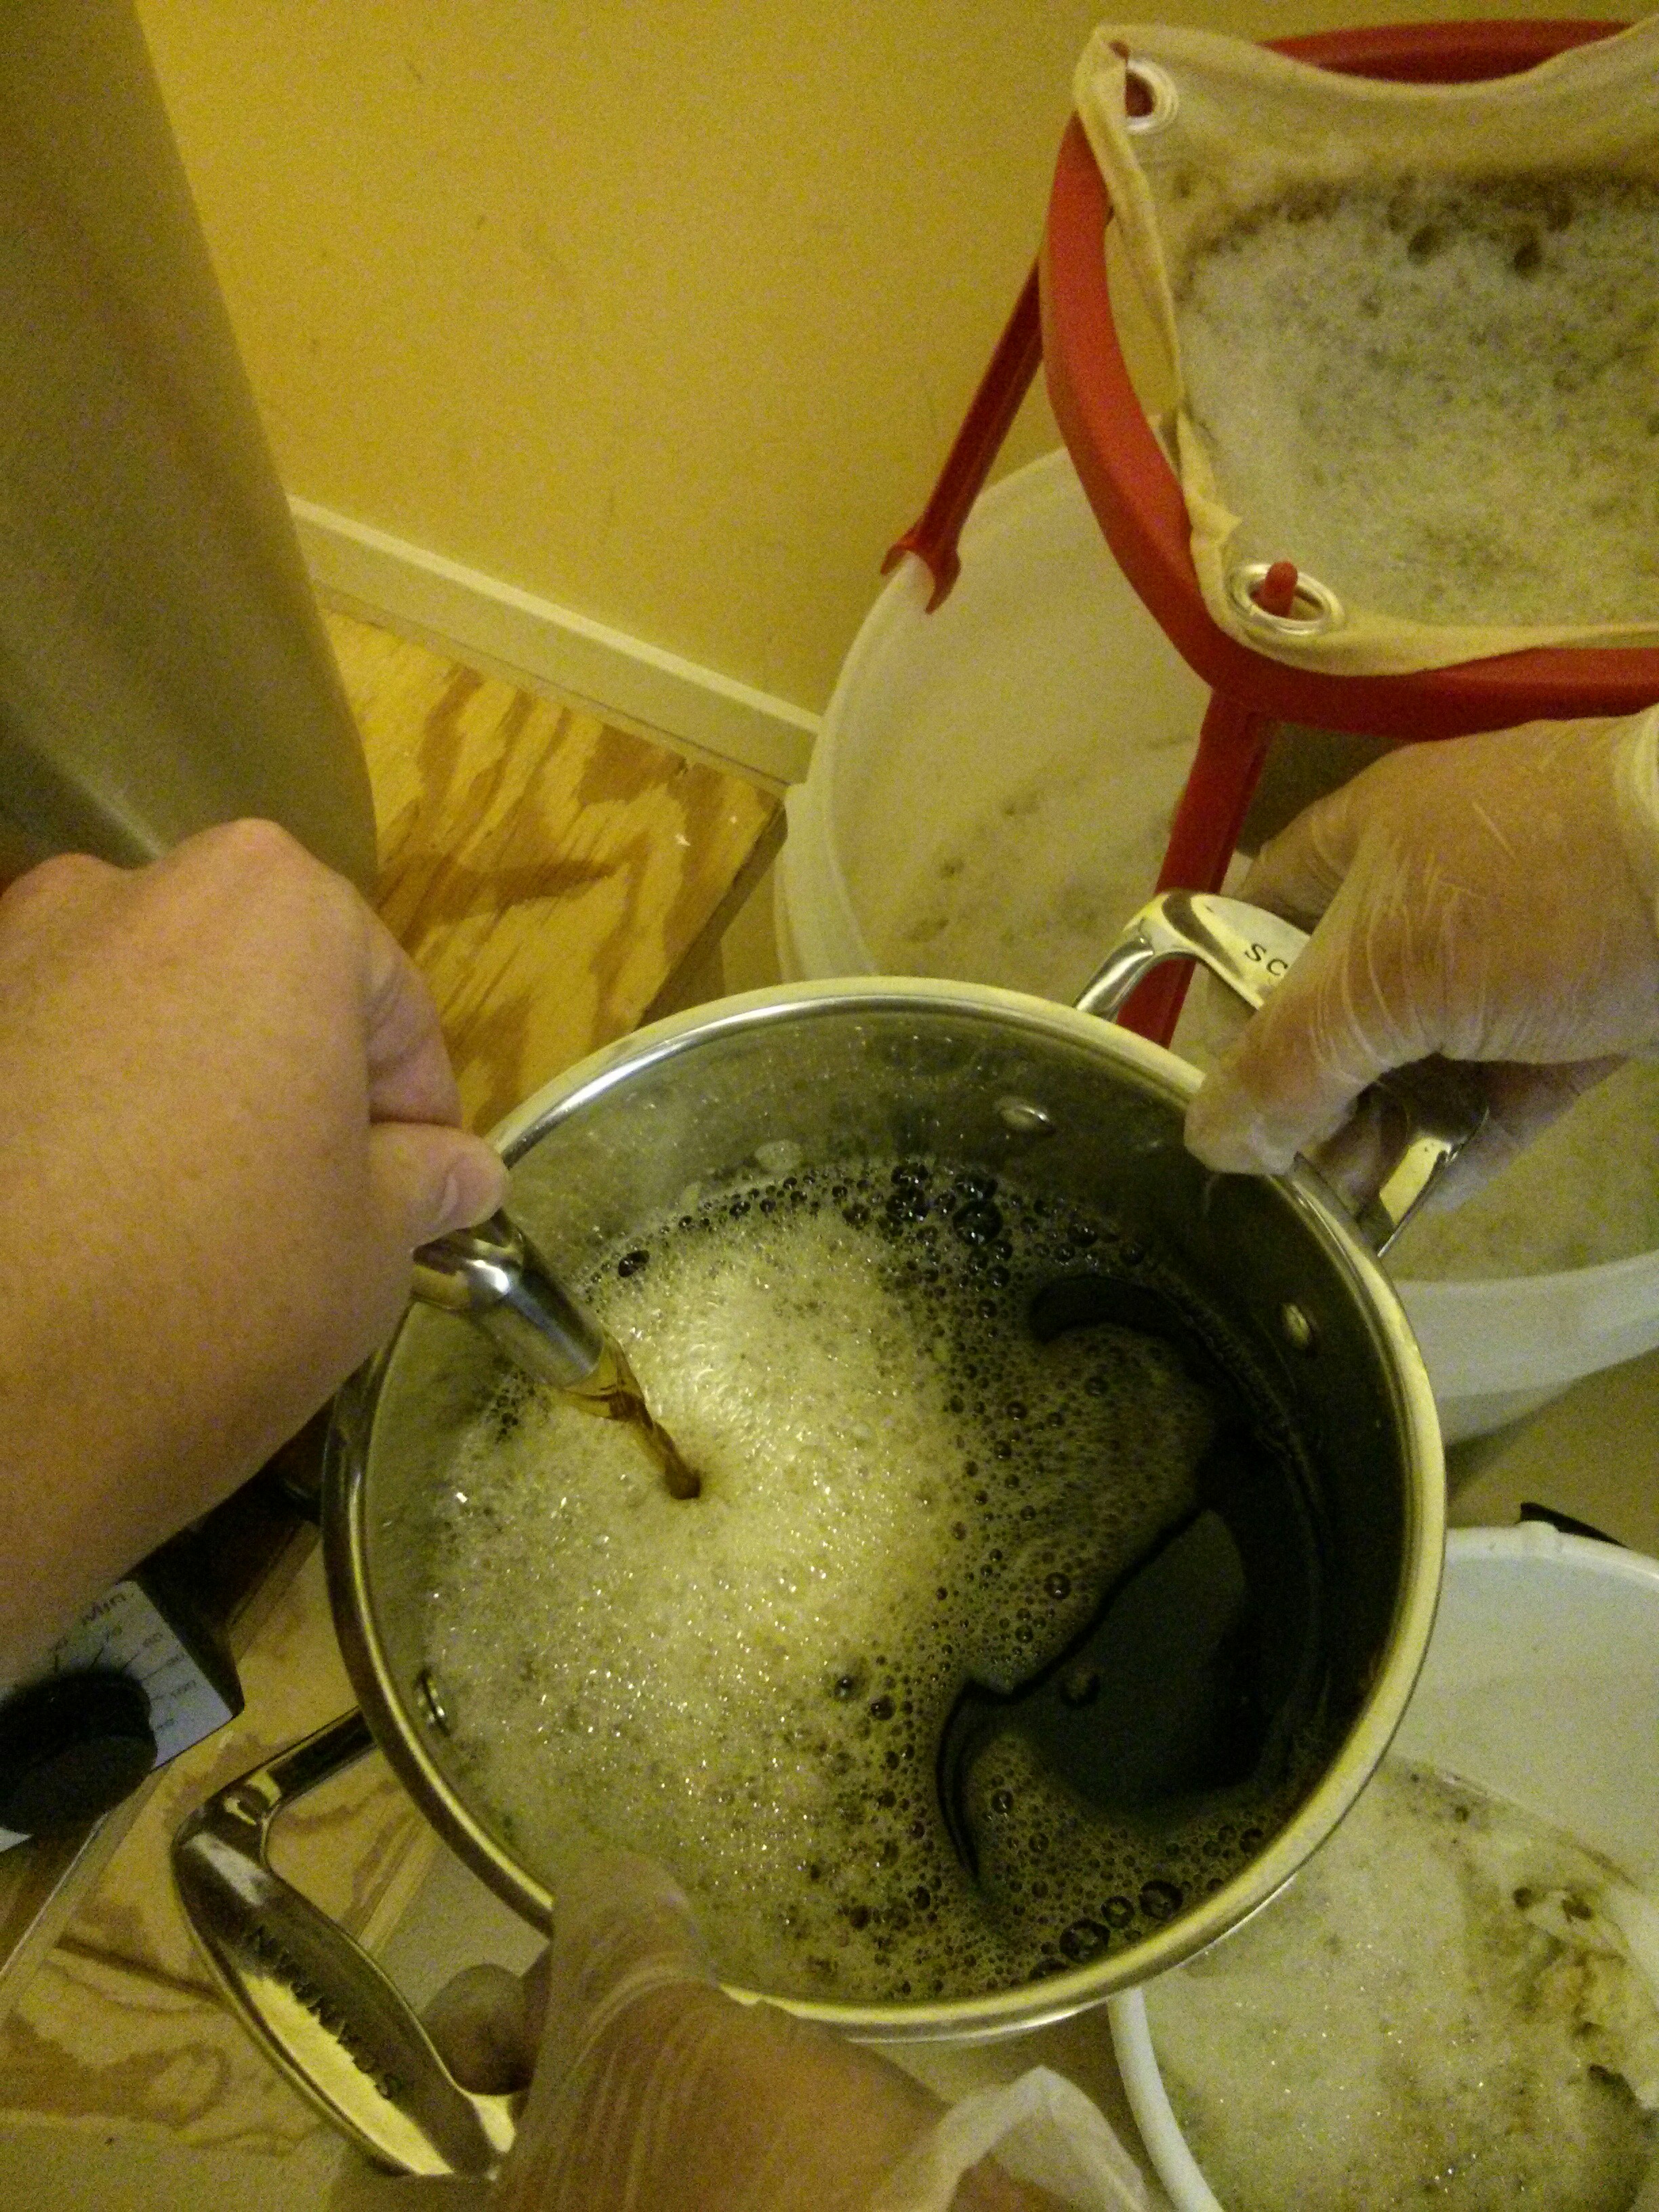
While we waited for the mash to do its work we cleaned the bottling system because they had a batch of Spin Back in the carbonation tank that was ready to be bottled. Then we tried to bottle 8 bottles in advance without the machine (they needed a few done in advance) but just trying to use a hose resulted in them foaming badly and we ended up with 4 partial bottles of beer.

Bottling some Spin Back

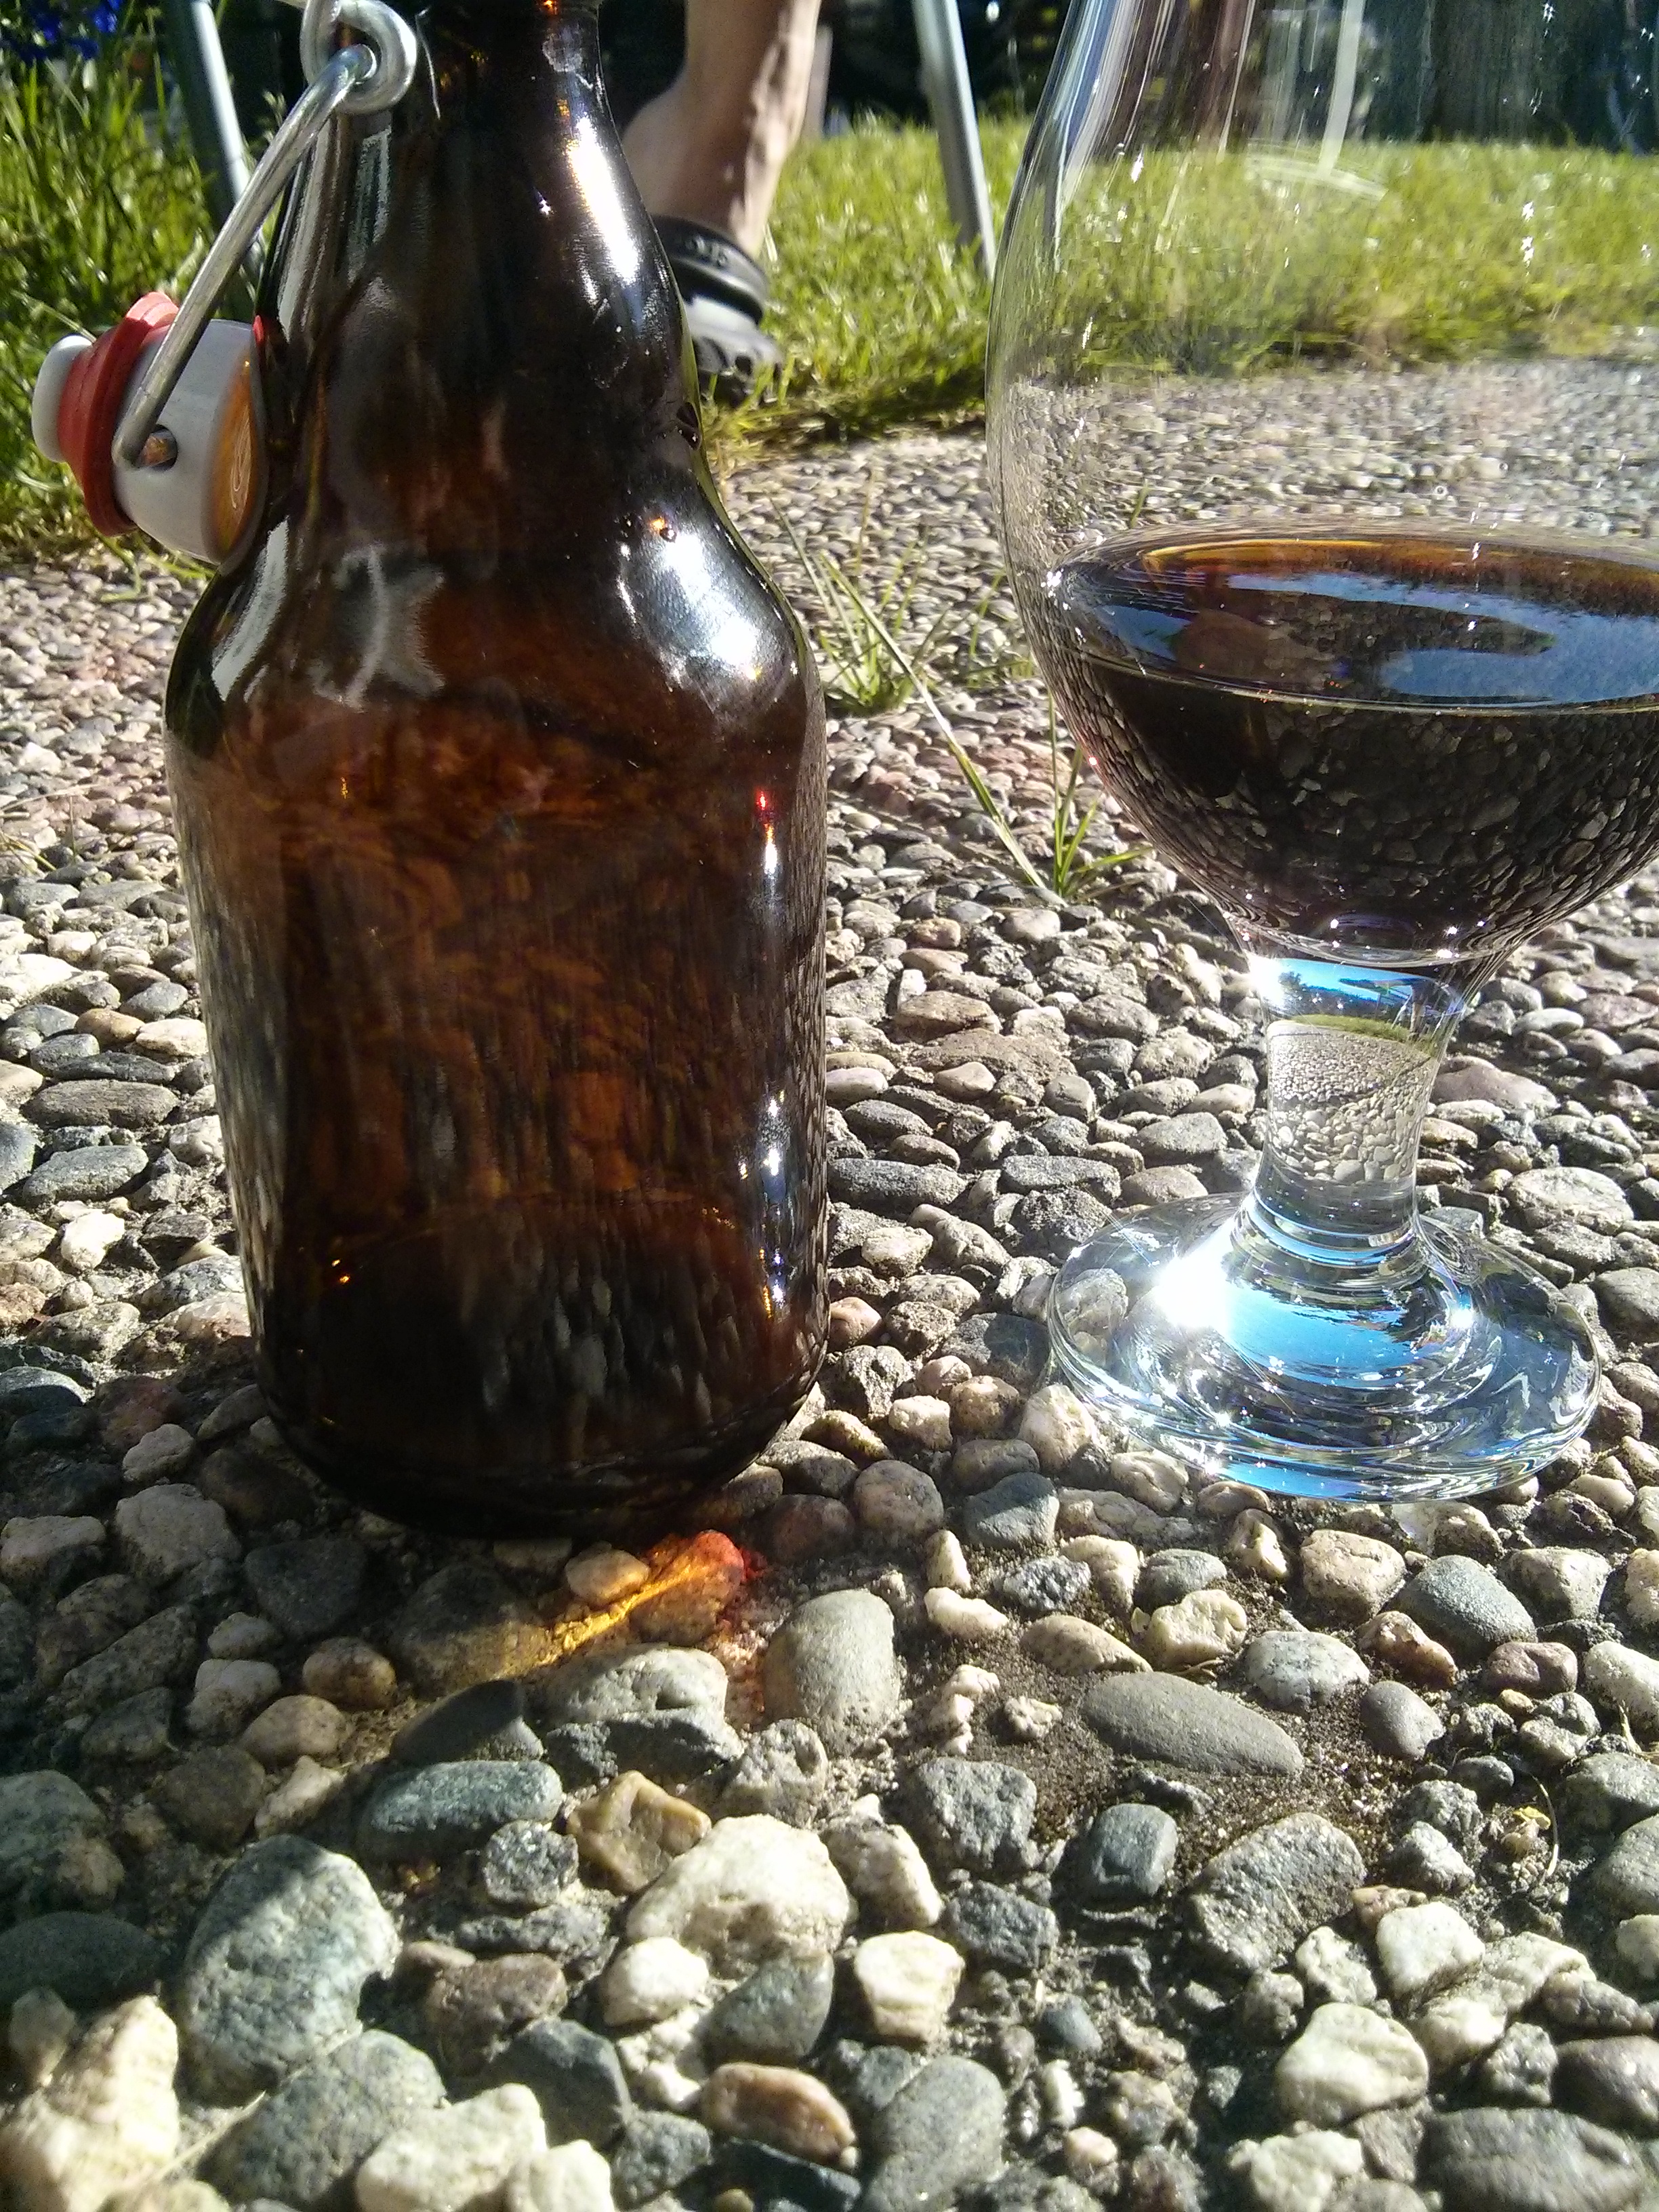
I ended up being able to take three of those bottles with me (Darren poured the fourth for tasting purposes) at the end of the day, and that beer was absolutely fantastic. If you’re ever at a bar that serves it, I highly recommend.

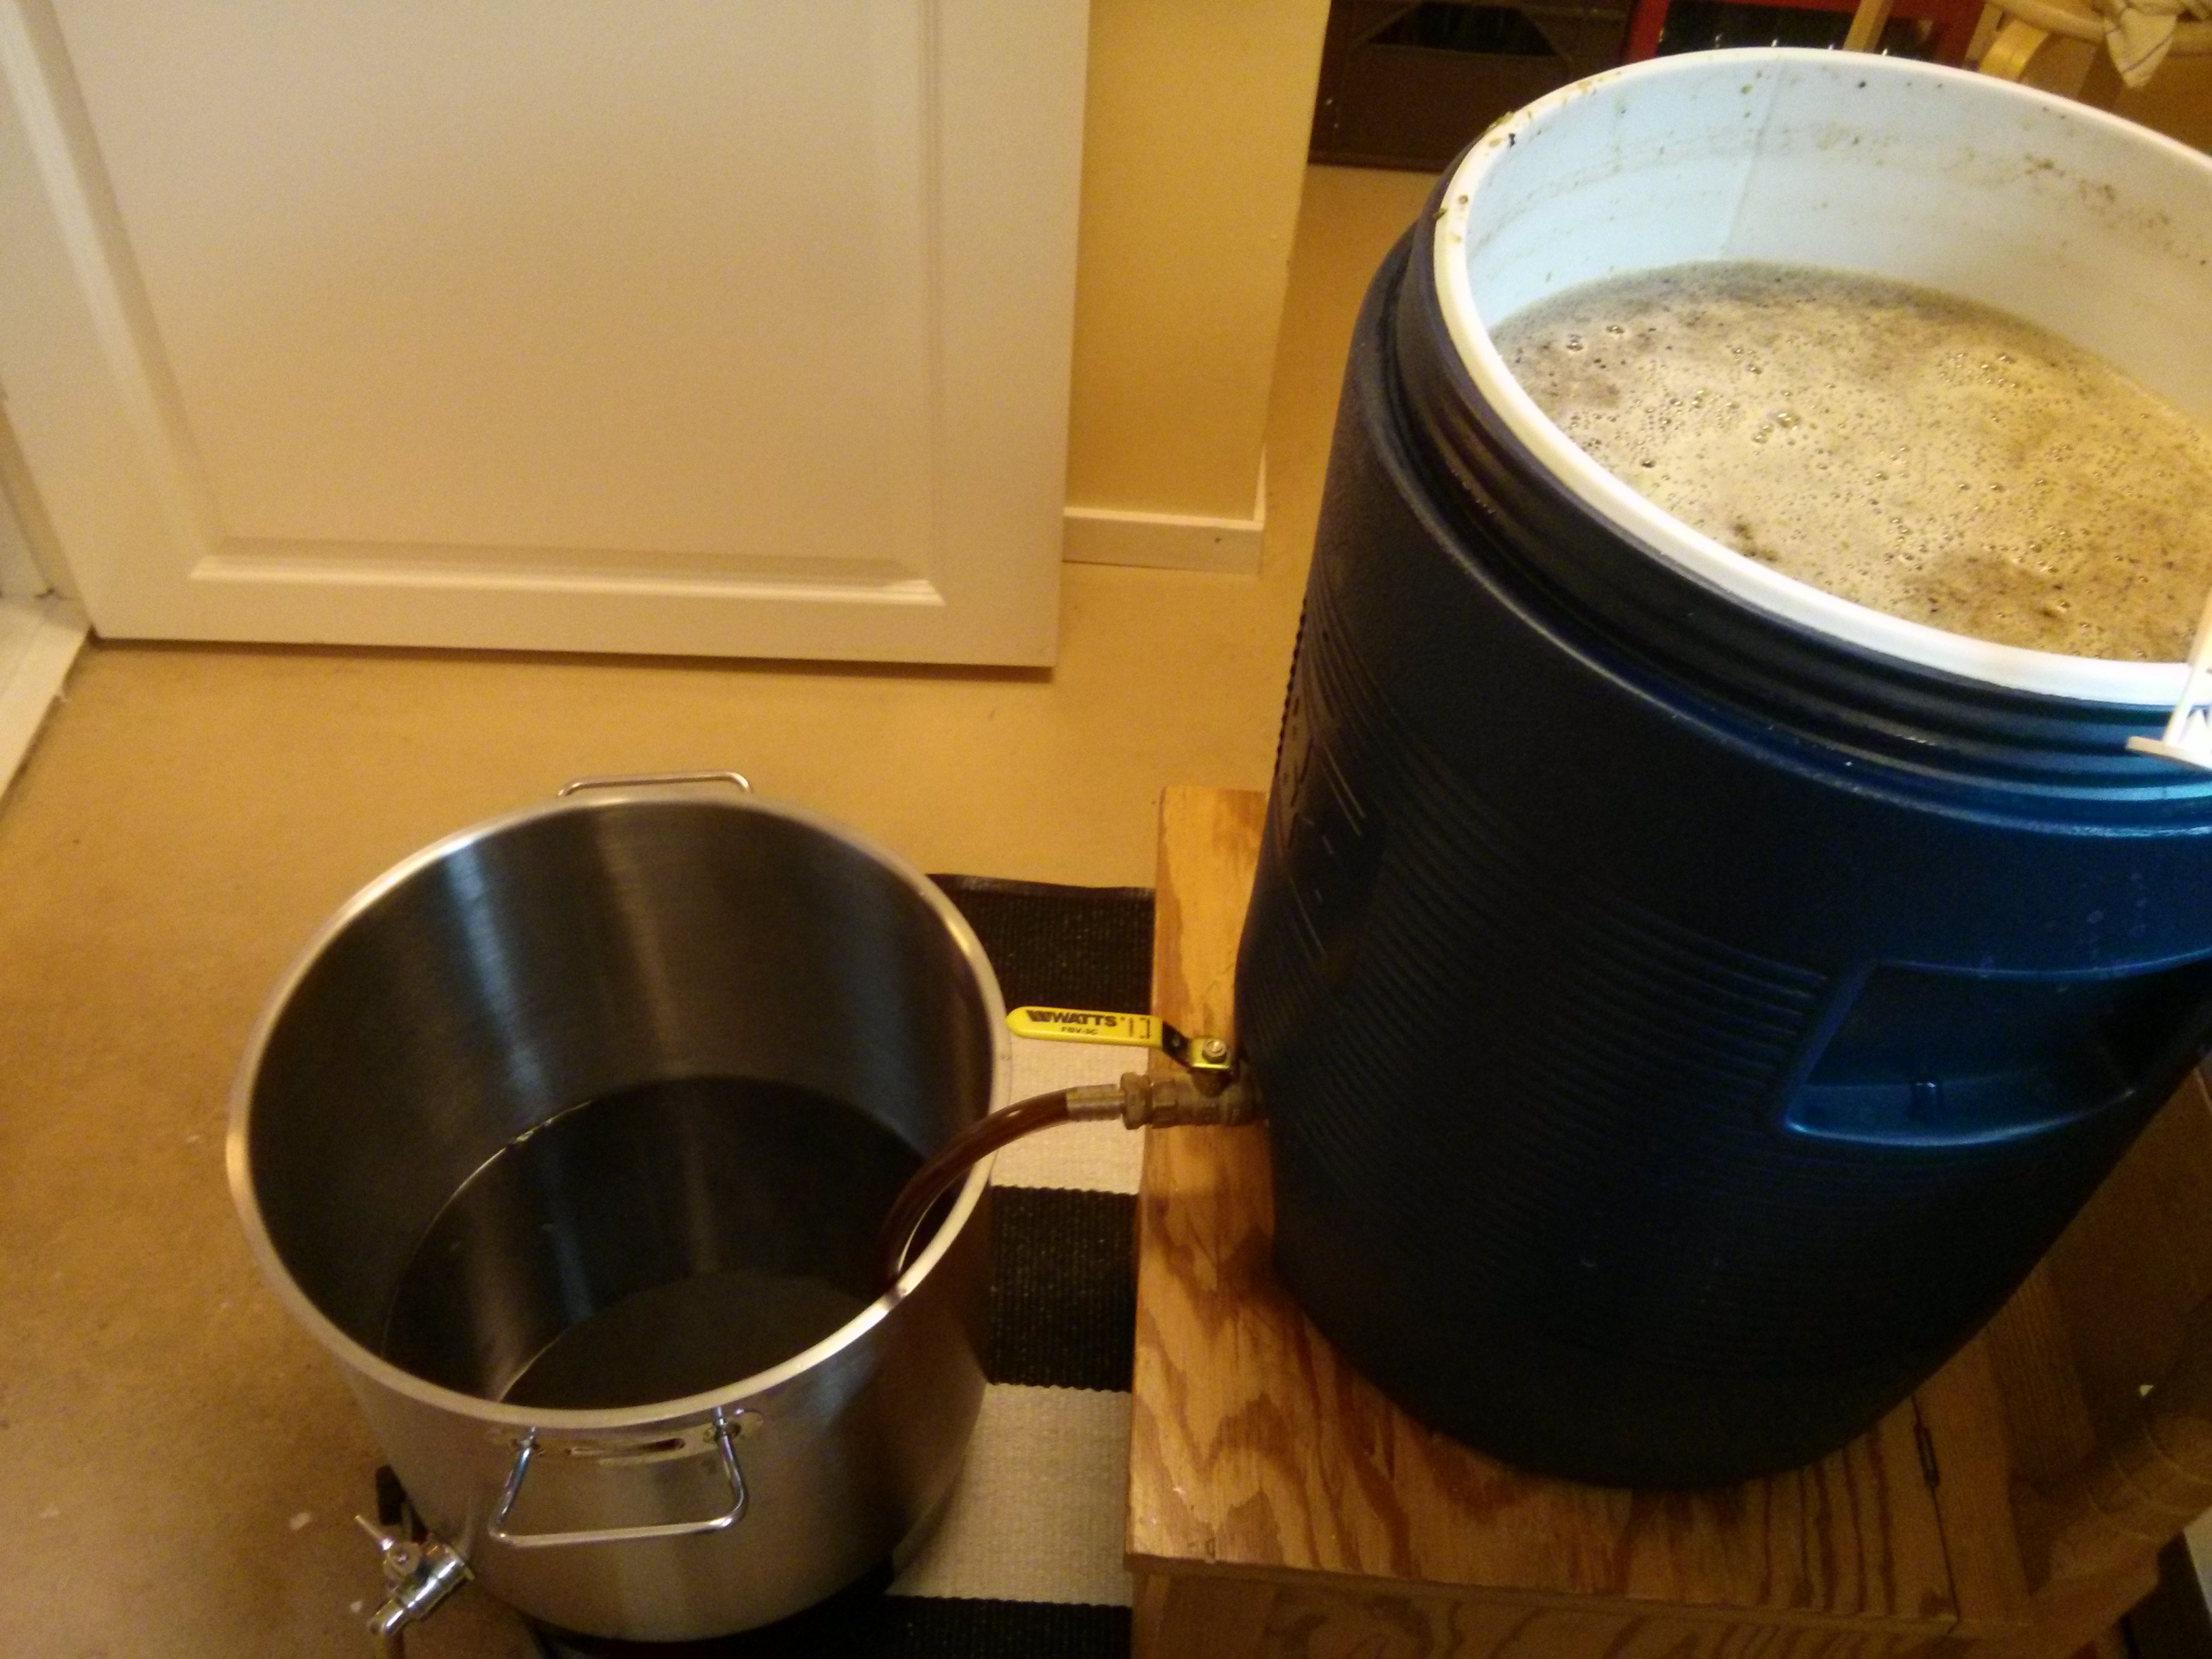
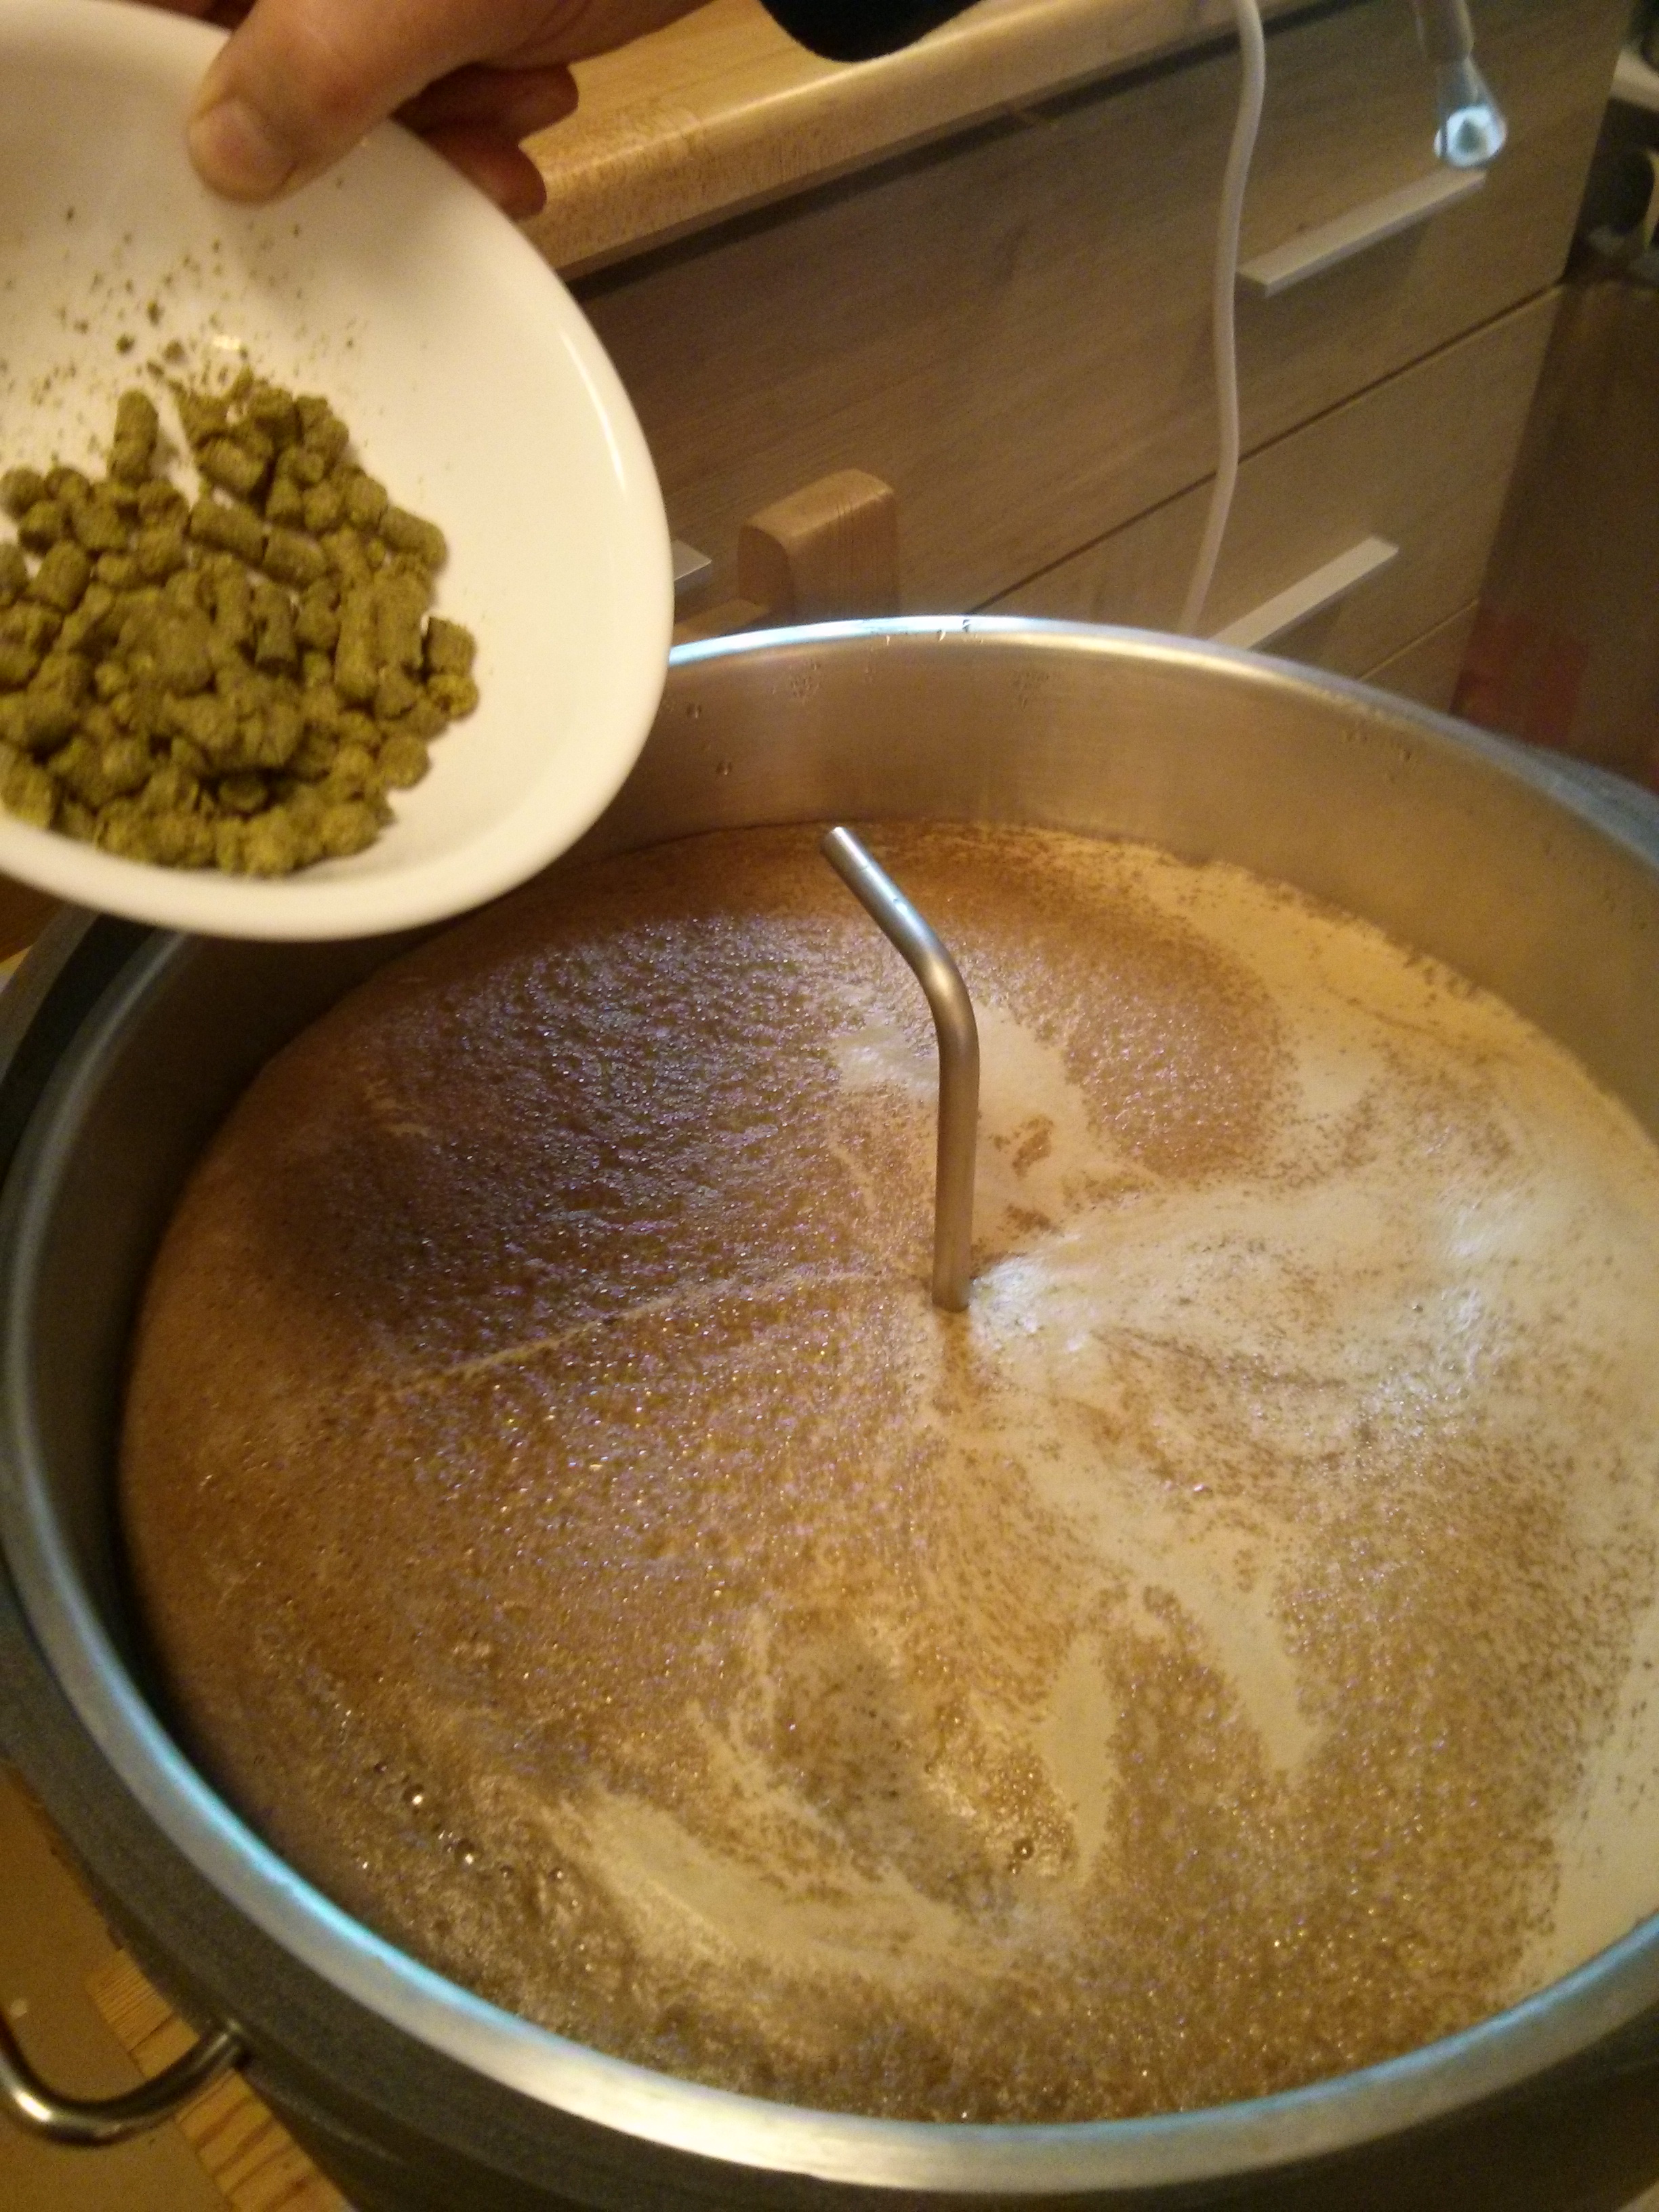
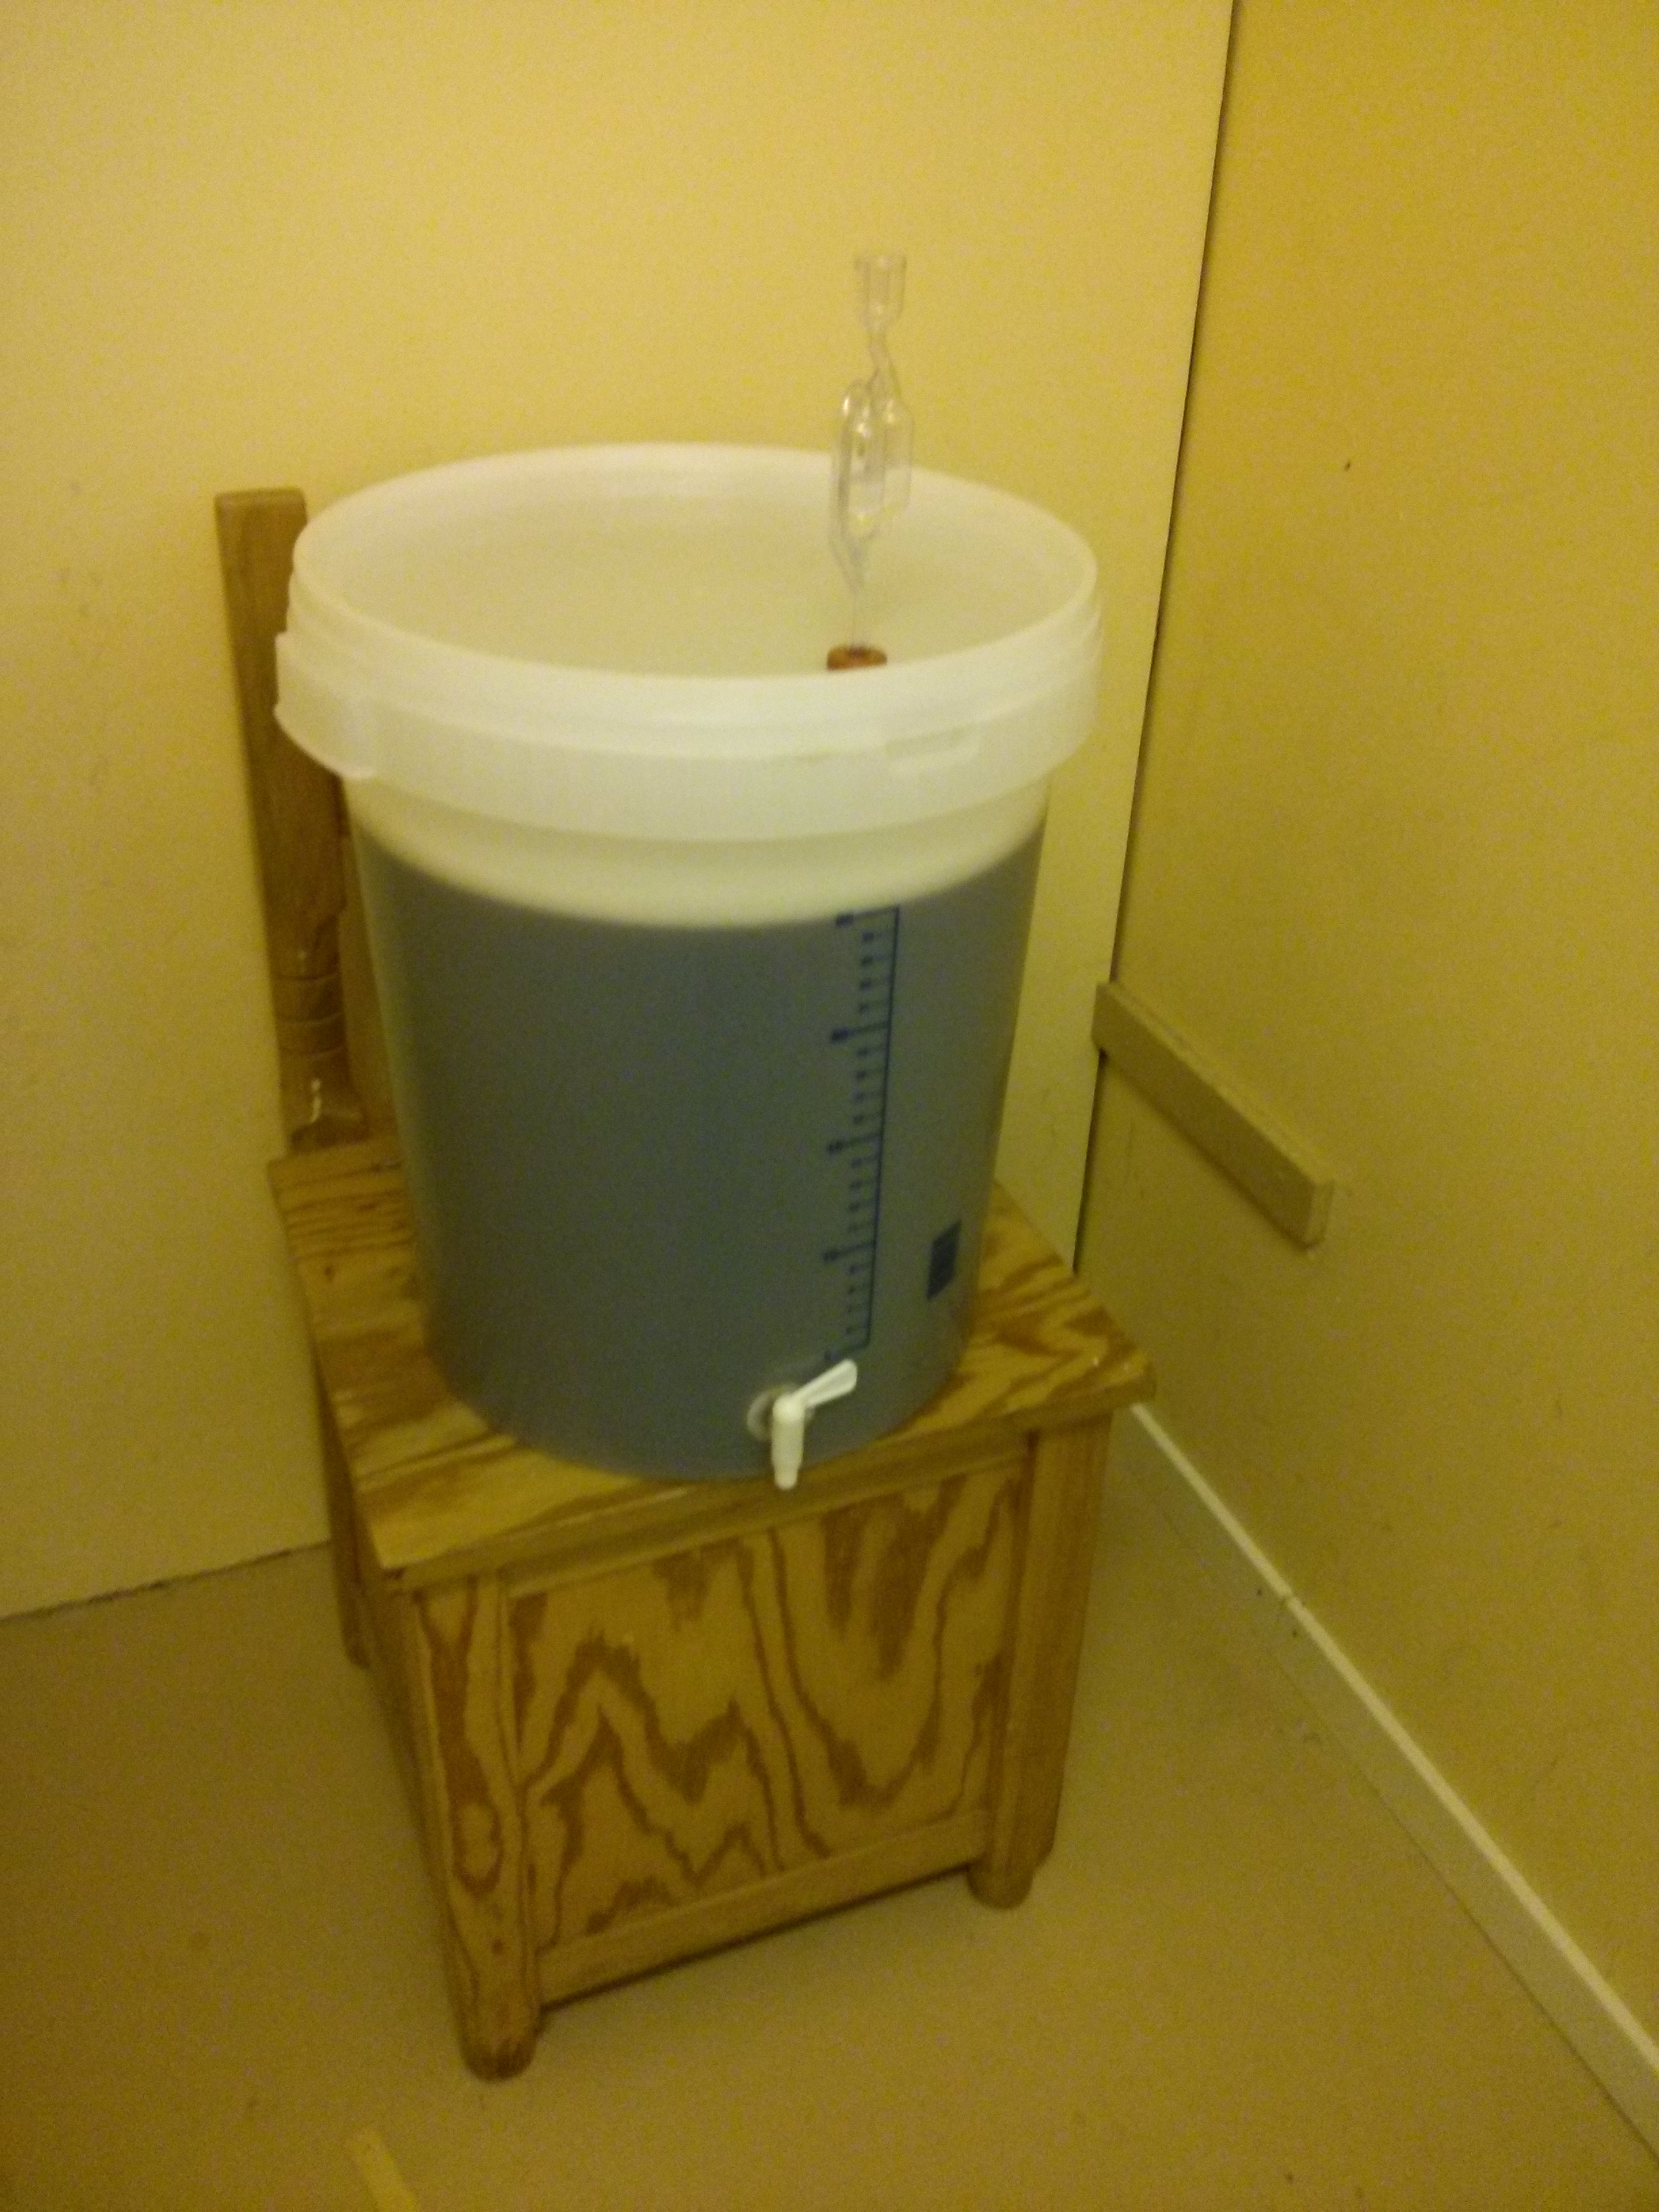
After a quick break for lunch (I ate a huge meal before arriving and was starving within 3 hours, working in a brewery is hard work) we cleaned the boil… pot? When you’re putting almost 2000L into it I don’t think it is called a pot anymore. We then started the sparging process and transferring the wort.

Sparging

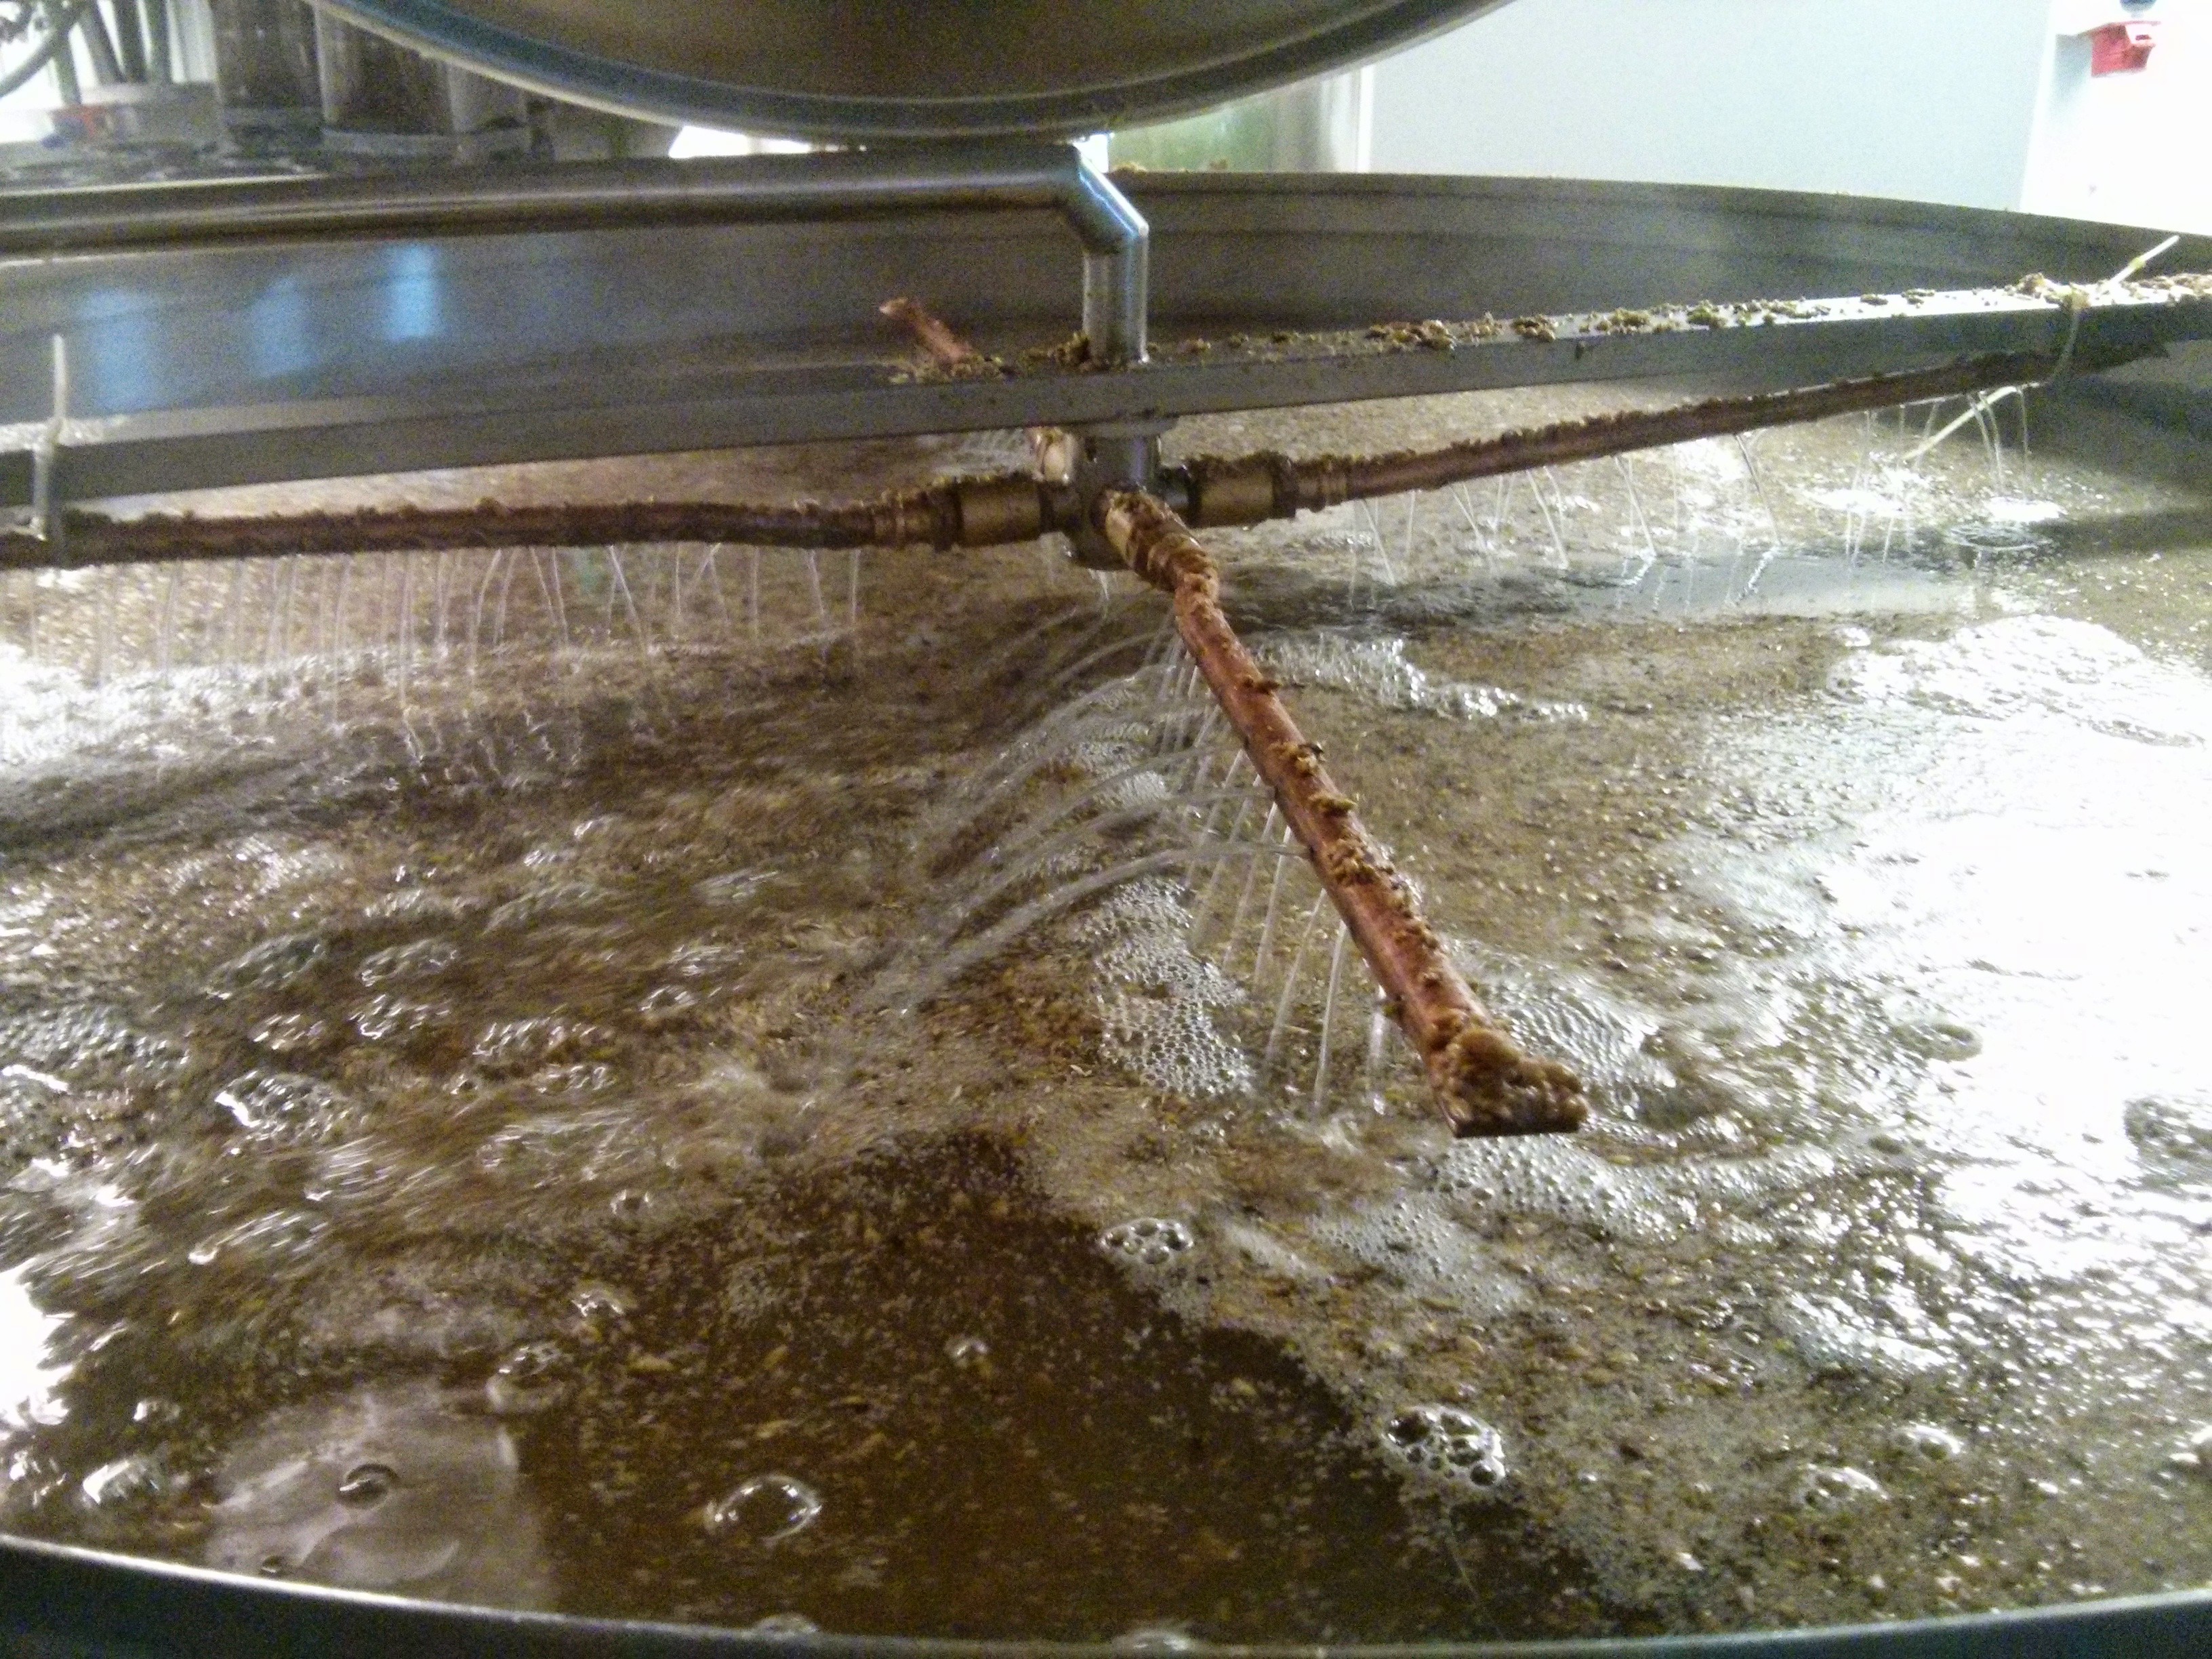
The sparge arme is home-made, four copper tubes with holes punched in that are all connected at a central point and attached to a long piece of metal that holds it in place above the mash tun. They said they originally made the arms too long and kept having to adjust the amount of water flowing in, but after shortening it to the current length it fills the tun at the perfect rate.

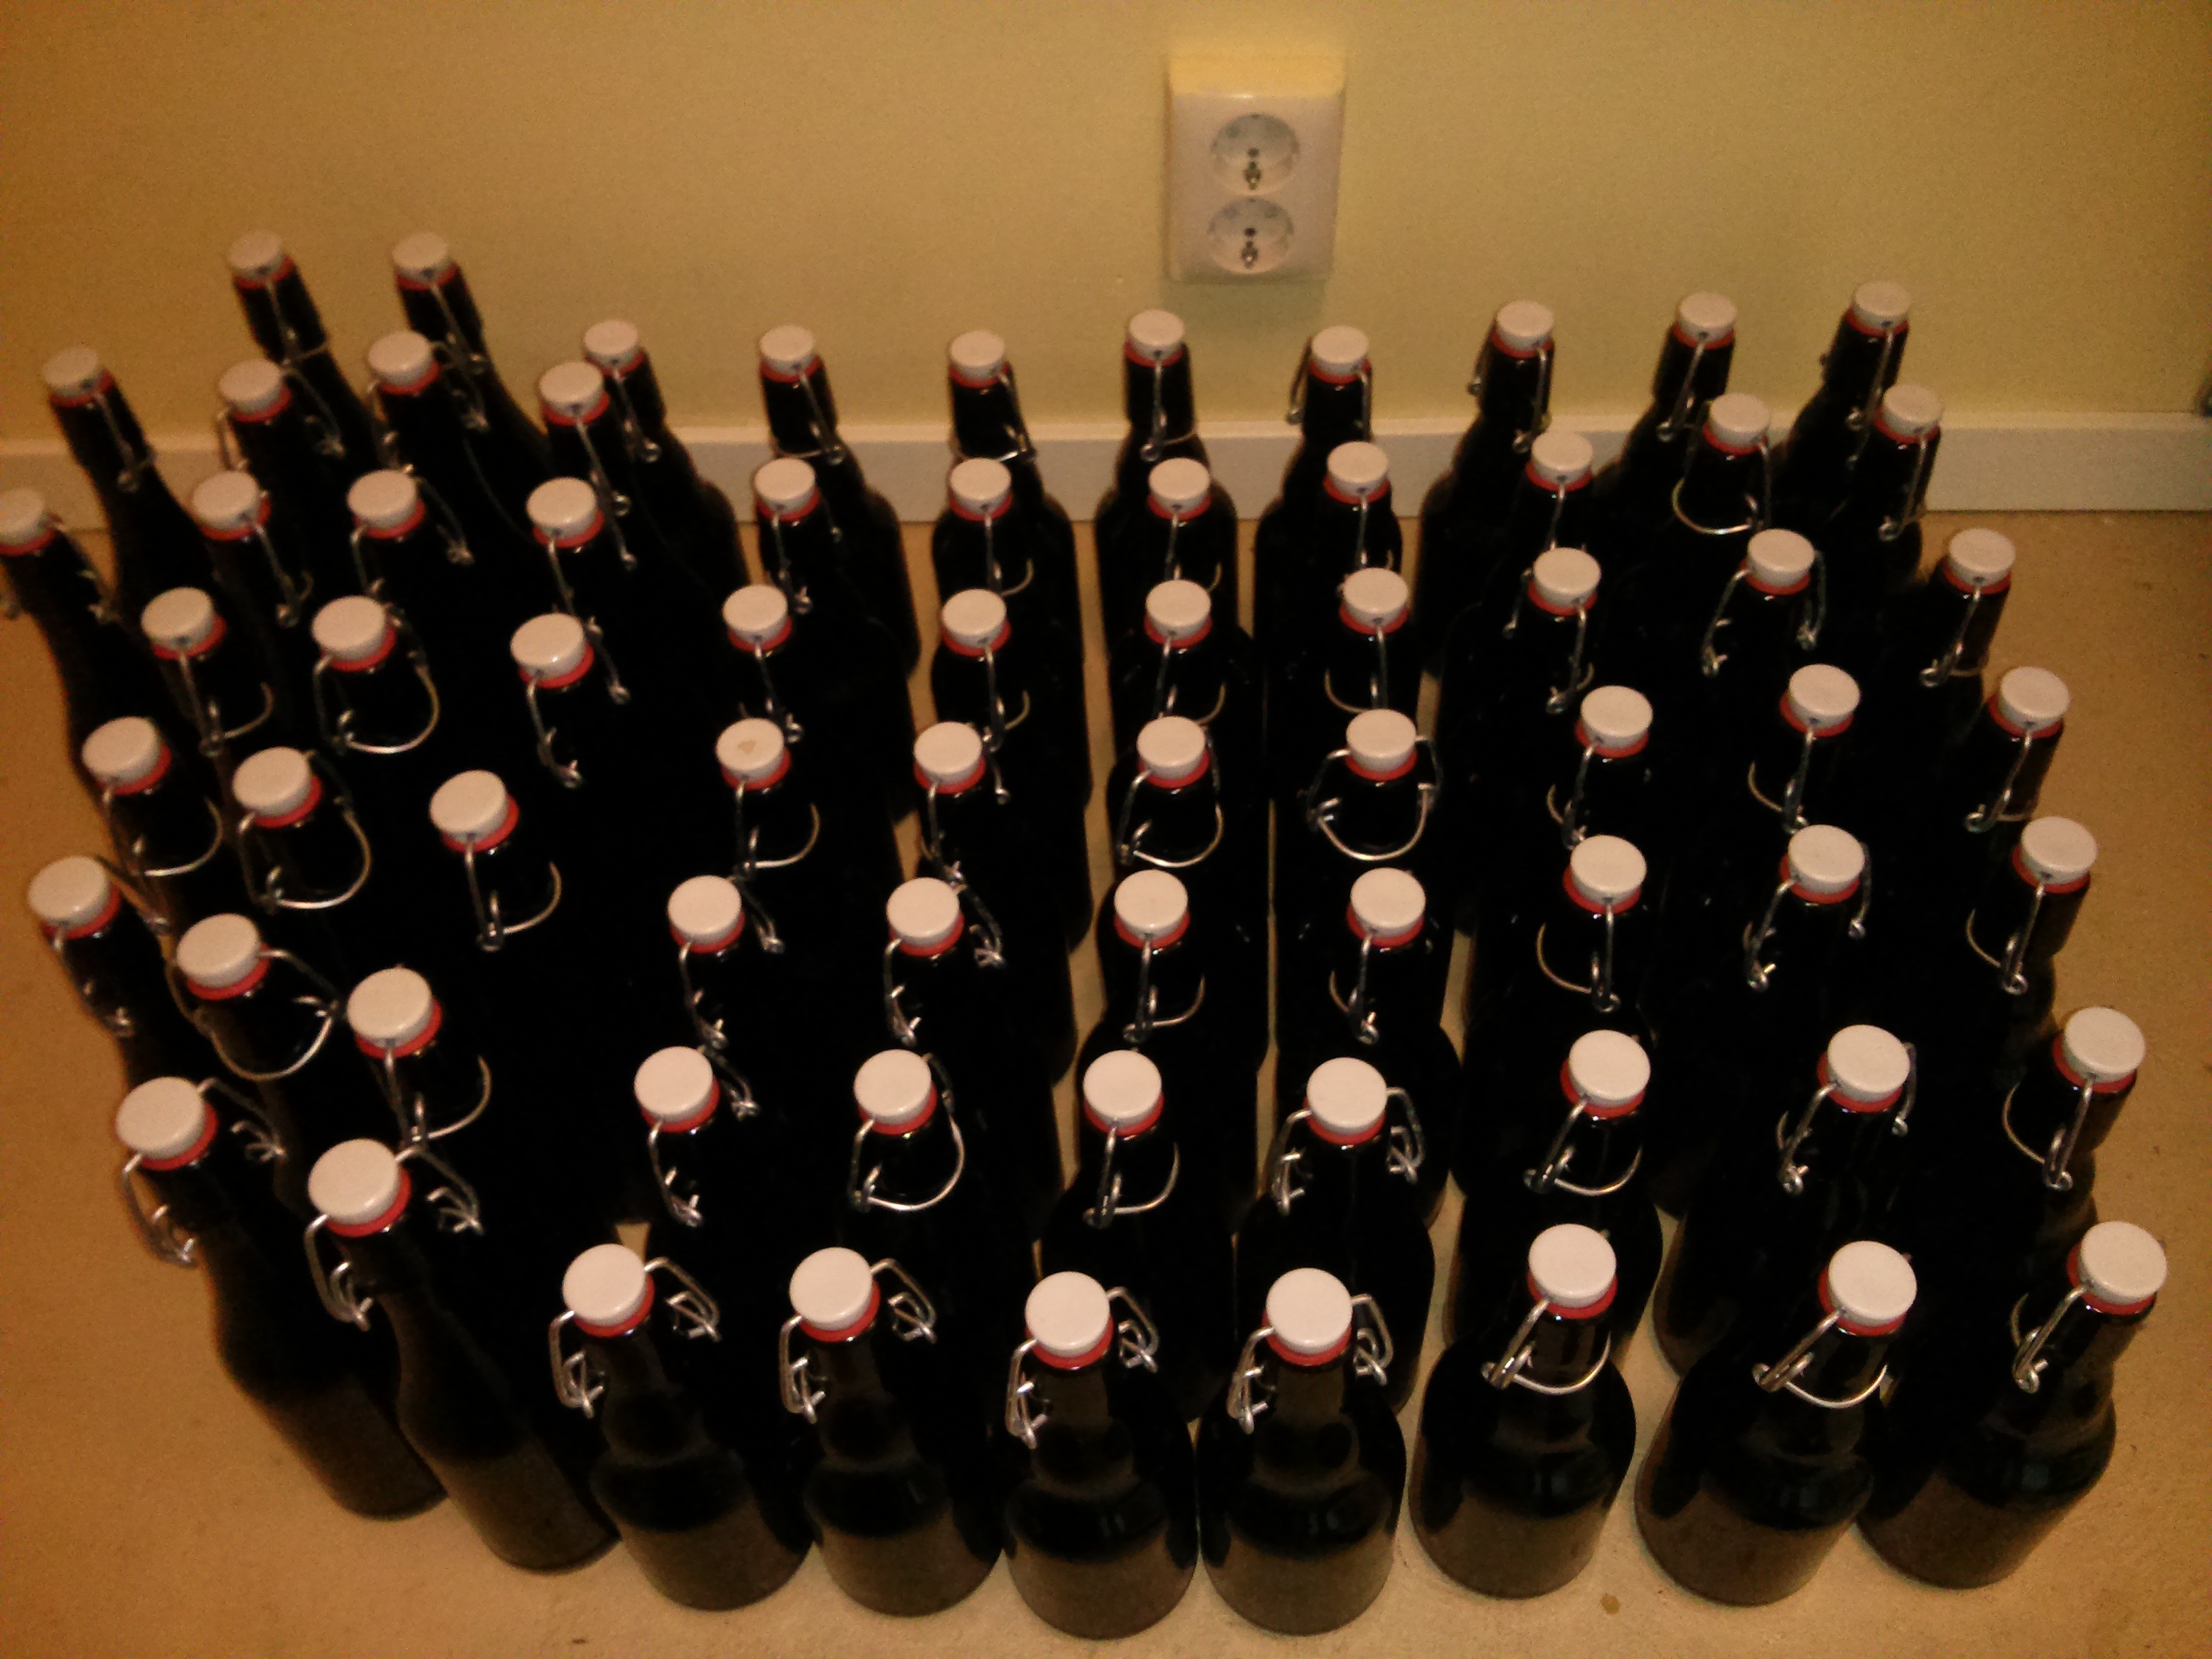
Once this process was started we hooked up the bottling machine and they showed me the bottling process, which was very fast and efficient. By this time evening had set in so I thanked them for having me in and called it a day.

Working in a brewery

Working in a brewery, as I mentioned earlier, is a lot of hard work. There is plenty of heavy lifting and moving things around, and a lot of waiting and cleaning in between. It isn’t a glamorous job but it is a lot of fun. I asked Leif what his favourite part of being a brewer was and he said crafting new recipes and tasting the results afterwards. Brewing isn’t all there is to a brewery by any means though. Darren spent a lot of time during the day working on logistics, selling beer and marketing their beer. I spent most of my day with Leif with Darren showing up sporadically to talk to us about stuff.

Homebrewing vs Industrial Brewing

A couple of differences I learned about brewing on a large scale vs homebrewing are:

1) Scaling recipes – This is doable certainly, but not a matter of just scaling up amounts. In the grain bill you have to account for differences in efficiency between your homebrew setup and the brewery setup. Hops also have a different ratio, if you scaled up the number of hops directly from your homebrew your pleasantly bitter IPA would be come undrinkable due to excess bitterness.

2) The volume. A brewery is LOUD. Not like you’re in a night club loud but more like there’s a million things making noise at once loud. You have pumps running, motors turning, liquids moving through pipes, etc. It was never a problem for conversing (unless we were in the mill room) but stepping outside when I left was definitely notable in the volume difference. Homebrewing by comparison has very little noise. The boil pot a bit while it is boiling but that is it.

And Finally

All in all the whole day was a lot of fun and I am thankful for Leif and Darren for letting me join them. There’s a lot I haven’t mentioned in this post in part because it has already been a month and a half since I was there so I don’t recall all the details, and in part because the post would likely never end if I wrote everything. Beer Studio makes fantastic beer and is run by some really nice guys. If you ever have the chance, pick up one of their beers and support them.

Pumpkin, dry hopping and bottling

I’ve done three more brew days since the one I talked about in my all grain post so I’d like to talk about them a bit. The first one of those was a pumpkin red ale.

Pumpkin Red Ale

The pumpkin red (which turned out a nice red colour) was the first time I tweaked a recipe, in which I didn’t actually tweak any of the original red ale recipe, but added pumpkin and pumpkin spices to it. The night before we brewed we cooked the pumpkin for an hour and a half, after which we scooped the insides out into a bowl and put it in the fridge overnight.

2014-10-18 20.23.46

The next morning we put the pumpkin on a sheet and put it into the oven to roast until it started turning slightly brown. We then added it to our mash and proceeded as normal.

The spices we added were cinnamon, nutmeg and allspice, which we added at the last 5 minutes of the boil. The spices mostly add a strong pumpkin spice aroma, and not as much to the taste.

The pumpkin red ale is presently carbonating in a closet for another week and I will try it out next weekend.

American IPA and Dry-Hopping

We’ve also made an American IPA that involved dry hopping for the first time. We added the dry hops 7 days after making the initial beer, and on the morning of we were discussing how to put them in. In Sweden mesh bags to put bras in for the purpose of washing them are common, so we were able to attain one of those, boil it for a half hour (good thing, water was yellow after) and then thoroughly sterilize it before putting the hops in and adding it all to the bucket. We dry-hopped for 14 days and then bottled, it will be ready at the same time as the pumpkin red ale.

Bottling

Bottling has been a major learning curve for us. Our first beer we bottled we added our priming sugar, stirred gently to mix it around and promptly bottled. This resulted in wildly different levels of carbonation. We also ran into issues with sediment and air getting into the line resulting in a few bottles that were less than stellar tasting.

Our second bottling was similar, though at least we did wait a half hour for the priming sugar to mix in before we bottled the beer. Oxygen wasn’t as much an issue but sediment definitely was and we ended up spending a lot of time pumping the beer, which should not have been the case. That beer also ended up with nearly no carbonation and we’re not really sure why yet.

The third bottling was of the two beers I talked about above, and right now they are both sitting in a closet and we’ll know how things went for carbonation in a week. The bottling process however went much more smoothly. We got an extra bucket and racked the beer to the new bucket, removing almost all of the sediment from the batch. Once that was done we were able to bottle the whole batch with almost no issues, though we did have to pump the pump occasionally to keep the beer flow going. While I’m not sure about the pumpkin beer (I manned the pump for that one) the IPA (which I did the filling for) should have only one beer that had issues with oxygen – the first one I filled in the batch, and I know which bottle that is.

The first all grain brew.

I’ve done a few all grain beers now and have learned a fair bit about the process, including that I had absolutely no idea what I was doing when we made our first one (an English strong bitter). Originally the recipe was going to be an English Special Bitter but it turned out so dark and so strong that I changed the classification of it. Our final product came out with an ABV of 8.7% and basically no carbonation whatsoever. We will be redoing this beer next weekend to correct our mistakes from the first time and see how the two versions compare. I’ll be lowering the grain bill to decrease the ABV, but just the pale malt. All the others are going to stay the same. This will probably change the flavour somewhat since the specialty malts will be far more dominant, but I’m interested in seeing how they affect things, which is why I won’t be keeping the ratios the same.

Now for today’s brew:

Step one was to assemble all the new equipment, which included our malt mill and two coolers for the mashing and sparging process. No pictures for that stage, though you’ll see all of it coming up.

Next was to crush our specialty grains, we purchased our main pale malt pre-crushed and good thing, crushing 4ish kilos of malt would take a long while.

Malt Mill Milling Malt

Next we heated our mash water which we did via a sous vide machine. We haven’t done this since for a couple of reasons, one being that it was very slow and much faster to heat on the stove, and the other being that all batches since haven’t had enough mash water to be able to use it.

Adding malt to the mash cooler

After the mash rest it was time to sparge, so we heated up 8 litres of water and put it into our sparge cooler – we haven’t done this since, opting to fill the cooler up to nearly full for the purpose of sparging as 8 litres proved to be far too little sparge water. Also I spoke to the brewer at a local brewery (Beer Studio) and they don’t limit themselves to a small amount of sparge water like that, though he suggested batch sparging for us (we have opted to stick with fly sparging).

Sparging Process More sparting process

Here’s what the grain bed looked like post sparge:

Grain bed

Once the sparge was done we got back into more familiar territory – the boil. This went smoothly, we added the hops at the appropriate times, no corn or specialty additions to this beer though. We had some issues with the cooling of the wort afterwards though. At one point the hose was stepped on for the immersion chiller which knocked off the outflow and sent water all over the floor (thankfully none got into the wort). We quickly turned off the water and got it fixed then continued, but eventually the outflow hose came off of the chiller again (of its own accord this time) and while it mostly went over the floor a tiny bit did get into the wort. We have since fixed the issue by having three clamps on the outflowing hose fitted over the chiller and have had no more problems with it.

Hops! Adding the hops!

Finally we transferred the wort to the fermentation bucket. There was no filter this time, we haven’t used a filter since the first batch – but we remembered to add the false bottom to the boil pot so no hops got into the fermenter bucket.

After two weeks fermenting we added our sugar and bottled the beer. It turned out alright with a heavy malt and alcohol flavour to it but a slightly bitter finish. Very fruity aroma to it. The colour is very dark. All told this time around we will be giving it a longer time to ferment as it tastes far better now than it did a few weeks ago, the yeast is leaving some very fruity esters in the beers, balancing the malt and alcohol flavours much better.

Problems with Systembolaget and the LCBO / Beer Store

I’m a Canadian from specifically Ontario, and presently living in the north of Sweden. As such I’ve gone from one government controlled alcohol system to another, and both are very similar, even down to the colours they picked for their branding (though different shades).

But while there are many issues with each, there’s one from each I’d like to highlight today.

First, with Systembolaget the company has recently changed their distribution model to require all microbreweries to ship their beers directly to the central warehouse if they want to get into the system. This new system is not a problem for the breweries in the south who are all near the warehouse, but in the north about 50 breweries have been excluded due to them not being able to justify financially sending the beer south. Here’s an article on the issue (in swedish, but google chrome does a good job at translating:

http://www.expressen.se/debatt/systemet-utplanar-sveriges-bryggerier/

The other is the the messed up monopoly in Ontario, basically the craft brewers there are also getting the short end of the stick, as the LCBO is very inefficient and has limited shelf space, causing high competition and a lot of challenges for getting in. The only alternative is the Beer Store which is privately owned and run by three non-Canadian multi-national companies who can pretty much do what they want. A documentary on the current state of Ontario’s alcohol situation was released yesterday and can be viewed here:

http://www.momandhops.ca/now-playing-straight-up-the-issue-of-alcohol-in-ontario/

The First Brew

Today I’m going to talk about my first home brew adventure, which I actually embarked upon last spring. We opted to make a brown ale that went by the name ‘Summer Stout’. It was an extract beer which I picked as our first quite by accident. In retrospect an extract beer was exactly the right way to go, but I didn’t realise it at the time. I just picked a recipe that seemed tasty and hoped for the best.

First stage of the process was to do setup. Figure out where to put our equipment, get our chiller working (we got an immersion chiller), set up the garden hose for it, etc. After this was all done we started the process of brewing, namely, filling our boil pot.

The EquipmentFilling the boil pot

Then we had to wait. It took basically an entire hour for the water (which went in cold) to come to a boil, but then we were able to add all the ingredients (everything went in up front, no late hop additions).

Adding the malts Hops added

Now we boiled the whole wort for an hour, at which point turned it off, immersed the chiller and started cooling the beer as quickly as possible.

Cooling the wort

Then we transferred the wort to the fermenter (a food grade bucket) and pitched the yeast. (we filtered that beer, something we haven’t done again)

Wort transfer Bucket of soon to be beer

And that was it for brew day. We waited two weeks and bottled the beer, and another week before sampling the first one. The brew turned out fantastic and is something we’ll do again sometime, but probably not until next summer.

Bottles of beer A taste of brew

We’ve since moved into all grain brewing and are enjoying that a great deal more than extract, and it is unlikely that we’ll do another extract recipe any time soon (except this one). The all grain brewing can wait for another post though.

Stout Day

What better day to start blogging about beer than on Stout Day? To celebrate the first day of the blog and Stout Day I’m enjoying a bottle of Thornbridge Winter Imperial Stout, which is an Imperial Russian Stout.

Thornbridge Winter Imperial Stout

ABV: 7.4%

Starting with a hint of chocolate in the aroma the Winter Imperial Stout is a full bodied beer with a solid chocolate flavour and smooth maltiness. The bottle claims a subtle peaty smokiness and I certainly do have to pay attention to get a hint of smokiness that is just barely there. Definitely very pleasant without being overwhelming.  This is followed by a slightly bitter aftertaste that just lingers in the mouth, making me long for another sip.

Rating: 4/5 – Definitely a fantastic choice for celebrating Stout Day.

Welcome to the Duke of Brew blog

Welcome to the Duke of Brew blog, where I will be blogging about my various beer activities. This will include my home brewing adventures as well as some of the beers I drink and anything else I find worthy of mention. I am new to reviewing beers and trying to distinguish various flavours and aromas, so learn with me and correct me where I’m wrong if you please. Please, enjoy yourself and enjoy the blog and enjoy your beer.